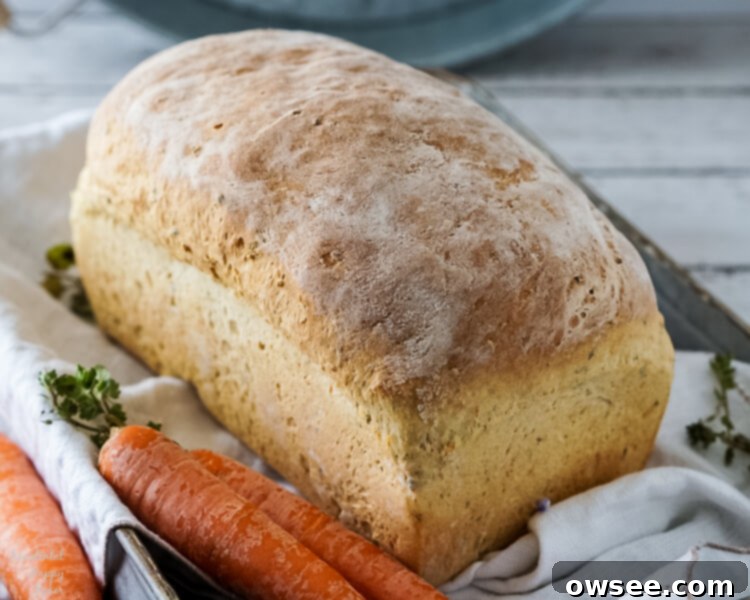
Homemade Carrot and Chive Bread: Your New Favorite Savory Yeast Bread Recipe
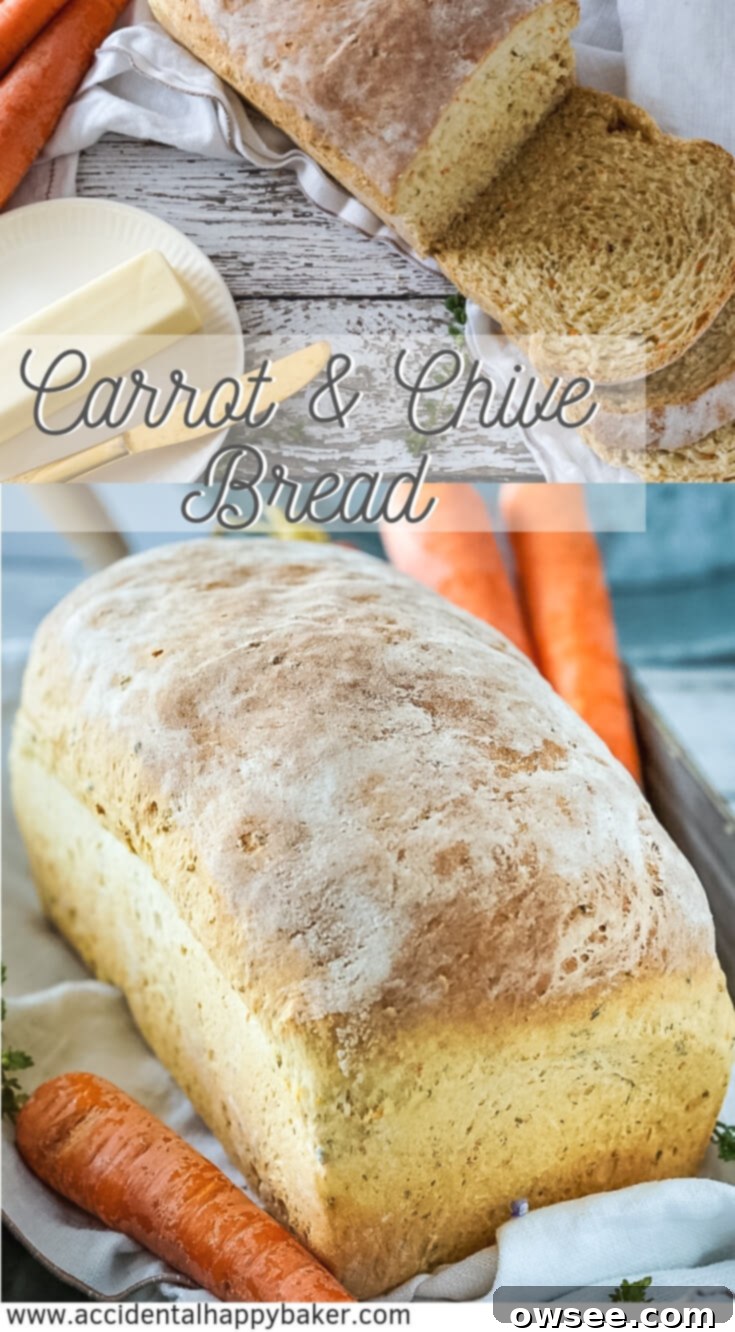
There’s an undeniable magic to the aroma of freshly baked bread filling your home. It evokes comfort, warmth, and a sense of tradition. Today, I am absolutely delighted to share a recipe that encapsulates all these feelings and more: my homemade Carrot and Chive Bread. This isn’t just any bread; it’s a hearty, rustic loaf beautifully speckled with vibrant orange from tender carrots and hints of green from fresh chives. Every slice transports you to sunny summer days spent tending a thriving vegetable garden, offering a unique blend of earthy sweetness and savory notes.
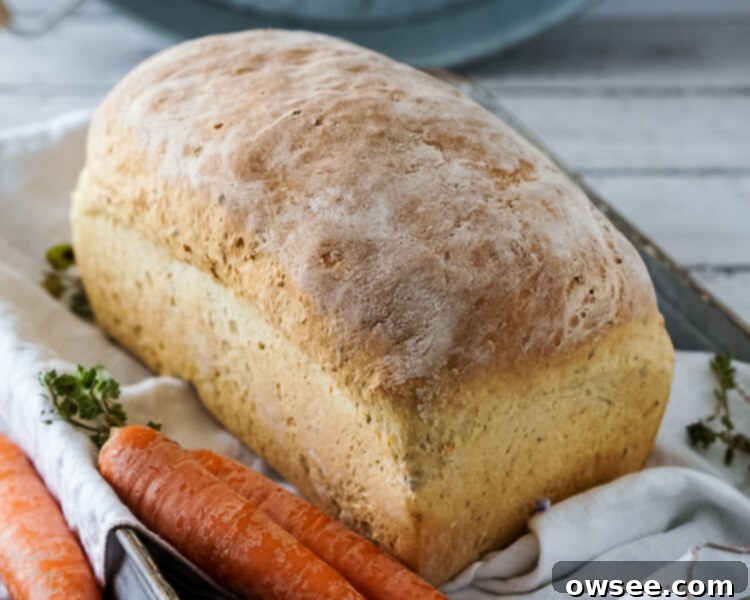
Why You’ll Love This Savory Carrot and Chive Bread
While sweet carrot cakes and muffins are popular, truly savory carrot bread recipes, especially those made with yeast, are surprisingly rare. I searched high and low for a suitable recipe, and when my search came up empty-handed, I decided to create my own. My intuition told me that the subtle sweetness of carrots combined with the delicate oniony notes of chives would be a perfect marriage in a homemade yeast bread. And boy, was it right! This bread is incredibly versatile and utterly delicious.
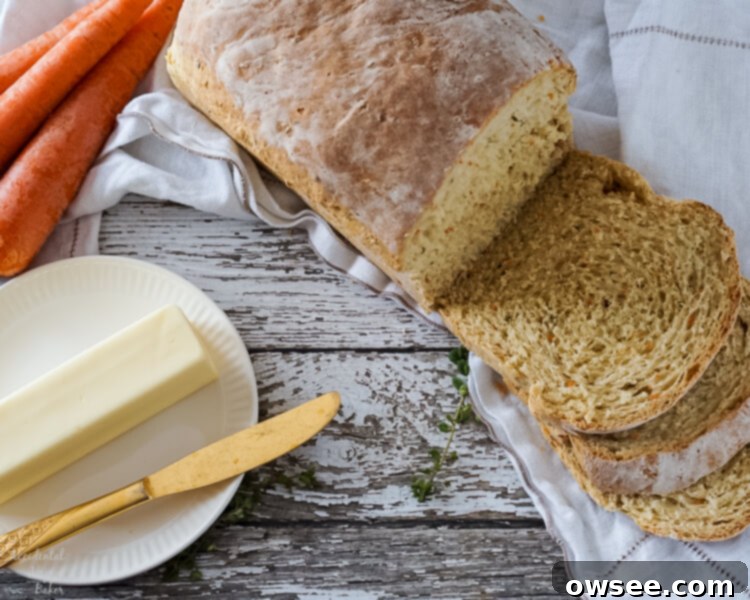
Imagine a slice of this magnificent bread alongside a hearty stew or a comforting bowl of soup. Picture it as the base for your favorite sandwich, adding an extra layer of flavor that elevates your lunch. And for a simple pleasure that should never be underestimated, just try it as buttered toast. The slightly crisp crust and tender crumb, infused with those lovely carrot and chive flavors, make for an unbeatable breakfast or snack. It’s truly a bread that celebrates the simple, wholesome goodness of garden-fresh ingredients.
Essential Ingredients for Your Carrot and Chive Bread
Crafting this flavorful loaf starts with selecting the right ingredients. Here’s a closer look at what makes this bread so special:
- Shredded Carrots: The star of the show! Carrots add natural sweetness, moisture, and those beautiful orange flecks throughout the bread. It’s crucial to finely grate them. If you buy pre-shredded matchstick carrots, a quick pulse in a food processor works wonders for achieving the ideal consistency. Finely grated carrots blend seamlessly into the dough, ensuring an even distribution of flavor and texture without creating large, clunky pieces.
- Chives: These delicate herbs provide a mild, oniony flavor that complements the carrots perfectly, adding a fresh, savory dimension and vibrant green specks.
- Dried Buttermilk Powder: A secret ingredient for a tender crumb and a subtle tang. Buttermilk helps to activate the yeast and creates a softer texture in the final loaf.
- Sugar & Salt: Balance is key. A touch of sugar feeds the yeast and enhances the carrots’ natural sweetness, while salt is essential for flavor and controlling yeast activity.
- Dill Weed: This herb pairs wonderfully with both carrots and chives, adding an aromatic depth that elevates the overall savory profile of the bread.
- Instant Yeast: The leavening agent that gives this bread its wonderful rise and airy texture. Instant yeast is convenient as it can be mixed directly with the dry ingredients.
- Melted Butter: Adds richness and contributes to a tender, flavorful crumb. Make sure it’s cooled to room temperature before adding to avoid killing the yeast.
- Warm Water: Activates the yeast. The ideal temperature is around 105°F (40°C). Investing in an instant-read thermometer is a game-changer for bread making, taking out all the guesswork. For around $11 on Amazon, it’s a small investment that yields big results in consistent bread quality.
- All-Purpose Flour & Bread Flour: Using a combination of flours provides the best of both worlds. All-purpose flour contributes to tenderness, while bread flour, with its higher protein content, develops strong gluten for a sturdy structure and excellent chew.
Step-by-Step Guide: Making Carrot and Chive Bread
Follow these detailed steps to bake your own perfect loaf of savory carrot and chive bread:
1. Combining the Initial Ingredients
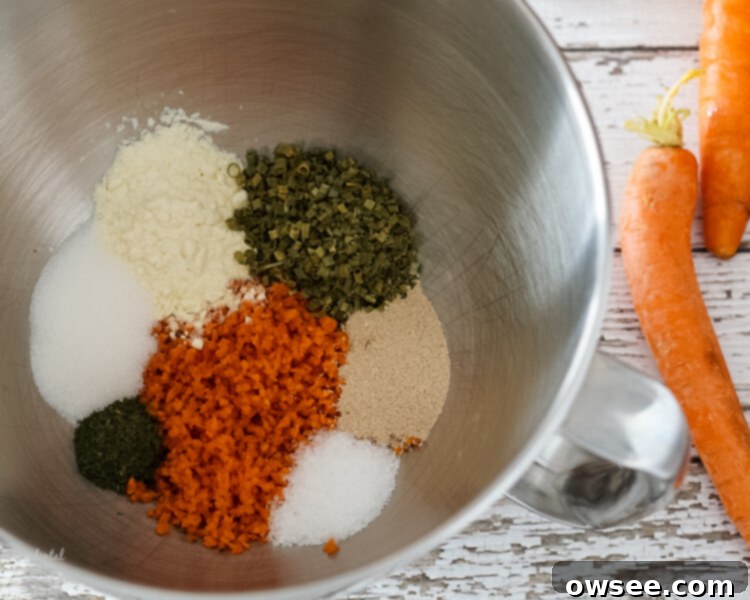
In a large mixing bowl, combine your finely shredded carrots, dried buttermilk powder, chives, sugar, salt, dill weed, instant yeast, and the cooled melted butter. Pour in the warm water (remember, around 105°F is ideal for activating the yeast without killing it). Add 1 ½ cups of all-purpose flour. Using a mixer on low speed, mix these ingredients for 2-3 minutes until they are well combined and the flour is fully incorporated. At this stage, your mixture will be quite wet and thick, which is exactly what we want.
2. Kneading the Dough
If you’re using a stand mixer, switch to the dough hook attachment. If you’re mixing by hand, now is the time to get hands-on! Gradually add the remaining 1 ½ cups of bread flour. Knead the dough for 5-7 minutes. The goal is to develop the gluten, making the dough smooth, elastic, and slightly tacky but not overly sticky. The exact amount of flour can vary depending on the moisture content of your carrots and the humidity in your kitchen, so you may need to add up to an additional ¼ cup of flour, a tablespoon at a time, until the dough reaches the right consistency.
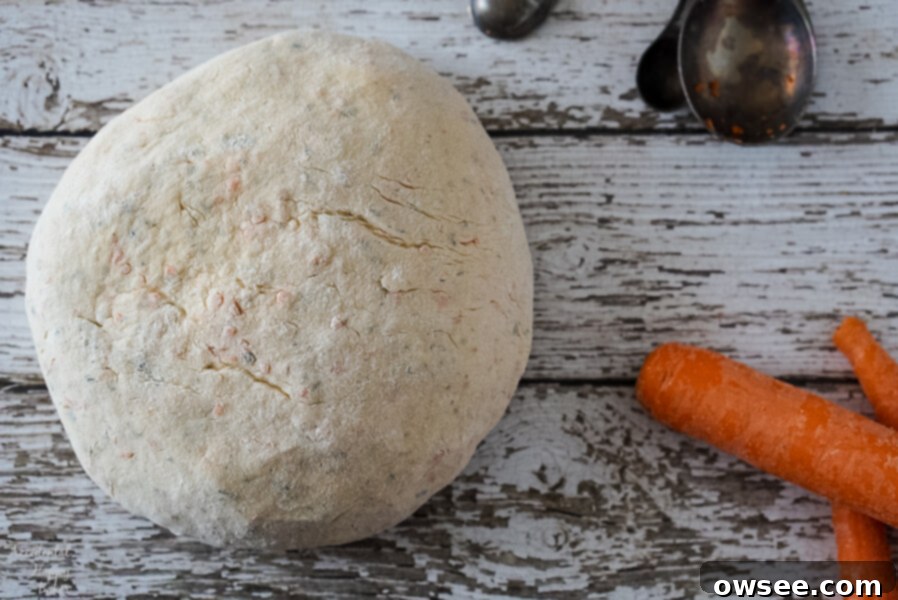
3. The First Rise (Bulk Fermentation)
Lightly oil a clean bowl and place your kneaded dough inside, turning it once to coat all sides with oil. This prevents it from sticking and drying out. Cover the bowl tightly with plastic wrap or a damp kitchen towel. Let the dough rise in a warm, draft-free area for 45 minutes, or until it has visibly doubled in size. This first rise allows the yeast to work its magic, developing flavor and creating an open crumb structure.
4. Shaping and the Second Rise (Proofing)
Once the dough has doubled, gently punch it down to release the air bubbles. This is an important step as it redistributes the yeast, evens out the temperature, and helps create a finer texture. Shape the dough into a neat loaf and place it into a greased 8×4 inch loaf pan. Cover the pan lightly with a tea towel and allow it to rise for a second time, for approximately 40 minutes. The dough should rise about ¾ of an inch above the rim of the pan, indicating it’s ready for baking.
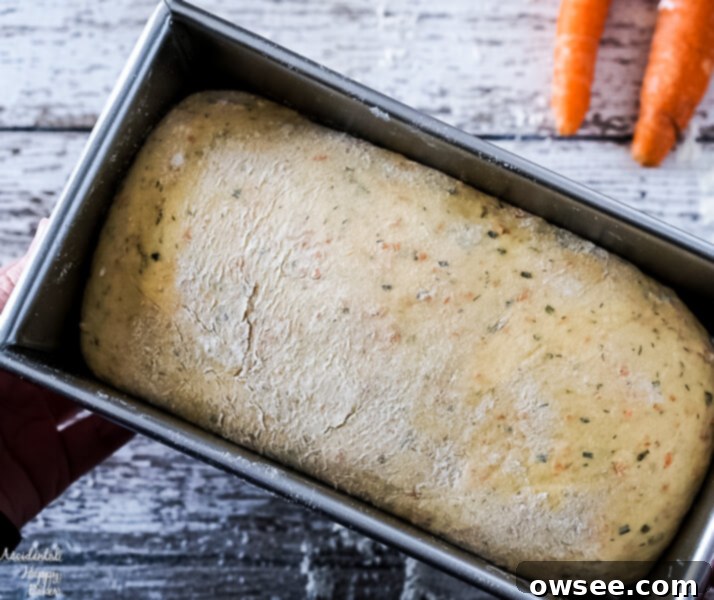
5. Baking to Perfection
About 20 minutes before your second rise is complete, preheat your oven to 375°F (190°C). This ensures the oven is at the correct temperature when the bread goes in, promoting a good oven spring. Bake the loaf for 35-40 minutes. You’ll know it’s done when the crust is beautifully golden brown, and when you tap the bottom of the loaf, it sounds hollow. For absolute certainty, an instant-read thermometer inserted into the center should register 190°F (88°C).
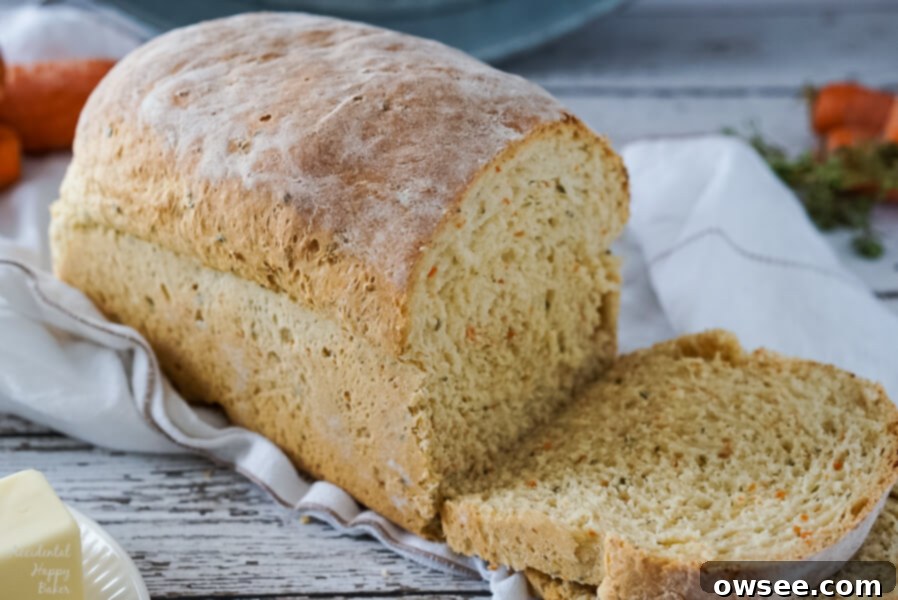
6. Cooling and Enjoying
Once baked, immediately remove the bread from the pan and place it on a wire rack to cool completely. This prevents the bottom from getting soggy. For an extra soft and flavorful crust, you can rub the warm crust with a stick of butter immediately after removing it from the oven. Resist the temptation to slice into it too early! Cooling allows the internal structure to set and the flavors to fully develop. Store any leftover bread in a plastic bag at room temperature for up to 3-4 days to maintain its freshness and delicious texture.
Serving Suggestions & Variations
This Carrot and Chive Bread is incredibly versatile. Enjoy it plain, with a smear of butter, or as an accompaniment to a variety of dishes:
- Soup and Stews: Its robust flavor makes it an excellent side for hearty beef stew, creamy tomato soup, or a light vegetable broth.
- Sandwiches & Toast: Perfect for a savory breakfast toast with eggs, or use it for lunchtime sandwiches filled with turkey, ham, or a delicious cream cheese spread.
- Cheese Board: Slice it thin and serve it alongside a selection of cheeses and charcuterie for an elevated appetizer.
- Dinner Rolls: You could even shape this dough into smaller rolls for individual servings, adjusting the baking time accordingly.
Feeling adventurous? You can easily customize this recipe. Consider adding a sprinkle of shredded cheddar cheese to the dough for a cheesy carrot and chive bread, or experimenting with other fresh herbs like parsley or thyme for different flavor profiles. A pinch of black pepper could also add a pleasant kick.
If You Love Baking Bread, Try These Other Homemade Bread Recipes:
If you’ve enjoyed baking this rustic carrot and chive bread, you’ll surely love exploring more homemade bread creations. Here are some of my other favorite yeast bread recipes that are equally rewarding and delicious:
-
Downeast Maine Pumpkin Bread
-
Sunflower Bread
-
Garlic Cheese Focaccia Bread
-
Easy Hawaiian Rolls
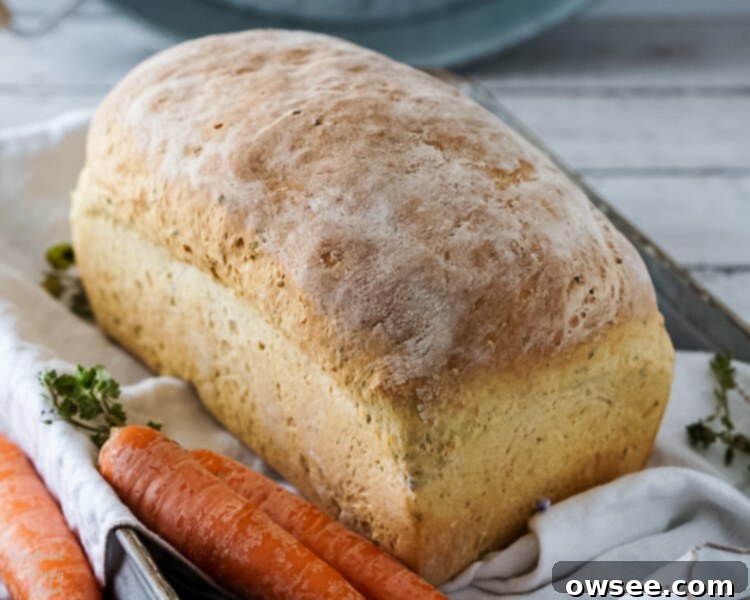
Carrot and Chive Bread Recipe
Print
Rate
SaveSaved!
Ingredients
- 1/2 cup finely shredded carrots
- 2 Tablespoons dried buttermilk powder
- 2 Tablespoons fresh chives, chopped
- 1 Tablespoon granulated sugar
- 1 1/2 teaspoons salt
- 1/2 teaspoon dried dill weed
- 1 package instant yeast (2 1/4 teaspoons)
- 2 Tablespoons melted unsalted butter (cooled to room temperature)
- 1 1/4 cup warm water (about 105 degrees F / 40 degrees C)
- 1 1/2 cups all-purpose flour
- 1 1/2 cups bread flour
Instructions
-
In a large mixing bowl, combine the finely shredded carrots, dried buttermilk powder, chopped chives, sugar, salt, dill weed, instant yeast, and cooled melted butter. Add the warm water (105°F / 40°C) and the 1 ½ cups of all-purpose flour. Mix on low speed with your mixer for 2-3 minutes, until all ingredients are well combined and the flour is fully incorporated into a thick, wet mixture.
-
If using a stand mixer, switch to the dough hook attachment. If mixing by hand, gradually stir in the remaining 1 ½ cups of bread flour. Knead the dough for 5-7 minutes, either with the dough hook or by hand, until the dough becomes smooth, elastic, and slightly tacky to the touch. You may need to add up to an additional ¼ cup of flour, one tablespoon at a time, depending on the moisture content of your carrots and the dough’s consistency. Add just enough flour to prevent excessive stickiness while kneading.
-
Lightly oil a clean bowl and transfer the kneaded dough to it, turning the dough once to coat all sides with oil. Cover the bowl securely with plastic wrap or a damp kitchen towel. Place it in a warm, draft-free area and let it rise for 35-40 minutes, or until the dough has doubled significantly in size.
-
Once the dough has doubled, gently punch it down to release the trapped air bubbles. Turn the dough out onto a lightly floured surface and shape it into a neat, uniform loaf. Place the shaped dough into a standard 8.5 x 4.5 inch bread loaf pan that has been lightly greased. Cover the pan loosely with a tea towel and allow the dough to rise for a second time, in a warm, draft-free area, for another 35-40 minutes, or until it has risen about ¾ of an inch above the edge of the pan.
-
Approximately 20 minutes before the end of your second rise time, preheat your oven to 375°F (190°C). When the dough has completed its rise and is ¾ of an inch above the pan, place the loaf pan on the center rack of the preheated oven. Bake for 35-40 minutes, or until the top is golden brown. To confirm doneness, gently thump the bottom of the loaf; it should sound hollow. For precise results, an instant-read thermometer inserted into the center of the loaf should read 190°F (88°C).
-
Carefully remove the baked bread from the oven and immediately turn it out of the loaf pan onto a wire rack to cool completely. If desired, you can rub the warm crust with a stick of butter for an extra soft and flavorful finish. Allow the bread to cool fully before slicing to ensure the internal structure sets properly. Store any leftover bread in an airtight plastic bag at room temperature to maintain freshness.
Nutrition
Pin it for Later: Save This Recipe!
Don’t want to forget this fantastic Carrot and Chive Bread recipe? Pin it to your favorite Pinterest board so you can easily find it next time you’re craving a delicious homemade loaf!
Share Your Creations!
We’d love to see your delicious Carrot and Chive Bread! Please leave a comment or review below. You can also share what you’ve been baking by tagging @accidentalhappybaker on Instagram or posting in our Facebook community. Happy baking!
Accidental Happy Baker is a participant in the Amazon Services LLC Associates Program, an affiliate advertising program. As an Amazon Associate I earn from qualifying purchases at amazon.com.
