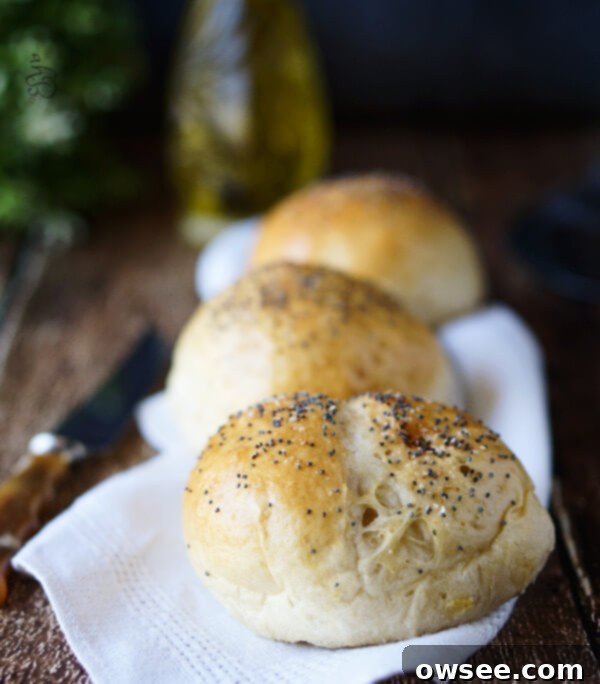
Homemade Caramelized Onion Buns: The Ultimate Burger & Sandwich Upgrade

Imagine biting into a burger or a sandwich, and instead of a bland, store-bought bun, you’re met with something truly extraordinary: a soft, golden, and deeply flavorful homemade caramelized onion bun. These aren’t just any buns; they’re a culinary revelation, transforming an ordinary meal into an unforgettable experience. Hearty and infused with the sweet, savory essence of slow-cooked onions, they are the perfect complement to your juicy hamburgers, robust roast beef sandwiches, or even an out-of-this-world French dip. Once you taste these fresh from the oven, you’ll never look back at those uninspired, mass-produced alternatives.
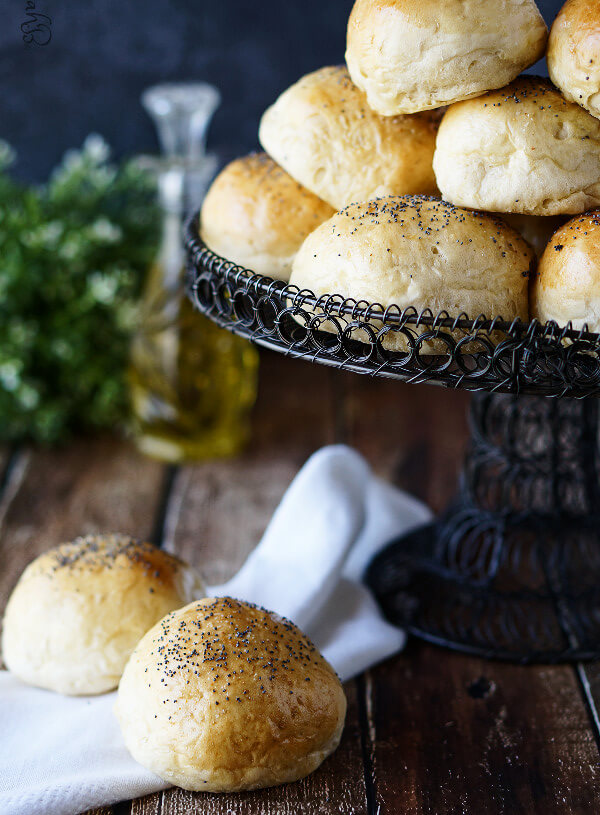
A Culinary Journey: The Magic of Homemade Buns
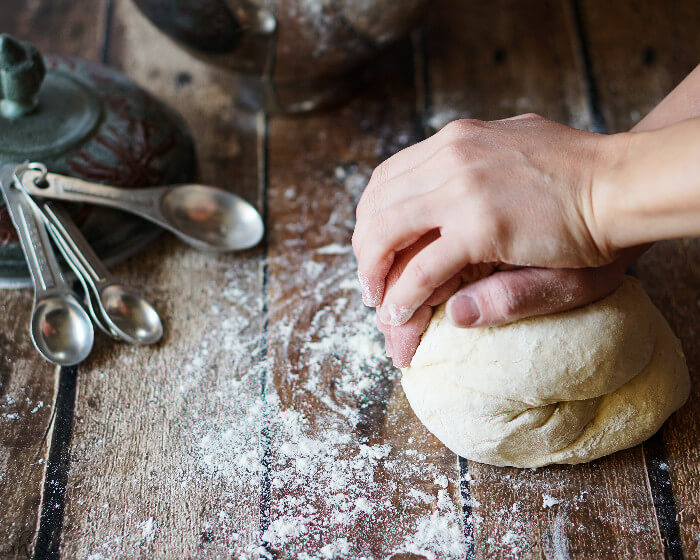
My passion for baking, especially bread, can be traced back to my childhood summers spent with my Auntie Marilyn. She was, and still is, a farm wife – a woman of incredible gentleness and kindness, much like a sister to Mr. Rogers. Her voice never needed to be raised to command attention; instead, she had a quiet way of making every chore feel like a grand adventure. Each day, my sister and I would assist her in preparing lunches for the men working tirelessly in the fields. It was during these cherished moments that I first witnessed the incredible transformation of flour, water, and yeast into soft, pliable dough. I watched, utterly mesmerized, as she kneaded and shaped humble ingredients into perfect buns for our sandwiches. Before then, the thought of making buns at home had never crossed my mind; I simply assumed all bread products originated from a store shelf.
Why Homemade Buns Reign Supreme
There’s nothing quite like a freshly grilled hamburger nestled within a homemade bun, still radiating warmth from the oven. If you haven’t experienced this simple pleasure, you are truly missing out. The difference in taste, texture, and overall satisfaction is monumental. Store-bought buns often fall flat, both in flavor and structure, struggling to contain a hearty, juicy burger. They can become soggy, detracting from the entire meal. In contrast, a well-made homemade bun offers a tender yet resilient crumb, a delicate crust, and a flavor profile that complements, rather than competes with, your filling.
It took me many years, and countless batches, to refine my bun-making skills to even remotely approach the perfection of Auntie Marilyn’s creations. But through persistence and practice, I’ve developed a recipe that produces buns capable of standing up to the meatiest, juiciest burgers or the most generous sandwich fillings you can imagine. And now, the tradition continues. I find myself with a new generation by my side, their little eyes wide with wonder as they observe the magical process of dough taking shape, slowly rising, and finally transforming into golden, fragrant buns. It’s a testament to the enduring joy of baking and sharing homemade goodness.
Crafting Flavor: The Art of Caramelized Onions
The secret to these truly exceptional buns lies in the caramelized onions. This isn’t just about cooking onions; it’s about a slow, patient transformation that brings out their natural sugars and deepens their flavor into something incredibly rich, sweet, and complex. The process involves gently sautéing diced sweet onions in butter over a sustained period, allowing them to soften, break down, and turn a beautiful, deep caramel color. This caramelization is crucial, as it provides the savory-sweet backbone that elevates these buns beyond a simple bread roll. The effort is minimal, but the reward in flavor is immense, creating pockets of concentrated deliciousness throughout the dough.
Expert Tips for Perfect Caramelized Onion Buns
Making homemade bread can seem daunting, but with a few tried and true tips, you’ll be baking perfect caramelized onion buns with confidence. These insights will help streamline your process and ensure a successful, delicious outcome every time:
- Prepare Onions Ahead: To simplify your baking day, caramelize the onions the night before. Once cooked and cooled, store them in an airtight container in the refrigerator. When ready to bake, just gently warm them (perhaps by tossing them with the mashed potatoes) to bring them back to room temperature before incorporating them into the dough. This small step significantly reduces active prep time on the day you bake.
- Freezing Dough for Future Enjoyment: Life gets busy, but that shouldn’t stop you from enjoying fresh homemade buns. After the initial rise and shaping into individual buns, you can freeze the unbaked dough for up to six weeks. Arrange the shaped buns on a baking sheet and freeze until solid, then transfer them to a freezer-safe bag. When you’re ready to bake, simply thaw the dough overnight in the refrigerator, then let it rise at room temperature until doubled in size before baking as directed. This makes impromptu burger nights incredibly easy!
- Creating the Ideal Rising Environment: A consistent, draft-free warm environment is key for a successful dough rise. A fantastic trick is to warm a clean tea towel in your dryer for a few minutes. Once warm, gently drape this towel over your plastic-wrapped buns. The warmth from the towel will help create a cozy, consistent temperature, encouraging the yeast to work its magic and ensuring a perfect second rise. Avoid direct heat that could “cook” the dough; gentle warmth is what you’re aiming for.
- Don’t Skimp on Kneading: Kneading is more than just mixing; it develops the gluten in the flour, which gives your buns their structure and elasticity. Aim for dough that is smooth and springs back when gently poked. If using a stand mixer, let it work for 7-10 minutes. If kneading by hand, it might take 10-15 minutes of continuous effort. This step is vital for soft, airy buns.
- The Right Water Temperature: Yeast is a living organism, and like all living things, it thrives in a specific environment. Ensure your warm water is between 100-110°F (38-43°C). Water that’s too cold won’t activate the yeast, and water that’s too hot can kill it, leading to a flat, dense bun. A kitchen thermometer is a small investment that makes a big difference.
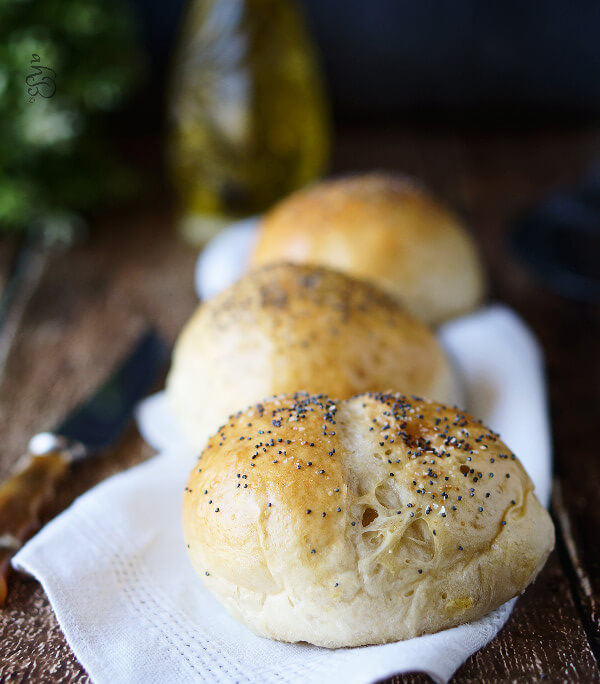

Caramelized Onion Buns
Soft and golden. Hearty and flavorful. These Caramelized Onion Buns are a match made in heaven for your hamburgers and sandwiches.
1 hour 30 minutes
15 minutes
1 hour
2 hours 45 minutes
12 buns
Amy D.
Ingredients
- 2 Tablespoons butter
- 1 large sweet onion, diced
- 1/4 teaspoon salt (for onions)
- 4 teaspoons instant yeast
- 1 cup warm water (100-110°F)
- 1/2 cup leftover mashed potatoes, warmed to the touch
- 1 Tablespoon sugar
- 1 Tablespoon melted butter (for dough)
- 3 1/2 cups unbleached all-purpose flour
- 1 1/2 teaspoon salt (for dough)
- 1 large egg, lightly beaten (for egg wash)
- 1 teaspoon poppy seeds, optional
Instructions
- To make the caramelized onions: Melt 2 tablespoons of butter in a skillet over medium heat. Add the diced onions and 1/4 teaspoon of salt. Sauté for 20 minutes or until the onions are a rich caramel color. Set aside to cool completely.
- Preheat your oven to 200 degrees Fahrenheit (this is for warming, not baking).
- In a large mixing bowl, gently stir together the instant yeast and warm water until the yeast is fully dissolved. Ensure the water temperature is between 100-110°F.
- Add the warmed mashed potatoes, cooled caramelized onions, sugar, and 1 tablespoon of melted butter to the yeast mixture. Beat with an electric mixer until all ingredients are well blended.
- Gradually add the unbleached all-purpose flour, one cup at a time, along with 1 1/2 teaspoons of salt. Continue mixing until the dough becomes stiff and harder to beat, typically after about 2-2.5 cups of flour.
- Turn the dough out onto a lightly floured surface. Knead in the remaining flour, sprinkling more as needed to prevent sticking, until the dough becomes smooth, elastic, and no longer sticky. This usually takes 5-7 minutes of continuous kneading.
- Shape the kneaded dough into a ball and place it in a lightly greased oven-safe bowl. Turn the dough once to ensure the top is also greased.
- Turn off the preheated oven. Cover the bowl with plastic wrap and place it inside the warm (but off) oven to rise for 30 minutes, or until the dough has doubled in size. This warm, draft-free environment is perfect for rising.
- Once risen, gently punch the dough down to release the air. Turn it out onto a lightly floured surface. Divide the dough into 12 equal portions. With floured hands, shape each portion into a smooth, round ball.
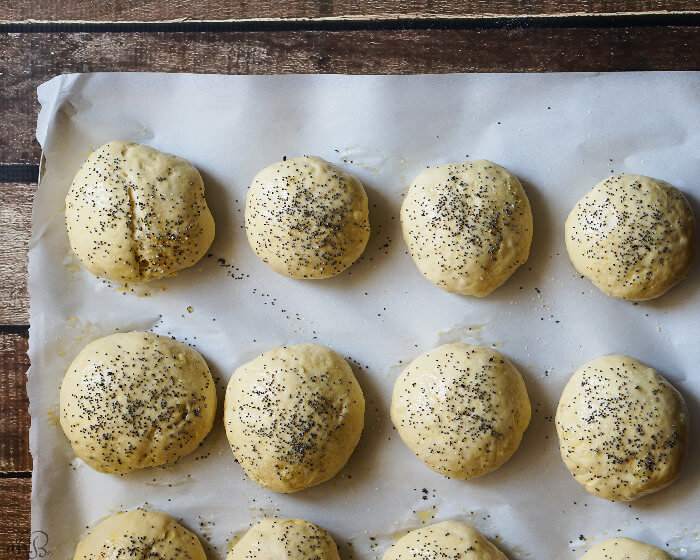
- Arrange the shaped buns onto a parchment-lined baking sheet, leaving some space between each bun.
- Preheat your oven to 350 degrees Fahrenheit.
- Cover the baking sheet again with plastic wrap and allow the buns to rise in a draft-free space for another 15-20 minutes, or until they have doubled in size.
- Just before baking, very gently brush the top of each risen bun with the lightly beaten egg wash. If desired, sprinkle with poppy seeds for added texture and visual appeal.
- Bake the buns in the preheated 350°F oven for 15-18 minutes, or until they are beautifully golden brown and sound hollow when tapped on the bottom.
- Transfer the baked buns to a wire rack to cool completely. Serve warm or at room temperature.
Did You Make This Recipe?
Please leave a review or a photo! I’d love to hear your feedback and see your delicious creations!
Leave a Review!
Serving Suggestions and Variations
These caramelized onion buns are incredibly versatile and can elevate a wide range of dishes. Beyond the classic burger, imagine them as the foundation for gourmet deli sandwiches. Pile on thinly sliced roast beef, a sharp cheddar, and a smear of horseradish sauce for a truly memorable meal. They also pair wonderfully with grilled chicken or pork loin, their savory-sweet notes complementing rich meats. For a breakfast treat, slice them open and toast lightly, then serve with scrambled eggs and a sprinkle of chives. You could even adapt this recipe by adding a touch of dried thyme or rosemary to the dough for an herbaceous twist, or a pinch of red pepper flakes for a subtle kick. Experiment with different types of cheese baked on top for an extra layer of flavor and texture.
The Joy of Baking and Sharing
Baking bread at home is a deeply rewarding experience, filling your kitchen with an aroma that speaks of comfort and care. These caramelized onion buns are more than just a delicious addition to your meal; they are a testament to the joy of creating something wholesome and flavorful with your own hands. There’s an immense satisfaction in seeing the dough transform, watching it rise, and finally pulling golden, aromatic buns from the oven. Share these buns with family and friends, and watch their faces light up. It’s a simple act of love that nourishes both body and soul, carrying forward traditions and creating new, cherished memories around the dinner table. Happy baking!
