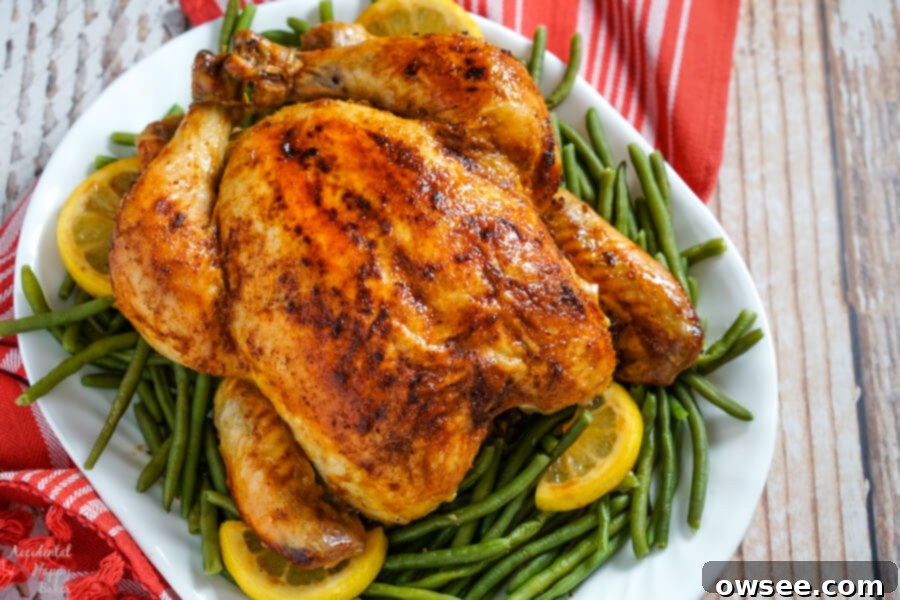
Master the Art of Perfect Oven Roasted Chicken: Tender, Juicy, and Effortlessly Flavorful
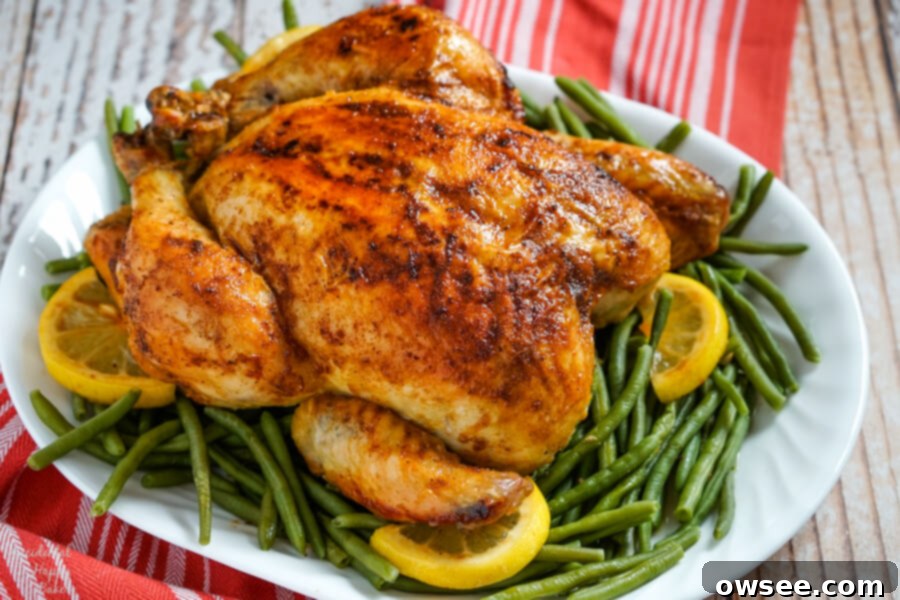
There’s an undeniable magic to a perfectly roasted chicken – tender, juicy, and infused with incredible flavor. Best of all, achieving this culinary triumph couldn’t be easier or more economical! This classic oven roasted chicken recipe is a foundational dish you’ll want to return to again and again, becoming a beloved staple in your kitchen.
I vividly remember my early days as a newlywed, venturing into the kitchen as a complete novice cook. The mere thought of cooking a whole chicken was incredibly intimidating. Tucking wings? Trussing legs? And then the dreaded carving! It all seemed far too complex and well outside my culinary comfort zone. For years, I avoided it, opting instead for pre-cut chicken pieces that felt more manageable.
It wasn’t until much later, as my family grew and I became more conscious of stretching our household budget and maximizing my precious time, that I finally embraced the art of roasting a whole chicken. To my surprise, I discovered just how remarkably easy and wonderfully versatile it truly is. What once seemed like an advanced culinary skill quickly became one of the most rewarding and straightforward meals I could prepare.
Why You Should Master Oven Roasted Chicken Today
If you’ve never roasted a whole chicken before, or if the idea still seems daunting, let me assure you that it’s a truly rewarding experience. Here are compelling reasons why this simple, delicious method deserves a permanent spot in your cooking repertoire:
- Incredibly Easy for Anyone: Despite any intimidating myths, roasting a whole chicken requires very little active effort. Most of the work is done by your oven! You don’t need any special culinary degrees or fancy kitchen gadgets. A basic roasting pan and a few simple ingredients are all it takes to achieve a masterpiece.
- Super Budget-Friendly: Buying a whole chicken is often significantly cheaper per pound than purchasing pre-cut parts. This makes it an excellent choice for feeding a family economically. Plus, the ability to create multiple meals from one chicken further enhances its value.
- Impressive Table Presentation: There’s something inherently beautiful about a golden-brown, whole roasted chicken on the dinner table. It creates a rustic, comforting, and visually appealing centerpiece that will undoubtedly impress your guests or delight your family.
- Abundant Meat for Large Meals: A single roasted chicken provides a generous amount of meat, perfect for a substantial family dinner. With a family of six, I often find myself with delicious leftovers, making meal planning for the week even easier.
- Versatile Leftover Chicken: One of the biggest advantages is the leftover chicken. Enjoy it for one meal, and then transform the remaining meat into entirely new dishes later in the week. Think chicken sandwiches, salads, tacos, enchiladas, stir-fries, or even a quick chicken noodle soup. It’s a fantastic way to extend your cooking efforts!
- Homemade, Nutritious Stock: Don’t let the carcass go to waste! After carving the meat, you can easily use the bones and drippings to make a rich, flavorful, and incredibly nutritious homemade chicken stock. This stock can be used as a base for soups, sauces, or gravies, adding depth of flavor that store-bought versions simply can’t match. (Here’s a great crockpot recipe for homemade stock.)
- Minimize Food Waste: By utilizing the whole chicken – from the succulent meat to the bones for stock – you significantly reduce food waste. This approach is not only environmentally conscious but also ensures you get the most value out of your purchase.
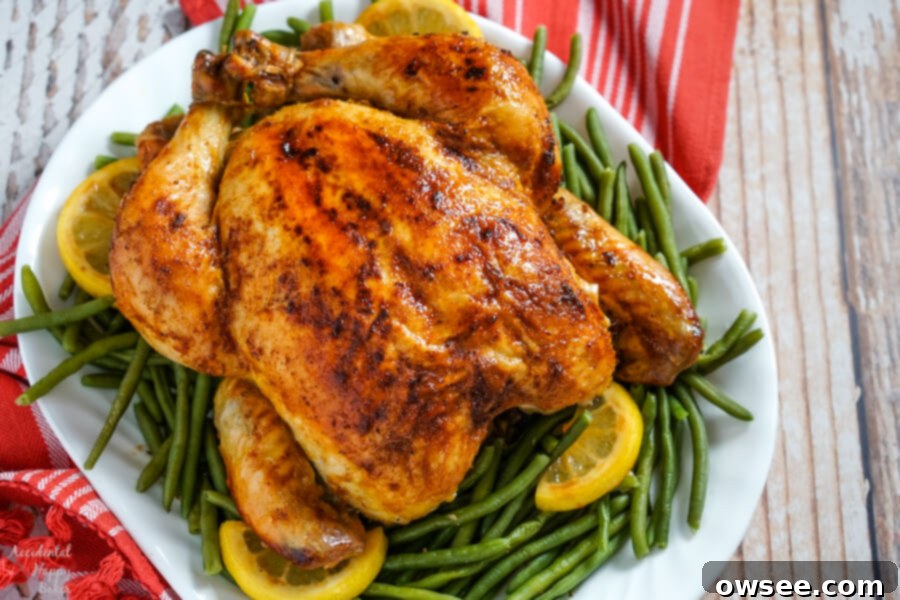
And then, there’s the most obvious reason of all: the utterly delectable taste! Imagine tender, juicy chicken, perfectly seasoned with bright lemon and aromatic rosemary. These classic flavors create a universally loved profile, ensuring this roasted chicken pairs beautifully with just about any side dish you can dream up – from simple roasted vegetables to creamy mashed potatoes or a fresh green salad.
How to Roast a Chicken in the Oven: A Simple Step-by-Step Guide
Roasting a whole chicken in the oven is much simpler than you might think. Follow these straightforward steps to achieve a perfectly tender and juicy result every time:
Step 1: Prepare the Chicken
Begin by carefully removing the giblets, neck, and liver from inside the chicken cavity. These are often packaged in a small bag, but sometimes they might be loose. If you find them, simply discard them (or save them for making stock if you’re feeling adventurous!). Once emptied, give the chicken a quick rinse under cold water, both inside and out.
Step 2: Clean and Pat Dry
After rinsing, inspect the chicken for any remaining pin feathers, loose excess skin, or fatty deposits. It’s common to find a stray feather or two that the processing missed; these are easy to pull out with your fingers and discard. Use a pair of kitchen shears to trim off any unwanted flaps of skin or excessive fat, especially around the cavity opening. Finally, and this is a crucial step for crispy skin, thoroughly pat the entire chicken dry with paper towels. A dry surface helps the skin crisp up beautifully in the oven.
Step 3: Choose Your Roasting Pan
Place your prepared chicken in a suitable roasting pan. My personal favorite for perfectly roasted chicken is a cast iron skillet. It retains heat exceptionally well, leading to wonderfully even cooking and a fantastic sear on the bottom. However, a standard 13×9 inch baking dish or a dedicated roasting pan with a rack will also work perfectly. If you don’t own a cast iron skillet, I highly recommend investing in one; they are incredibly versatile kitchen workhorses and can often be found for under $40 on Amazon.
For those interested in a hands-off approach, you can also roast a chicken in a slow cooker! For specific instructions on that method, read this post.
Step 4: Season Under the Skin
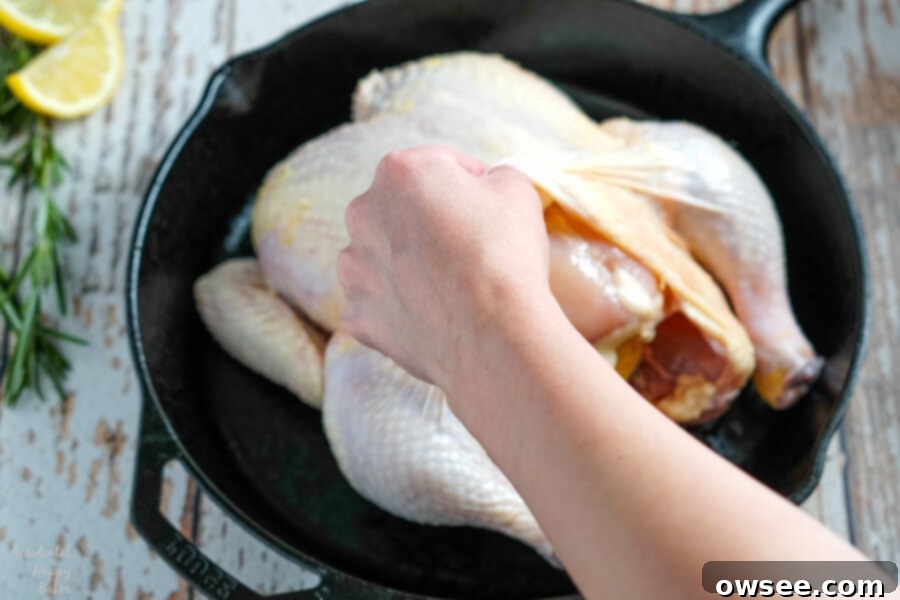
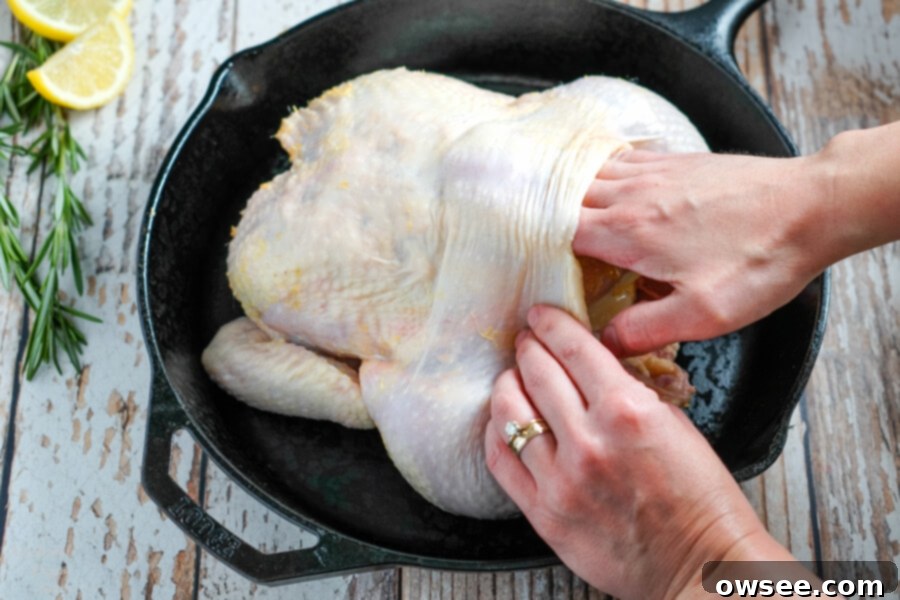
This step might feel a bit unusual the first time you do it, but it’s a game-changer for flavor! Gently slide your hand between the skin and the meat of the chicken, starting from the cavity opening and moving towards the breast and thigh areas. The goal is to loosen the skin without tearing it, creating pockets. Why do this? So you can rub your seasonings directly onto the meat itself, ensuring a much more flavorful and aromatic roast chicken, not just seasoned skin.
Step 5: Apply Seasoning and Aromatics
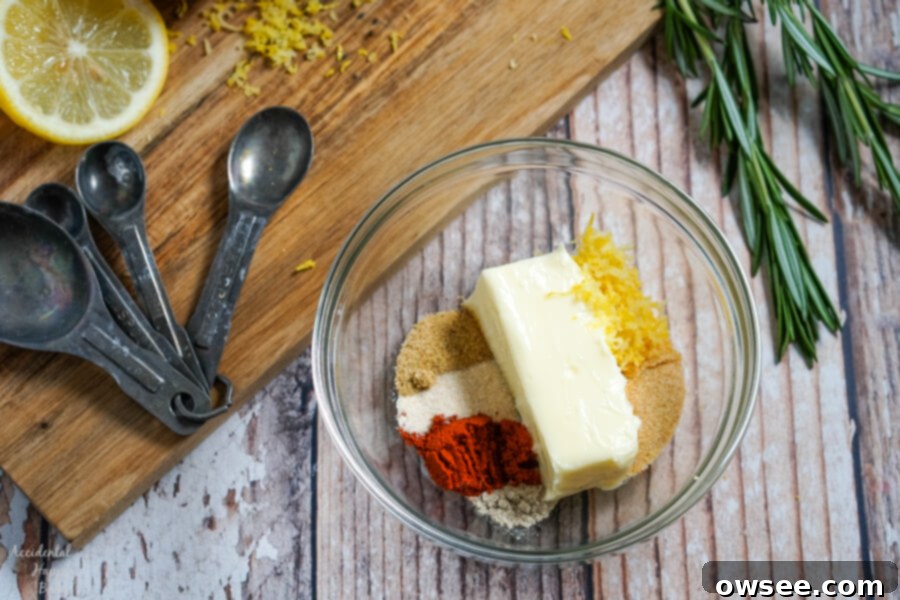
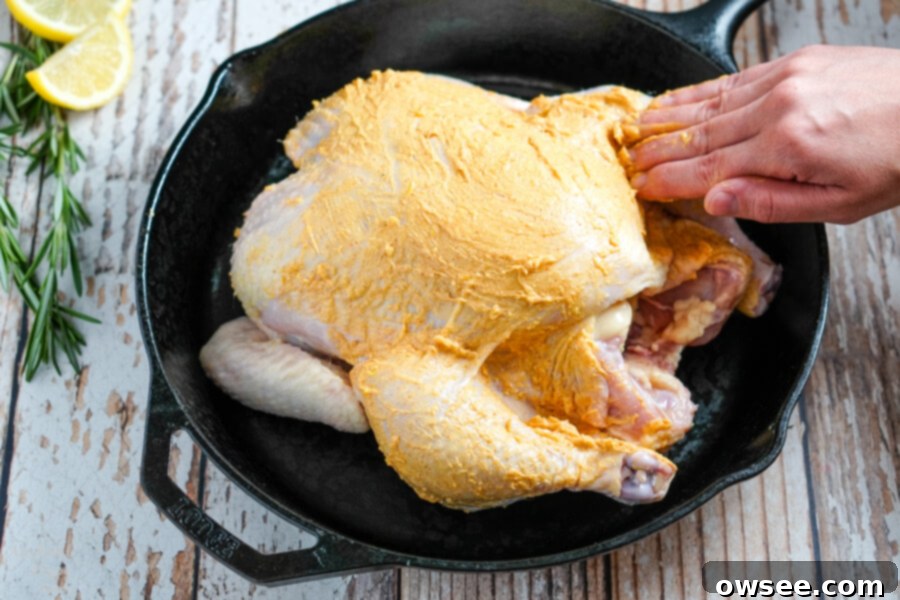
In a small bowl, mix your chosen seasonings. For this classic recipe, we’ll use a spiced butter mixture – the butter helps the skin crisp and turn golden brown. Take your seasoned butter and generously rub it both under the loosened skin (getting it directly onto the breast meat is key!) and all over the outside of the chicken skin. This dual application ensures maximum flavor and a beautifully golden exterior. Now is also the time to add any aromatics to the chicken’s cavity. Our recipe calls for fragrant lemons and fresh rosemary, but garlic cloves, onion wedges, or even a simple stuffing mixture are also excellent choices for adding internal moisture and flavor.
Step 6: Truss (Optional)
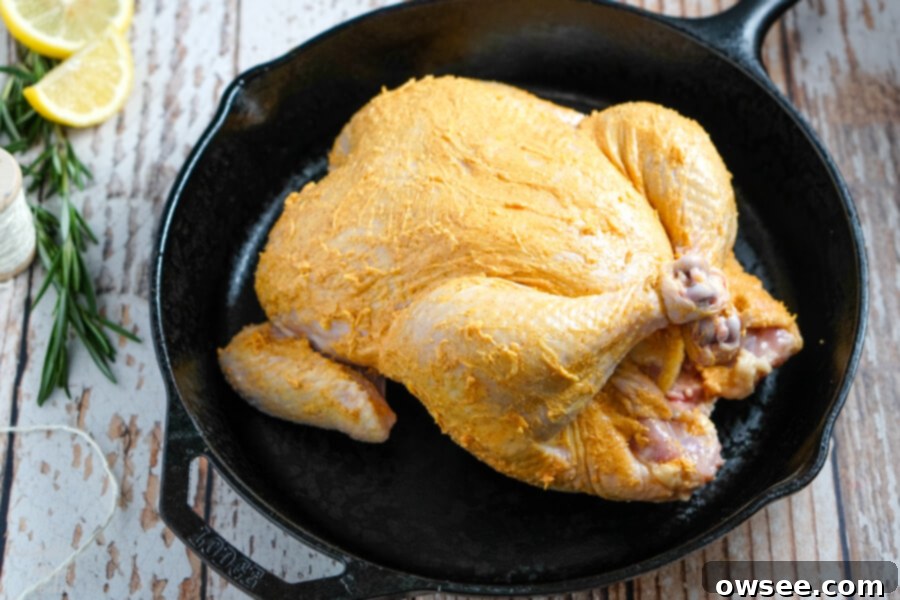
Trussing the chicken is simply a fancy term for tying its legs together. You can use kitchen twine, unflavored and unwaxed dental floss, or even plain old sewing thread if you have a sewing kit handy. The main reasons for trussing are to help the chicken roast more evenly (by keeping the legs closer to the body) and to create a neater, more appealing presentation. While it can enhance the final look and evenness, this step is entirely optional, especially for your first few attempts. Don’t let it deter you if you don’t have the right materials or prefer to skip it.
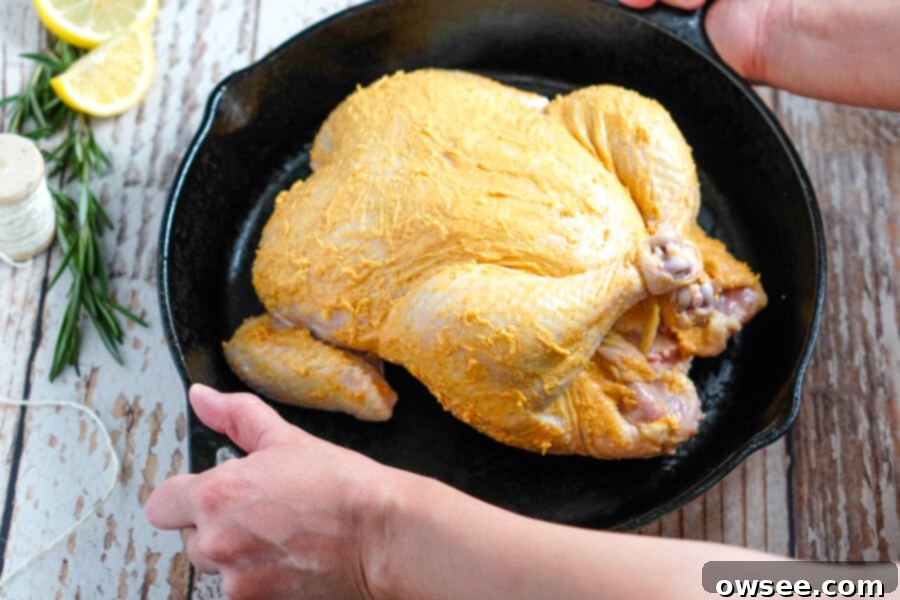
Step 7: Roast to Perfection
Now for the magic! Place your prepared chicken in a preheated oven and let it roast. The butter and seasonings will work together to create that irresistible golden-brown, crispy skin. Keep an eye on your chicken; sometimes it can brown a little too quickly. If you notice the skin getting too dark about halfway through the roasting time, simply cover the chicken loosely with a sheet of aluminum foil. This will prevent further browning while allowing the meat to continue cooking.
The ultimate indicator that your chicken is ready is its internal temperature. Use a reliable meat thermometer inserted into the thickest part of the thigh, making sure not to touch the bone. The chicken should reach an internal temperature of 175 degrees Fahrenheit (approximately 80 degrees Celsius) for safe and delicious consumption.
Step 8: Rest, Carve, and Serve
Once the chicken reaches the correct temperature, remove it from the oven and, crucially, let it rest for 10-15 minutes before carving. This resting period allows the juices to redistribute throughout the meat, ensuring every bite is tender and succulent. Skipping this step can lead to a dry chicken!
As for carving, it’s a skill that improves with practice! I confess I’m not the most graceful carver, so here’s an excellent link that can explain and demonstrate it far better than I ever could. Don’t worry if your first few attempts aren’t perfect; the delicious taste will more than make up for any carving imperfections.
Enjoying Your Perfectly Roasted Chicken
And that’s all there is to it! It might seem like a detailed list of steps, and that first time or two, it might feel a little awkward. But I promise, with each roast, you’ll gain confidence and speed. Soon enough, you’ll be an absolute expert at roasting a whole chicken, effortlessly producing a stunning and flavorful meal.
Boom, roasted! Get ready to enjoy the tender, juicy, and incredibly satisfying results of your culinary efforts.
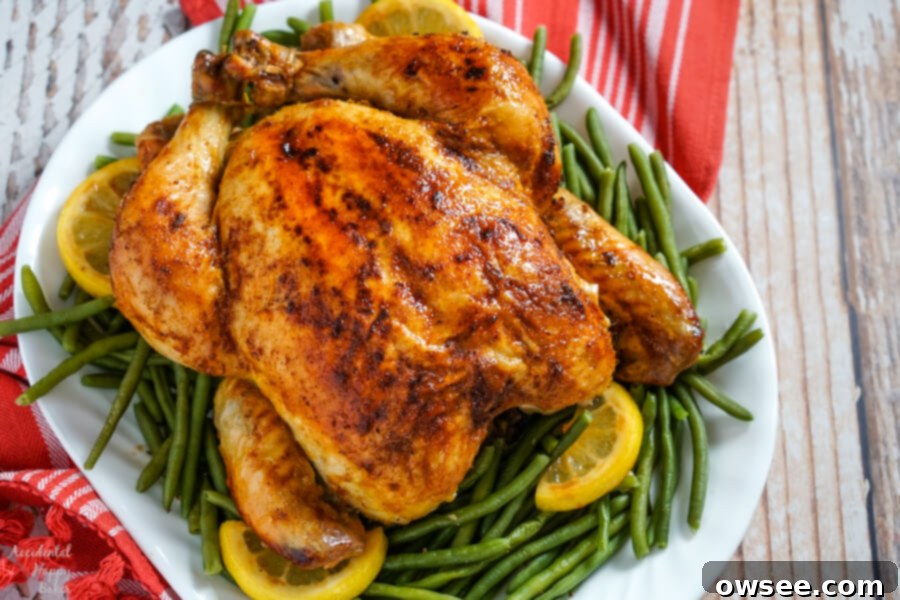
Oven Roasted Chicken
Print
Rate
SaveSaved!
Ingredients
- 1 whole fryer
- 1 lemon
- 2 sprigs rosemary
- 1/3 cup butter (softened)
- 1/2 teaspoon seasoned salt
- 1/2 teaspoon paprika
- 1/2 teaspoon onion powder
- 1/2 teaspoon garlic powder
- 1/4 teaspoon white pepper
Instructions
-
Preheat the oven to 375 degrees. Remove the giblets from the chicken. Rinse the chicken and pat dry. Zest the lemon.
-
Combine the butter with the seasonings and lemon zest. Loosen the skin on the chicken. Rub the seasoned butter under the skin of the chicken and all over the outside of the chicken.
-
Quarter the lemon and place the lemon and rosemary inside the cavity of the chicken. Tie the legs together, if desired.
-
Bake at 375 degrees for 1 hour to 1 hour 30 minutes or until the juices run clear and the internal temperature of the chicken is 175 degrees.
-
If the chicken is browning too quickly, loosely cover with foil.
-
After roasting, let the chicken rest 10-15 minutes before carving.
Nutrition

Did you make this recipe?
Please leave a comment or review below! I’d also love to see what you’ve been making on Instagramor Facebook.
Accidental Happy Baker is a participant in the Amazon Services LLC Associates Program, an affiliate advertising program. As an Amazon Associate I earn from qualifying purchases at amazon.com.
