Easy Homemade Hawaiian Rolls: The Best 4-Ingredient Sweet Bread Recipe
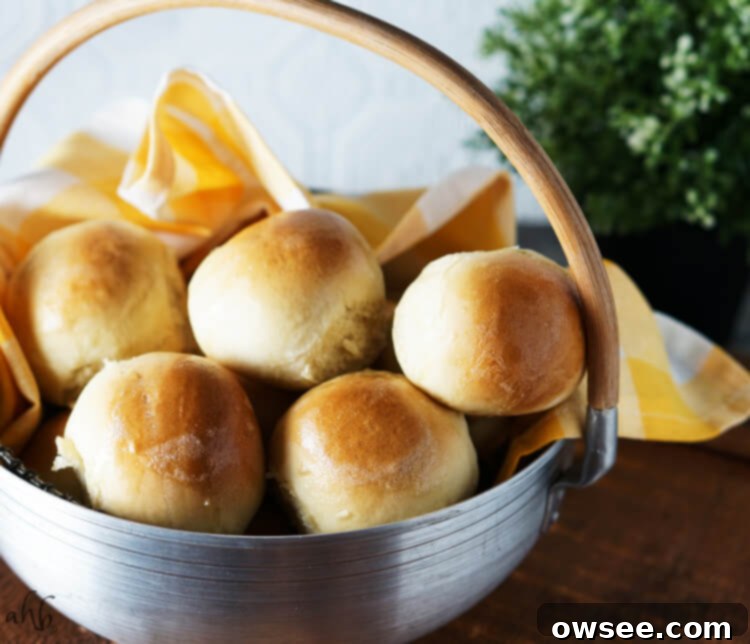
Prepare to be amazed by the incredible softness and delightful sweetness of these homemade Hawaiian rolls. Infused with a subtle pineapple flavor, these rolls are not just an amazing side for any meal but also perfect for crafting delicious slider buns. What makes this recipe truly special? It requires just four simple ingredients and is surprisingly easy to make, even for novice bakers. Say goodbye to store-bought and hello to your new favorite homemade sweet rolls!
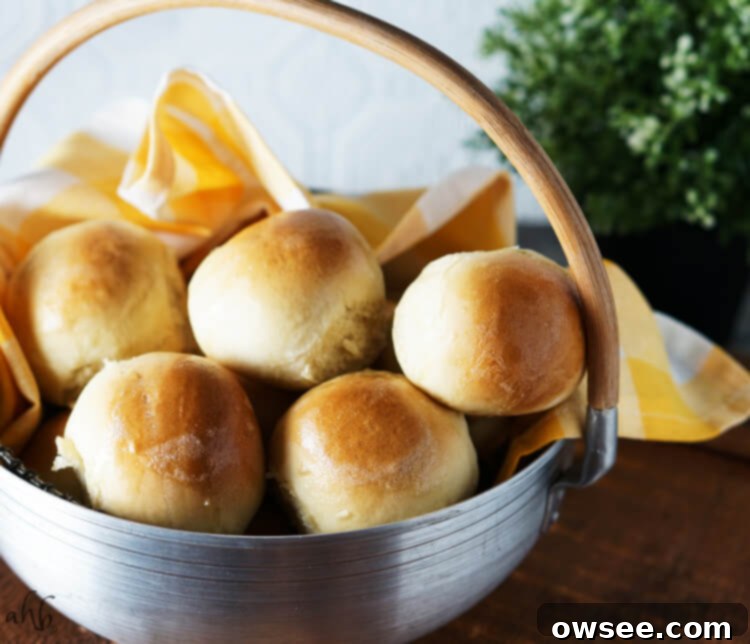
You might recall seeing these delectable rolls pictured with my Cuban ham salad in a previous post – well, here they are! These Hawaiian sweet rolls have quickly become a cherished family favorite for several compelling reasons:
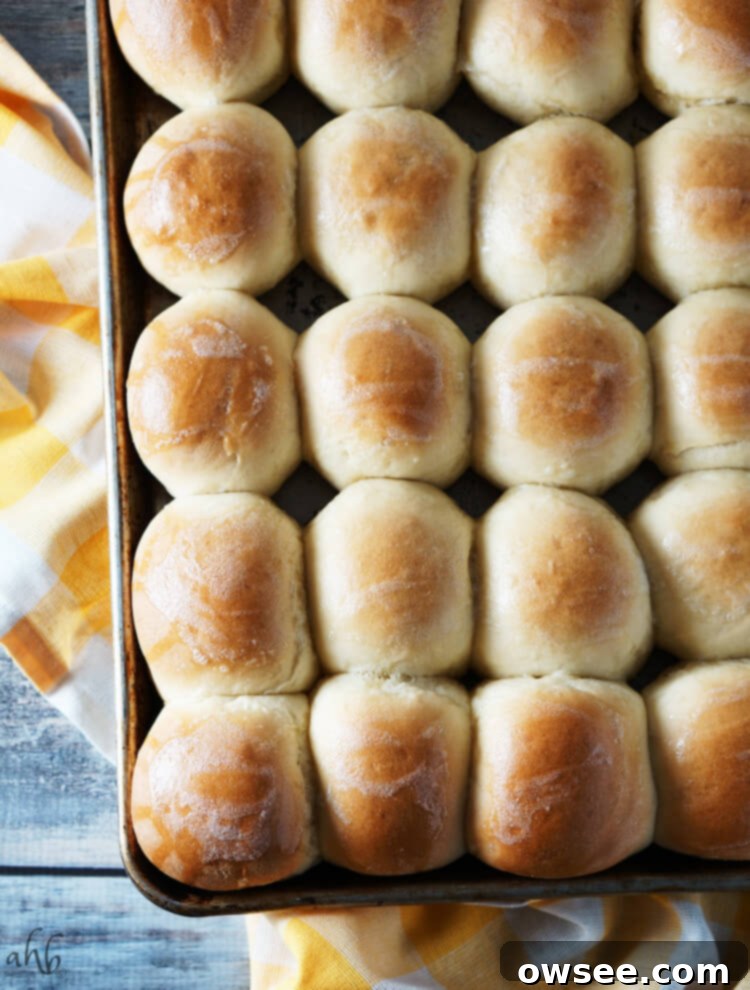
- **Simplicity at Its Best:** With only 4 core ingredients, this recipe makes baking from scratch incredibly approachable and fuss-free. No complicated steps or obscure items needed!
- **Generous Yield for Every Occasion:** This recipe makes a substantial batch of around 30 rolls. This quantity is ideal for large family gatherings, holiday meals, or simply ensuring you have plenty for leftovers. For smaller households, it means you can easily bake half now and freeze the rest for fresh-baked goodness later!
- **Incredibly Versatile:** While these are truly exceptional as classic dinner rolls, their slightly sweet and fluffy nature makes them the perfect foundation for gourmet slider buns. Think pulled pork, ham and cheese, or even mini-burgers!
The Secret to Authentic Hawaiian Roll Flavor: Choosing the Right Pineapple Cake Mix
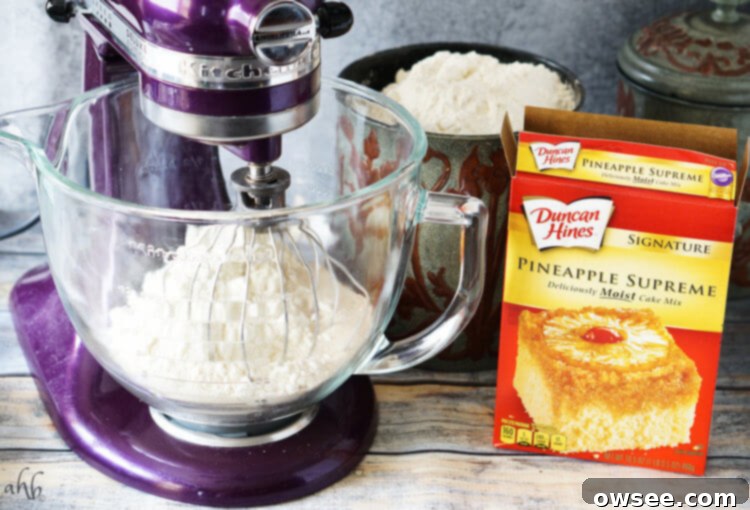 Because this Hawaiian roll recipe relies on only four essential ingredients – pineapple cake mix, yeast, water, and all-purpose flour – the quality and type of pineapple cake mix you choose are paramount. The key is to select a high-quality brand that explicitly lists dried pineapple juice in its ingredient list. When warm water is added to the mix, this dried juice reconstitutes, releasing that distinctive, sweet, and tangy pineapple flavor that defines authentic Hawaiian rolls. Without it, your rolls will lack the depth of flavor you’re aiming for.
I highly recommend using **Duncan Hines** brand for this recipe, as it consistently delivers on the dried pineapple juice component. You might assume all pineapple cake mixes would include this crucial ingredient, but surprisingly, many do not. It’s a critical detail that makes all the difference! So, please take a moment to double-check the ingredient list of your chosen cake mix before you begin baking to ensure you get that perfect Hawaiian essence.
Baking Perfect Hawaiian Rolls: Tips for Success
Achieving those perfectly soft, fluffy, and golden Hawaiian rolls is simpler than you think with a few key techniques. Let’s walk through the process to ensure your rolls are a showstopper every time.
The First Rise: Knowing When Your Dough is Ready
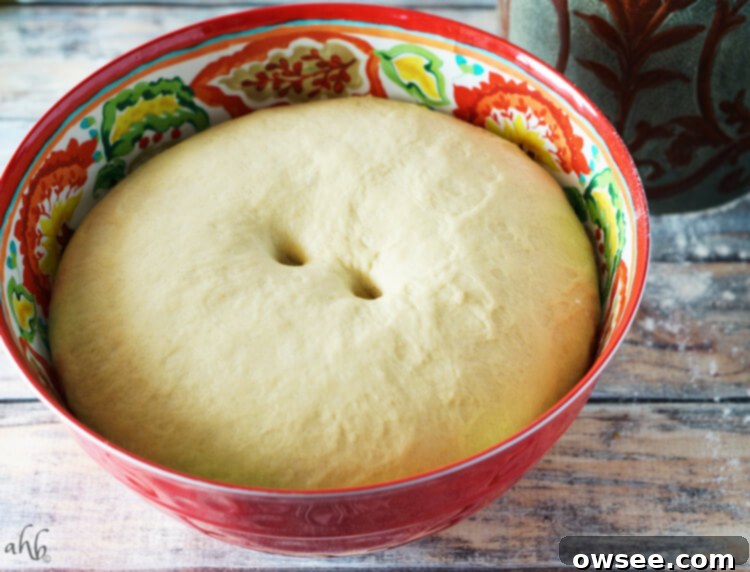
After kneading your dough to a smooth, elastic consistency and oiling it, cover it tightly and place it in a warm spot. This warmth is crucial for the yeast to activate and make the dough rise. You’ll know the dough has sufficiently risen for its first proof when it has roughly doubled in size. A foolproof test is the “poke test”: gently press two fingers into the dough. If the indentations remain and don’t spring back immediately, your dough is perfectly proofed and ready for the next step.
Punching Down and Shaping Your Rolls
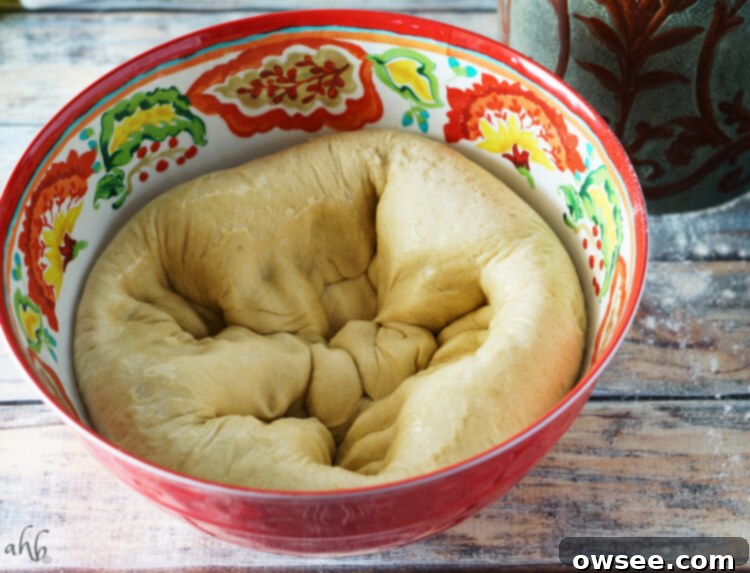
Once your dough has risen, the satisfying act of punching it down helps to release the trapped gases, resulting in a finer, more even texture in your final rolls. After punching, divide the dough into approximately 30 equal pieces. For uniform rolls, you might want to use a kitchen scale. Each piece should be about 2 inches in diameter. Shape these pieces into smooth, round balls, tucking the edges underneath to create a taut surface on top. Arrange them on a baking sheet, leaving adequate space between each roll.
The Second Rise: Final Proof for Fluffiness
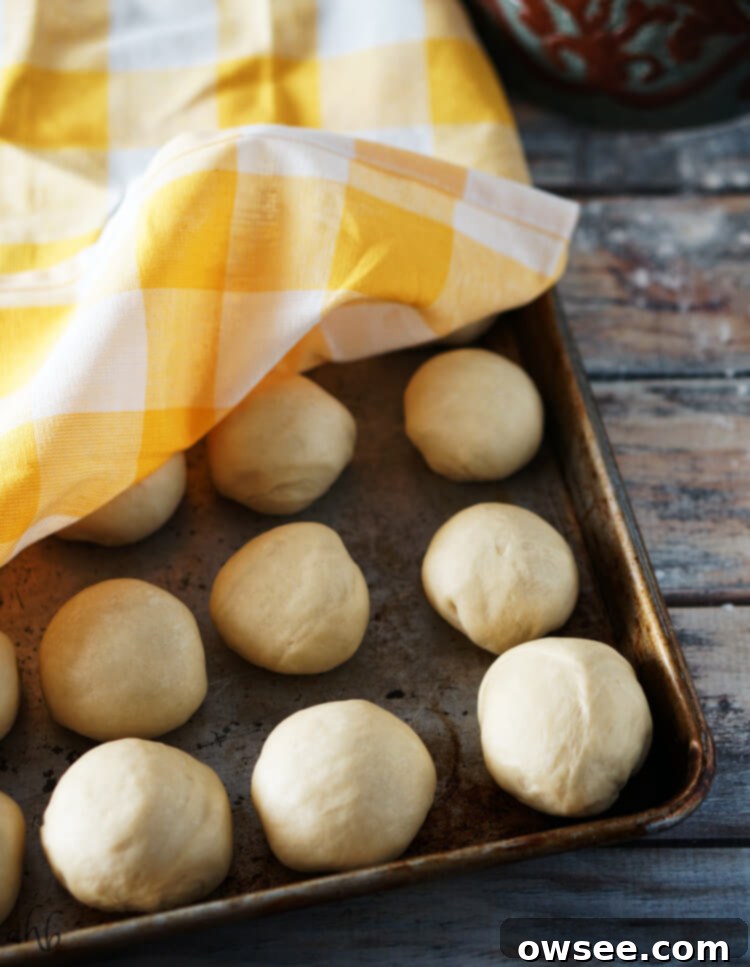
Cover your shaped rolls with a clean towel and return them to a warm spot for a second rise, typically another 30 minutes. During this time, they will puff up again, becoming noticeably larger and closer together on the baking sheet. This second rise is crucial for developing the light, airy texture that Hawaiian rolls are famous for.
Baking and Finishing Touches
Preheat your oven to 350 degrees Fahrenheit (175°C). Bake the rolls for approximately 25 minutes, or until they turn a beautiful golden brown on top. To check for doneness, lightly tap a roll; it should sound hollow. As soon as you remove them from the oven, brush the warm rolls generously with melted butter. This simple step adds an irresistible sheen, enhances flavor, and contributes to that tender crust. Allow them to cool slightly before serving – if you can resist digging in immediately!
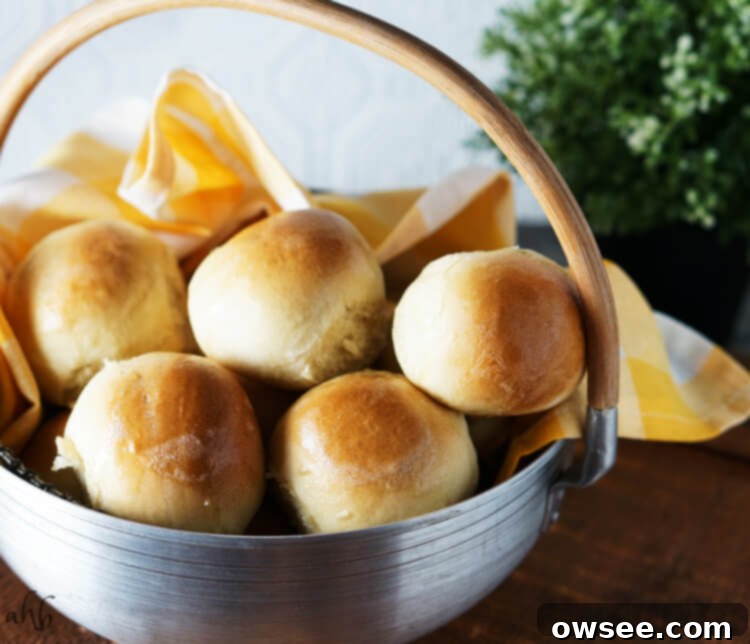
Easy Homemade Hawaiian Rolls
Print
Rate
SaveSaved!
Ingredients
- 1 16.5 ounce pineapple cake mix
- 7 teaspoons instant yeast
- 2 1/2 cups warm water
- 4 1/2 cups all purpose flour (reserve 1/2 cup to knead in)
Instructions
-
In a large bowl, combine the pineapple cake mix, instant yeast, and warm water. Mix on low speed until just combined. Ensure no dry spots of cake mix remain.
-
Gradually add the all-purpose flour, one half cup at a time, with your mixer running on low. Continue until the dough begins to come together and becomes too thick for the mixer to handle easily. At this point, remove the dough from the mixer and hand-stir in the remaining flour, *reserving* the last 1/2 cup. The dough should still be slightly sticky, but manageable. Turn the dough out onto a lightly floured surface and knead in the reserved 1/2 cup of flour. Knead vigorously for a full 8 minutes, or until the dough transforms into a smooth, elastic, and non-sticky ball. Lightly oil a large clean bowl. Place the dough into the bowl, then flip it over once to ensure its entire surface is coated in oil. Cover the bowl tightly with plastic wrap and then with a clean kitchen towel. Place the covered bowl in a warm, draft-free spot to rise for 30 minutes. The dough should approximately double in size.
-
Once the dough has doubled in size, gently punch it down to release the air bubbles. Turn the dough out onto your work surface and divide it into about 30 equal pieces. For best results, aim for pieces roughly 2 inches in diameter. Roll each piece into a smooth, round ball. Arrange the shaped rolls on a baking sheet, leaving some space between each one to allow for further rising. Cover the baking sheet with a clean towel and return it to a warm spot for a second rise, lasting another 30 minutes. The rolls should noticeably expand and look puffy.
-
Preheat your oven to 350 degrees Fahrenheit (175°C). Bake the rolls for 25 minutes, or until they are beautifully golden brown on top and sound hollow when lightly tapped. Immediately after removing them from the oven, brush the tops of the hot rolls with melted butter. Allow the rolls to cool on the baking sheet for a few minutes before transferring them to a wire rack to cool completely, or serve warm.
Notes
To enjoy fresh Hawaiian rolls anytime, you can easily freeze them. Immediately after the kneading stage (before the first rise), divide and shape the dough into individual rolls, just as if you were going to bake them. Place these unbaked, shaped rolls onto a parchment-lined baking sheet. Tightly cover the dough with plastic wrap that has been lightly sprayed with non-stick cooking spray to prevent sticking. Place the entire baking sheet into the freezer until the rolls are completely frozen solid. Once frozen, remove the rolls from the baking tray and transfer them to a large, airtight freezer-safe Ziploc bag. Store the rolls in the coldest part of your freezer (usually the back, not the door) for up to 2 weeks.
**To Bake Frozen Rolls:** When you’re ready to enjoy them, remove the desired number of frozen rolls from the bag and place them on a clean baking sheet. Allow them to thaw and rise in a warm spot for approximately 4-5 hours, or until they have doubled in size. Once fully proofed, bake them in a preheated oven at 350°F (175°C) for 25 minutes, following the regular baking instructions. This method ensures you always have warm, homemade Hawaiian rolls ready to impress!
Nutrition
Frequently Asked Questions About Hawaiian Rolls
What gives Hawaiian rolls their distinct sweetness and flavor?
The signature sweetness comes from the pineapple cake mix, particularly when it contains dried pineapple juice. This rehydrates during mixing, infusing the dough with a fruity, sweet, and slightly tangy essence that sets Hawaiian rolls apart from other sweet breads.
Can I make these rolls without a stand mixer?
Yes, absolutely! While a stand mixer makes the kneading process easier, you can definitely mix and knead the dough by hand. You’ll need a large bowl for initial mixing and then a clean, floured surface for kneading. Be prepared for a good arm workout for the full 8 minutes to achieve that smooth, elastic dough.
Why is it important to check for dried pineapple juice in the cake mix?
This is crucial because the dried pineapple juice is the primary source of the authentic Hawaiian flavor in this simplified 4-ingredient recipe. Many pineapple cake mixes rely on artificial flavors or only a tiny amount of real fruit, which won’t give you the desired depth of taste. Always check the ingredient list for “dried pineapple juice” to ensure the best flavor profile.
How do I know if my yeast is active?
When you add the instant yeast to the warm water (along with the cake mix), it should start to become foamy or bubbly within 5-10 minutes. If you don’t see any activity, your water might not have been warm enough (or too hot), or your yeast might be old. Active yeast is essential for a good rise and fluffy rolls.
Can I use active dry yeast instead of instant yeast?
Yes, you can. If using active dry yeast, you’ll want to “proof” it first. Combine the yeast with a small amount of the warm water and a pinch of sugar (from the cake mix) and let it sit for 5-10 minutes until foamy. Then add the rest of the ingredients. You might also need to increase the yeast amount by about 25% (so approximately 8.75 teaspoons).
My dough didn’t rise. What went wrong?
The most common reasons for dough not rising are: 1) Inactive yeast (see above), 2) Water that was too cold or too hot (ideal temperature is around 105-115°F or 40-46°C), or 3) The dough was placed in a cold spot. Ensure your rising spot is warm and draft-free. Sometimes it just needs more time if the environment is a bit cooler.
How can I make my rolls even sweeter or add more pineapple flavor?
While the recipe is designed for a balanced sweetness, you could lightly brush the baked rolls with a simple glaze made from powdered sugar and a touch of pineapple juice or milk. For more intense pineapple flavor, you could include a small amount of crushed pineapple (well-drained) into the dough during the last few minutes of kneading, but this might affect the dough consistency slightly.
More Homemade Bread & Roll Recipes to Savor
If you’ve fallen in love with the joy of baking your own bread and rolls, here are a few more delightful recipes from my collection that you absolutely must try. Each offers a unique flavor and texture profile, perfect for expanding your baking repertoire:
Happy baking, and enjoy your incredibly easy and delicious homemade Hawaiian rolls!
