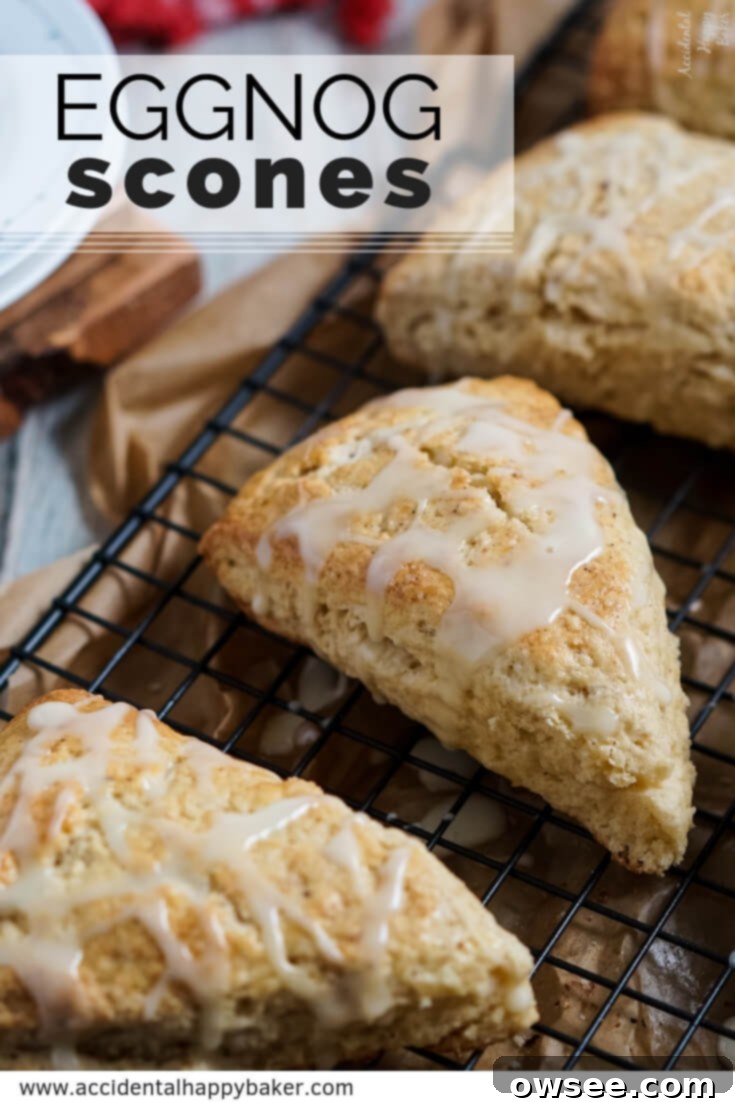
Festive Eggnog Scones: The Perfect Holiday Breakfast Treat & Easy Recipe
The holiday season is synonymous with warmth, joy, and, of course, delightful seasonal treats. Among these, eggnog holds a special place, with its rich, creamy texture and distinct blend of vanilla and nutmeg. But why limit this beloved beverage to just a drink? These **Eggnog Scones** beautifully capture the essence of the season, transforming eggnog into a star ingredient for a truly special baked good. With their inviting aroma, tender crumb, and a luscious eggnog glaze, these scones are more than just a pastry; they’re a celebration in every bite, perfect for enjoying with your favorite hot beverage on a crisp winter morning or as a festive addition to any holiday brunch spread.
Elevating the classic scone, eggnog infuses these treats with its signature rich egginess, a sweet vanilla edge, and a comforting splash of nutmeg spice. Each bite is a harmonious blend of familiar holiday flavors, making them an irresistible indulgence. Topped with a silky, creamy eggnog glaze, these scones aren’t just a snack; they’re a fun and festive experience, designed to bring cheer and deliciousness to your winter gatherings. Get ready to bake a batch that will impress everyone and fill your home with the enchanting scents of the holidays.
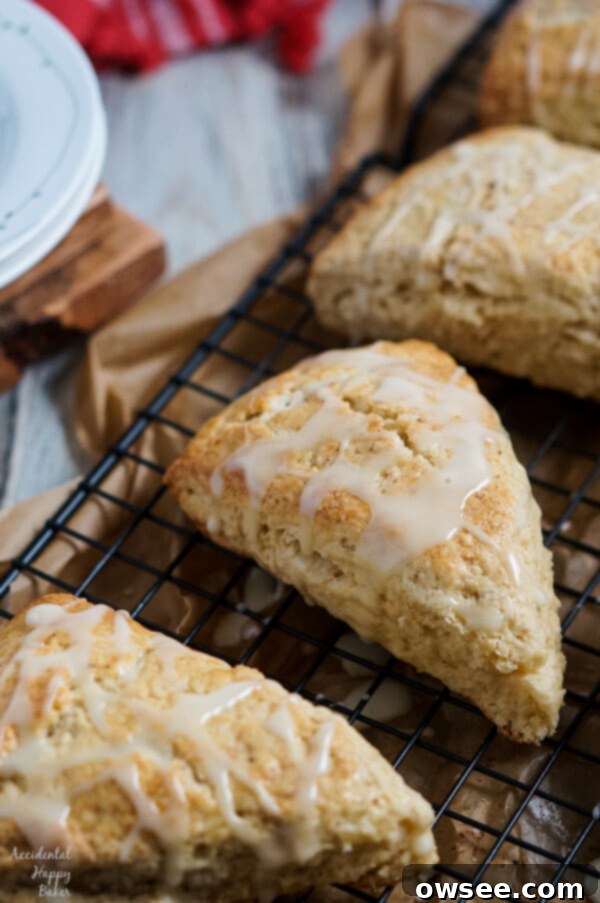
As the festive season draws near, my thoughts, like many, turn to the joy of gathering and the delicious food that brings us all together. While the last few weeks have seen me sharing tempting recipes like cranberry crumb muffins, and now these wonderful **eggnog scones**, my kitchen agenda is truly focused on one thing: crafting delightful **make-ahead breakfast recipes** for Christmas morning! Next on my list is an easy and elegant ham and asparagus strata, perfect for stress-free holiday entertaining. Because let’s face it, while presents are important, a delicious and easy Christmas breakfast sets the tone for a truly magical day.
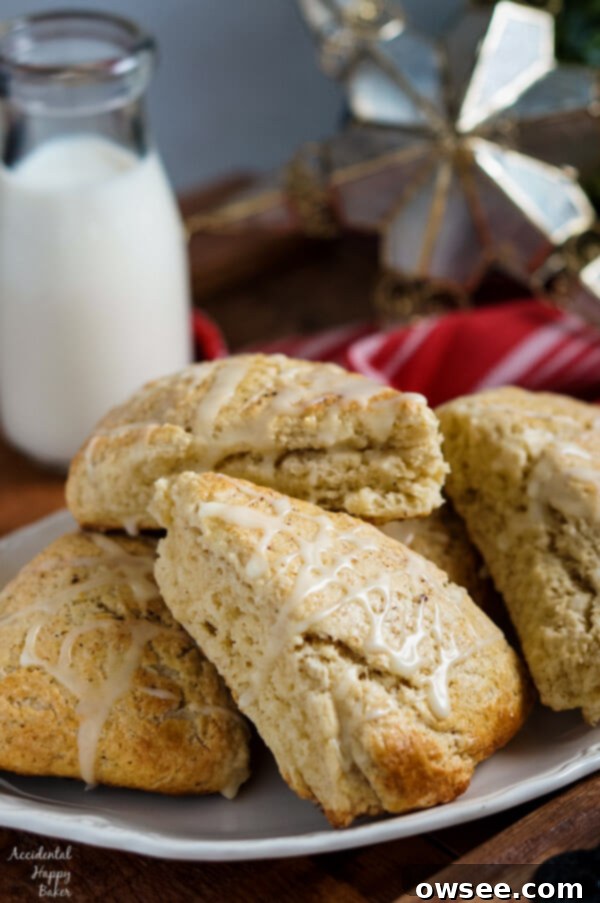
Why Eggnog Scones are the Quintessential Christmas Breakfast
The holiday buzz is almost palpable, and while my gift shopping might still be a work in progress (and the wrapping, well, that’s a story for another day!), my plan for the most crucial aspect of Christmas — the food — is firmly in place! (I’m only half-joking, of course.) In this wonderfully busy time of year, it’s easy to get caught up in endless to-do lists. And while I agree that the true spirit of Christmas isn’t about the food, there’s an undeniable magic in how a shared meal, especially a festive breakfast, brings families and friends closer together. These **Christmas Eggnog Scones** embody that spirit, offering a delightful way to gather around the table and create lasting memories.
The Magic of Baking with Eggnog: A Flavor Transformation
Do you find yourself drawn to the creamy allure of eggnog, or are you firmly in the “love it or hate it” camp? I know eggnog can be a polarizing subject for many. Some people eagerly await its return to store shelves each year, while others simply can’t stand the thought of it. Whichever side you find yourself on, I want to share a little secret with you, even you eggnog skeptics: eggnog truly shines as a baking ingredient.
When used in baked goods, eggnog undergoes a delightful transformation. Its characteristic rich egginess, sweet vanilla notes, and warming splash of nutmeg spice mellow out, becoming more subtle and integrated into the overall flavor profile. Instead of overpowering, it adds a complex and undeniably sublime undertone of flavor that elevates ordinary recipes into something extraordinary. In these **Holiday Scones**, eggnog contributes moisture, tenderness, and that unmistakable festive taste without being overwhelming, making them a perfect introduction to baking with this seasonal delight.
Crafting Your Perfect Eggnog Scones: A Step-by-Step Guide
Making these **homemade Eggnog Scones** is not only simple but also a wonderfully fun activity, perfect for involving little helpers in the kitchen. The process is straightforward, ensuring delicious results every time.
Essential Ingredients for Fluffy Scones
To achieve the tender, flaky texture characteristic of excellent scones, quality ingredients are key. You’ll need unbleached all-purpose flour, sugar, salt, baking powder for lift, and, of course, a generous half teaspoon of ground nutmeg to enhance the eggnog’s spice profile. Crucially, your butter and eggnog should be cold – this is vital for creating those desired flaky layers!
Mixing the Dry Ingredients and Cutting in Butter
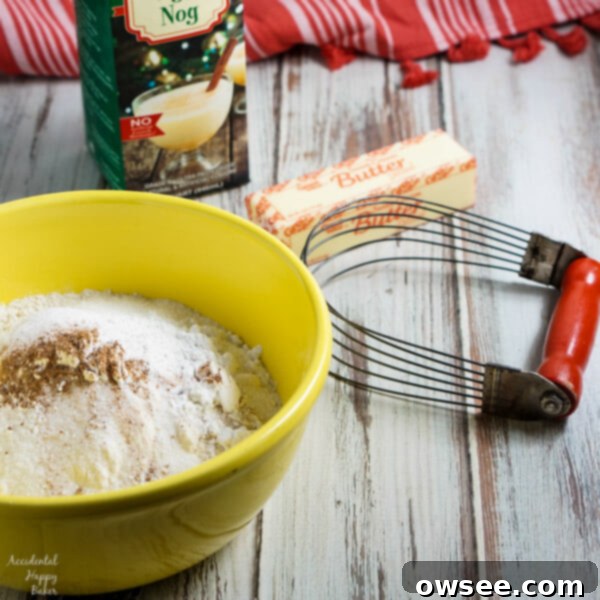
Begin by combining your dry ingredients: the flour, sugar, salt, baking powder, and nutmeg in a large mixing bowl. Give them a good whisk to ensure everything is evenly distributed. Next, it’s time for the butter. Cutting in cold butter is essential for flaky scones. You can use a pastry blender, a fork, or for a truly hands-on (and slightly messy!) experience, just your fingertips. The goal is to work the butter into the flour mixture until it resembles coarse crumbs with some pea-sized pieces remaining. This messy step is part of the charm and ensures pockets of butter that will create steam and flakiness during baking.
Incorporating Liquid and Forming the Dough
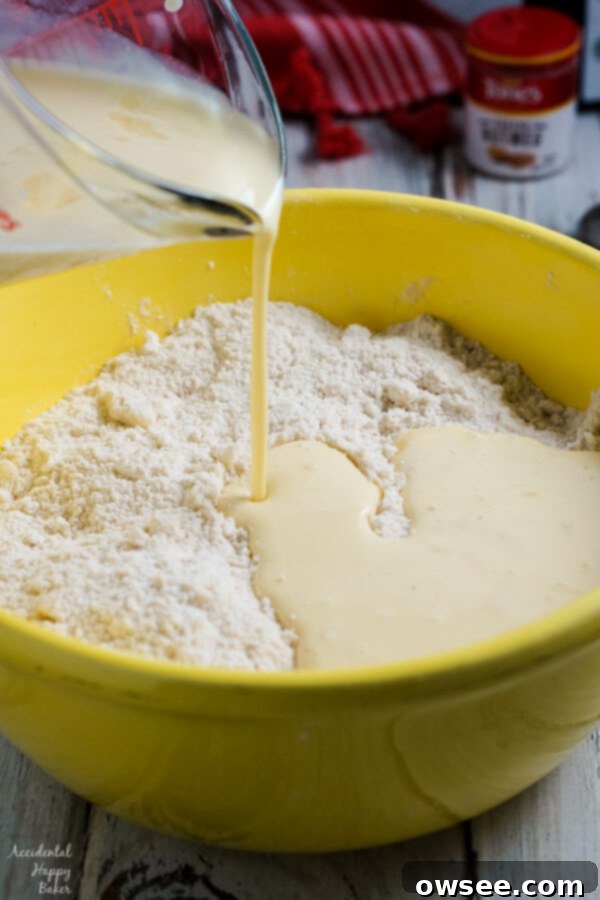
In a separate small liquid measuring cup, whisk together the cold eggnog, vanilla extract, and one large egg until well combined. Create a small well in the center of your dry ingredients mixture and pour in the liquid. Stir gently with a spoon or your hands, just until the ingredients barely come together and a shaggy dough forms. Be careful not to overmix, as this can lead to tough scones. The less you handle the dough, the more tender your **winter scones** will be.
Shaping and Baking for Golden Perfection
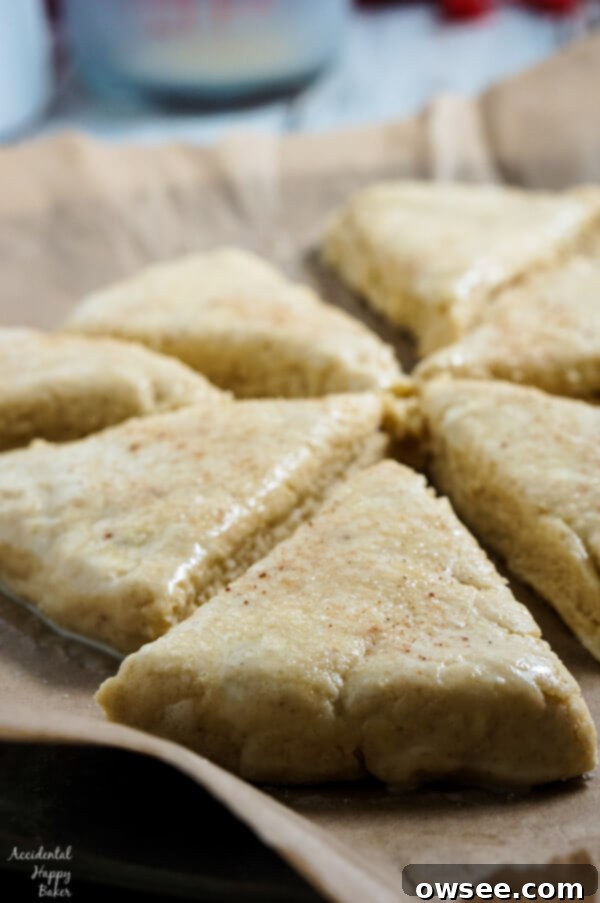
Now for the most satisfying part: shaping the dough! Turn the shaggy dough out onto a lightly floured surface. A light kneading, just a few folds, is all it takes to bring the dough together into a cohesive mass. Avoid overworking it. Gently pat the dough into a 9-inch round, about 1-inch thick. Using a sharp knife or a bench scraper, cut the round into 8 even wedges. Carefully transfer these wedges to a baking sheet, ideally lined with parchment paper for easy cleanup.
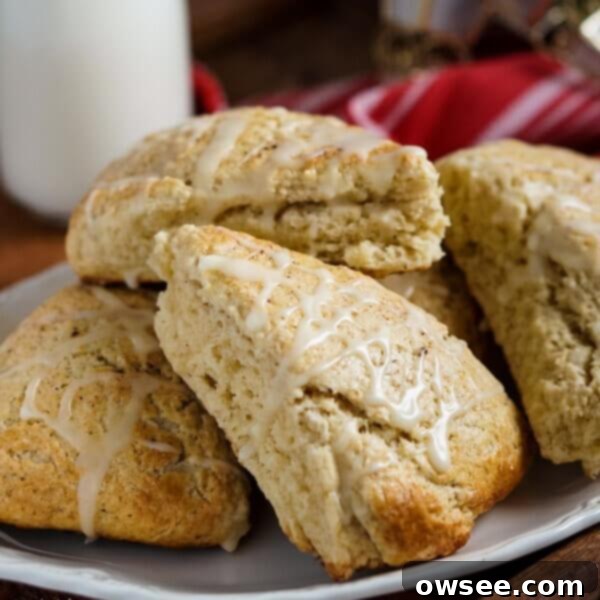
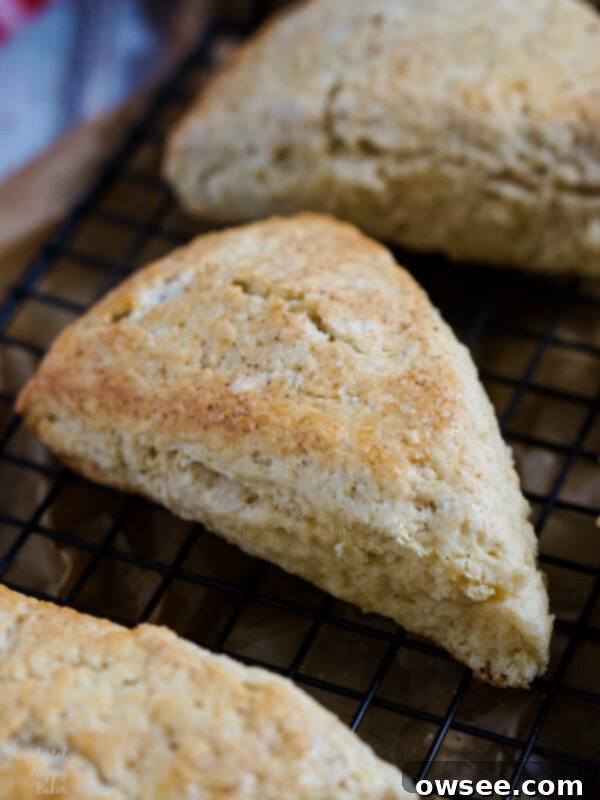
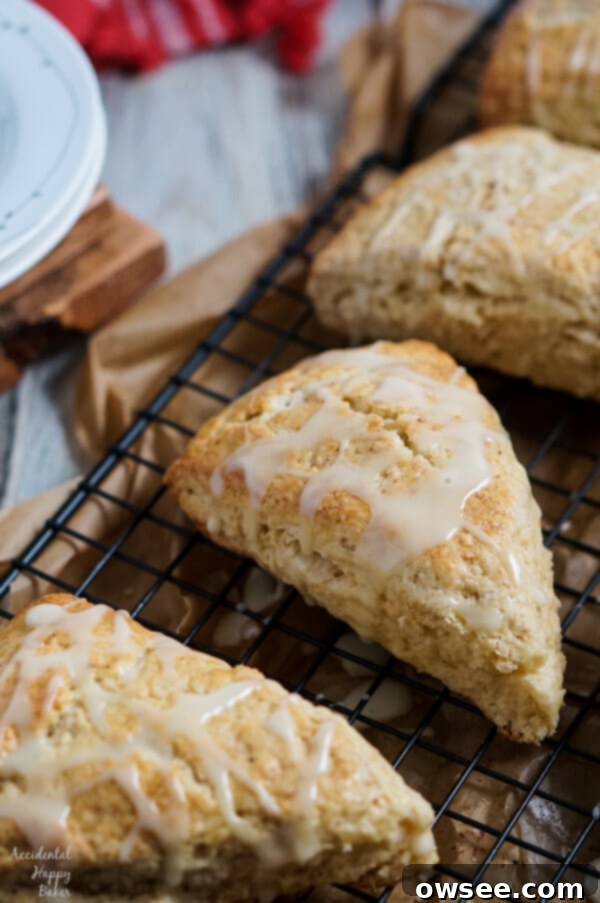
Before baking, these delightful **eggnog scones** get a special touch. Brush the tops with an extra tablespoon of eggnog and sprinkle generously with sugar. This step not only adds a touch of sweetness but also ensures a beautiful golden sheen and a slightly crispy crust once they emerge from the oven. Bake them until they are gloriously golden brown and fragrant. Once cooled slightly on a wire rack, they’re ready for the final, festive flourish: a drizzle of the creamy eggnog glaze for a truly “out of the box” and unforgettable **Christmas breakfast treat**!
The Irresistible Eggnog Glaze
No **Eggnog Scone recipe** would be complete without its signature glaze. This simple yet effective topping adds an extra layer of eggnog flavor and a beautiful finish. To make it, simply whisk together powdered sugar and a touch of eggnog until smooth. The glaze is designed to be somewhat thin, creating a delicate coating that complements the sweetened scone tops. If you prefer a thicker, more decadent glaze, gradually add a bit more powdered sugar until you reach your desired consistency. A light drizzle is often all you need to transform these already wonderful scones into a truly show-stopping **festive breakfast**.
Beyond the Bake: Serving & Gifting Your Festive Scones
These versatile **eggnog treats** are perfect for a variety of occasions throughout the holiday season. Their festive flavor makes them ideal for:
Perfect Pairings
- Christmas Morning Breakfast: Serve warm with a steaming cup of coffee, hot chocolate, or, for the full experience, a small glass of chilled eggnog.
- Holiday Brunch: A fantastic addition to any brunch spread, complementing both sweet and savory dishes.
- Afternoon Tea: A sophisticated treat to accompany your afternoon tea, especially during colder months.
- Cozy Winter Evenings: Enjoy as a comforting snack by the fireplace.
Thoughtful Holiday Gift Baskets
Looking for a heartfelt and delicious DIY gift idea this holiday season? Why not assemble a charming breakfast basket featuring these incredible **eggnog scones**? It’s a wonderful way to share your homemade delights with coworkers, neighbors, friends, or family. Pair them with a gourmet coffee blend, a selection of teas, or a jar of homemade jam for an extra special touch. Here are some other delightful make-ahead goodies that would perfectly complement your festive breakfast basket:
- Cranberry Orange Scones
- Caramel Apple Scones
- Giant Chocolate Cinnamon Rolls
- Chocolate Orange Donuts
These thoughtful gestures are always appreciated and bring a touch of homemade warmth to anyone’s holiday.
Tips for Scone Success
- Keep it Cold: Always use very cold butter and eggnog. This prevents the butter from melting too quickly, creating pockets that steam in the oven, resulting in a flaky scone. You can even cube the butter and chill it in the freezer for 10-15 minutes before using.
- Don’t Overmix: Overworking the dough develops the gluten, leading to tough scones. Mix just until the ingredients come together. A shaggy dough is perfectly fine.
- Light Hand: When kneading, use a very light touch. Just a few gentle folds are enough to bring the dough together.
- Sharp Cut: Use a sharp knife or a bench scraper to cut the wedges cleanly. This helps the scones rise evenly and prevents them from sticking together.
- Parchment Paper: Lining your baking sheet with parchment paper ensures easy removal and prevents sticking.
- Chill Before Baking: If your kitchen is warm, or if you feel the butter might have softened too much, chill the shaped scones for 15-20 minutes in the fridge before baking. This helps them hold their shape and promotes a better rise.
Storage and Make-Ahead Options for Your Eggnog Scones
One of the best things about these **festive Eggnog Scones** is their versatility, including their suitability for making ahead, which is a lifesaver during the busy holiday season.
Storing Baked Scones
Once baked and completely cooled, store your eggnog scones in an airtight container at room temperature for up to 2-3 days. They are best enjoyed fresh, but a quick warm-up in the microwave or oven can bring them back to life. The glaze can be added just before serving if you want to maintain its fresh look and prevent it from becoming sticky when stored.
Freezing Options
For longer storage, these scones freeze beautifully. You have a couple of options:
- Freeze Baked Scones: Allow baked scones to cool completely. Wrap individual scones tightly in plastic wrap, then place them in a freezer-safe bag or container. They can be frozen for up to 2-3 months. Thaw at room temperature and reheat gently in an oven (around 300°F/150°C) for 10-15 minutes, or in a microwave for 20-30 seconds. Add glaze after reheating.
- Freeze Unbaked Scones: This is a fantastic **make-ahead option for Christmas morning**! Prepare the dough and cut the wedges as instructed. Arrange them on a baking sheet lined with parchment paper and freeze until solid (about 1-2 hours). Once frozen, transfer the unbaked scones to a freezer-safe bag or container, separating layers with parchment paper. Freeze for up to 1 month. When ready to bake, place frozen scones on a prepared baking sheet, brush with eggnog and sprinkle with sugar, then bake directly from frozen. You might need to add an extra 5-10 minutes to the baking time.
Conclusion: Your New Favorite Holiday Tradition
Whether you’re an eggnog enthusiast or a curious baker, these **Festive Eggnog Scones** are sure to become a cherished part of your holiday baking repertoire. They’re simple to make, packed with festive flavor, and offer that comforting, homemade touch that makes the season so special. From cozy breakfasts to thoughtful gifts, these scones are a delightful way to celebrate. So preheat your oven, gather your ingredients, and get ready to create some holiday magic with this irresistible **eggnog scone recipe**!
Eggnog Scones
Print
Rate
SaveSaved!
Ingredients
For the scones
- 2 3/4 cups unbleached all purpose flour
- 1/4 cup sugar
- 3/4 teaspoon salt
- 1 Tablespoon baking powder
- 1/2 teaspoon ground nutmeg
- 1/2 cup unsalted butter (cold, cubed)
- 1 large egg
- 1 teaspoon vanilla extract
- 3/4 cup eggnog (cold)
- 1 Tablespoon eggnog (for brushing)
- 2 Tablespoons granulated sugar (for sprinkling)
For the glaze
- 1 Tablespoon eggnog
- 1/3 cup powdered sugar (or more, for thicker glaze)
Instructions
To make scones
-
Preheat the oven to 400 degrees F (200 degrees C). In a medium sized mixing bowl, combine the flour, sugar, salt, baking powder, and nutmeg. Using a pastry blender, a fork or your hands, cut the cold, cubed butter into the flour mixture until it is crumbly and no large chunks of butter remain, resembling coarse meal with some pea-sized pieces.
-
In a liquid measuring cup, measure out your cold eggnog and then whisk in the vanilla and egg. Add this liquid mixture to the flour mixture and stir gently with a spoon or your hands just until the dough comes together. Be careful not to overmix.
-
Tip the dough out onto a lightly floured surface and knead a few times (3-4 gentle folds are enough). Pat the dough into a 9-inch round (about 1-inch thick) and cut into 8 wedges. Place the wedges on a baking sheet lined with parchment paper.
-
Brush the tops of the scones with one tablespoon of eggnog and sprinkle generously with the granulated sugar. Bake at 400 degrees F (200 degrees C) for about 20 minutes, or until the tops are golden brown and a toothpick inserted into the center comes out clean. Remove to a wire rack to cool completely before glazing.
To make the glaze
-
To make the glaze, whisk together the powdered sugar and eggnog in a small bowl until the powdered sugar is completely dissolved and the mixture is smooth. Drizzle the glaze over the cooled scones. Because there is already a sugar topping on the scones, this glaze is somewhat thin and delicate. If you would like a thicker glaze, simply add a bit more powdered sugar, one teaspoon at a time, until your desired consistency is reached.
Notes
Nutrition
