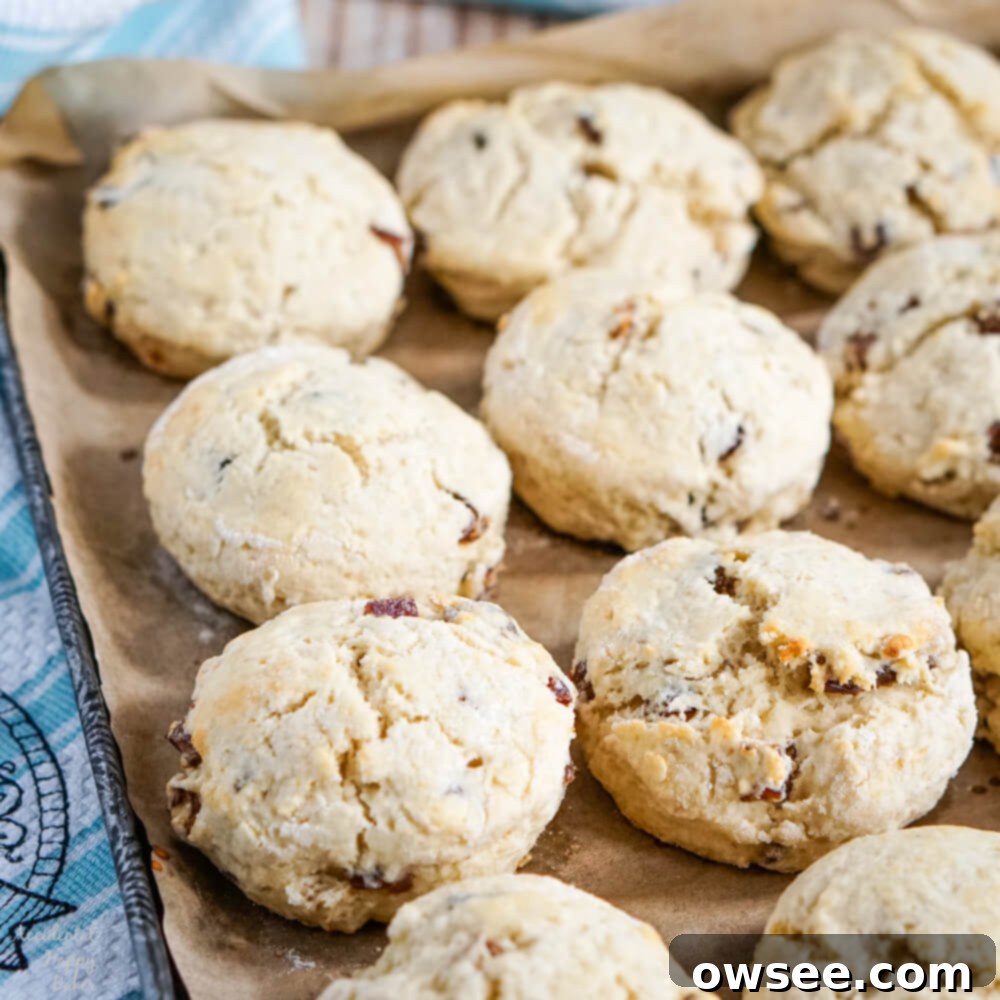
Irresistible Date Scones: The Ultimate Recipe for Tender, Sweet, and Flavorful Bakes
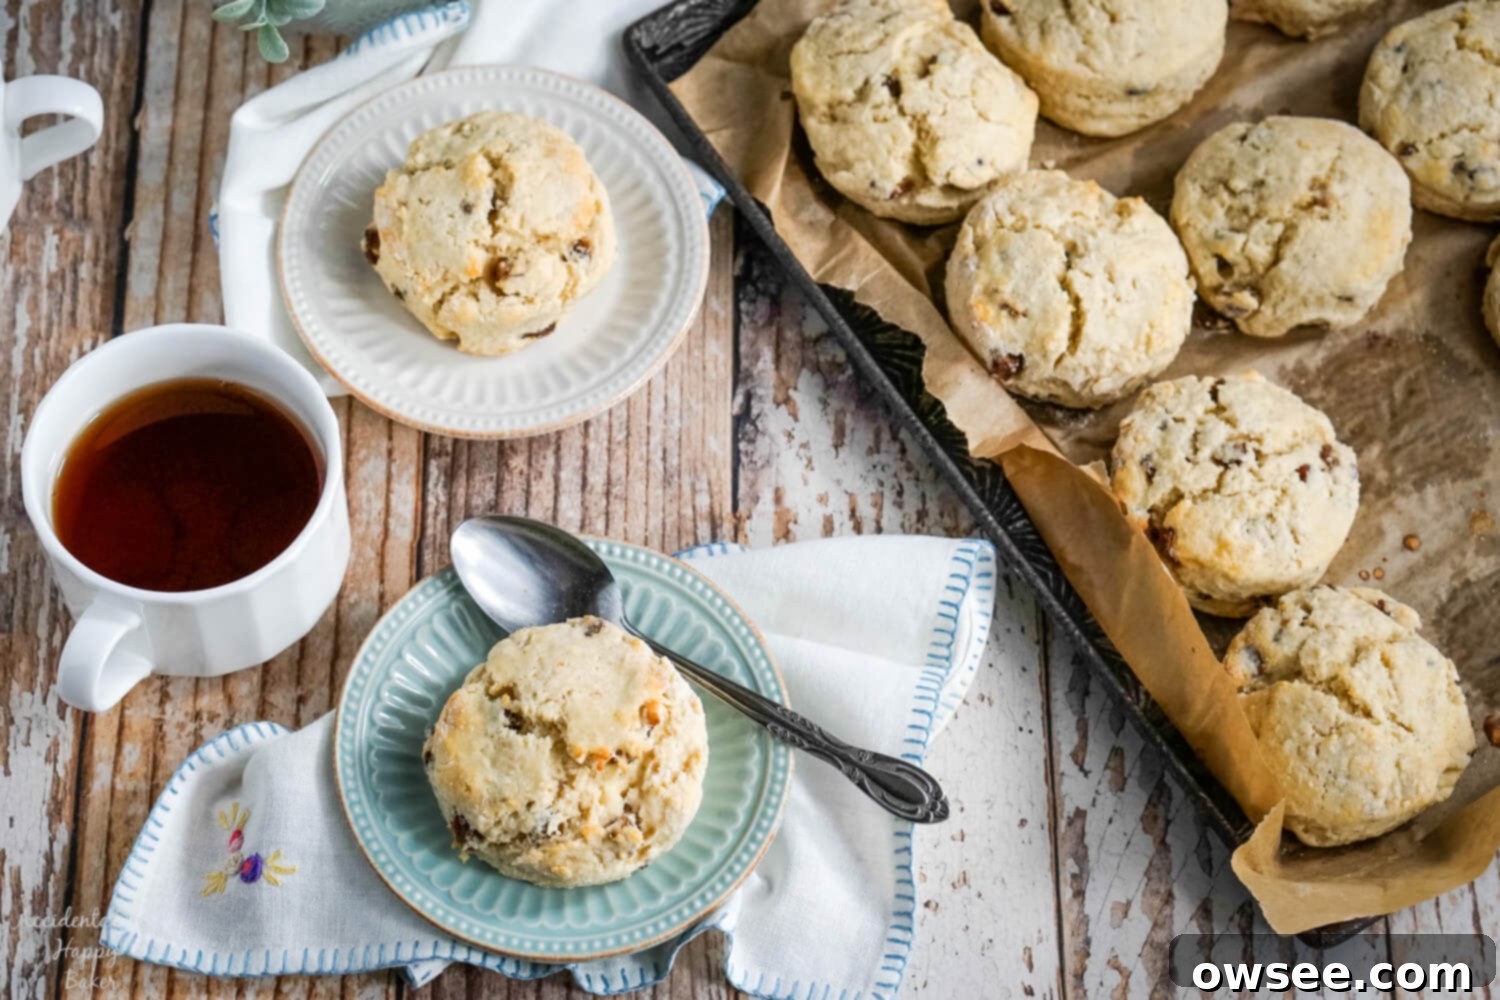
Imagine starting your day with a warm, tender scone, perfectly baked to a golden brown, with a comforting hint of cinnamon. These date scones are not just any scone; they’re a delightful symphony of textures and flavors. Lightly sweet, they get their unique character from the natural richness of dates, which, as they bake, transform into luscious, brown sugary pockets of goodness. This creates an exquisite cinnamon brown sugar scone combo that is truly irresistible and pairs perfectly with your morning coffee or tea.
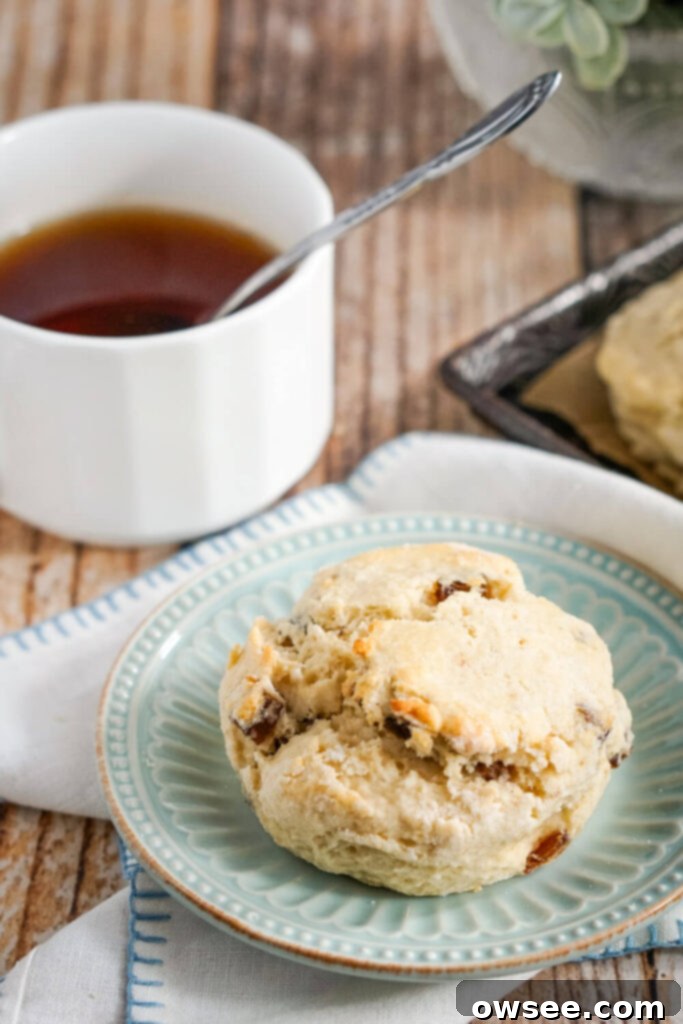
When I talk about “dates,” I’m not referring to the kind where you go out for dinner and a movie. I’m talking about the sweet, small, nutrient-rich fruit that grows on a palm tree. It’s interesting how many people tell me they aren’t fond of dates in their raw form. However, almost without fail, their minds are changed the moment they try a baked good with dates nestled inside. There’s a true culinary transformation that happens when these humble fruits are introduced to the heat of the oven, turning skeptics into instant fans.

That’s because something truly magical happens when you’re baking with chopped dates. As the scones bake, the natural sugars in the date fruit caramelize and soften, causing the dates to almost melt away. Instead of distinct pieces of fruit, you’re left with incredibly delicious pockets of brown sugary sweetness that infuse every bite of the scone. This is precisely why chopped dates work wonders in oatmeal too, creating those irresistible sweet spots. For this reason, I usually keep a bag of chopped dates in my pantry, ready to elevate any baked good or breakfast. This transformation adds depth and a chewy, sweet texture that makes these date scones truly special.
Choosing the Best Dates for Your Scones
What kind of dates go in date scones?
When it comes to selecting dates for your scones, you have a couple of excellent options, each with its own advantages. You can easily find prepackaged chopped dates at most grocery stores. These are incredibly convenient, saving you prep time, and often come with a light coating of oat flour or sugar to prevent them from sticking together. This makes them quick and easy to incorporate directly into your scone dough. It’s a fantastic choice if you’re looking for efficiency without compromising on flavor.
Alternatively, you can choose to chop your own whole dates. Varieties like Medjool dates are large, soft, and very sweet, offering a wonderfully rich flavor and sticky texture once baked. Deglet Noor dates are smaller, firmer, and have a slightly less intense sweetness, but they hold their shape a bit more, which some bakers prefer. If you opt for whole dates, simply pit them and chop them into small, even pieces. This allows you to control the size and ensures uniform distribution throughout the dough. While it takes a little extra effort, chopping your own dates can sometimes yield a fresher flavor and allows you to use your preferred date variety. Both methods will result in delicious scones, so the choice truly comes down to your preference for convenience versus specific date type and preparation.
Crafting Perfect Date Scones: A Step-by-Step Guide
Making delicious date scones is a rewarding experience, and following these steps carefully will ensure a tender, flavorful result every time. The key is to work quickly and avoid overmixing the dough.
Making date scones
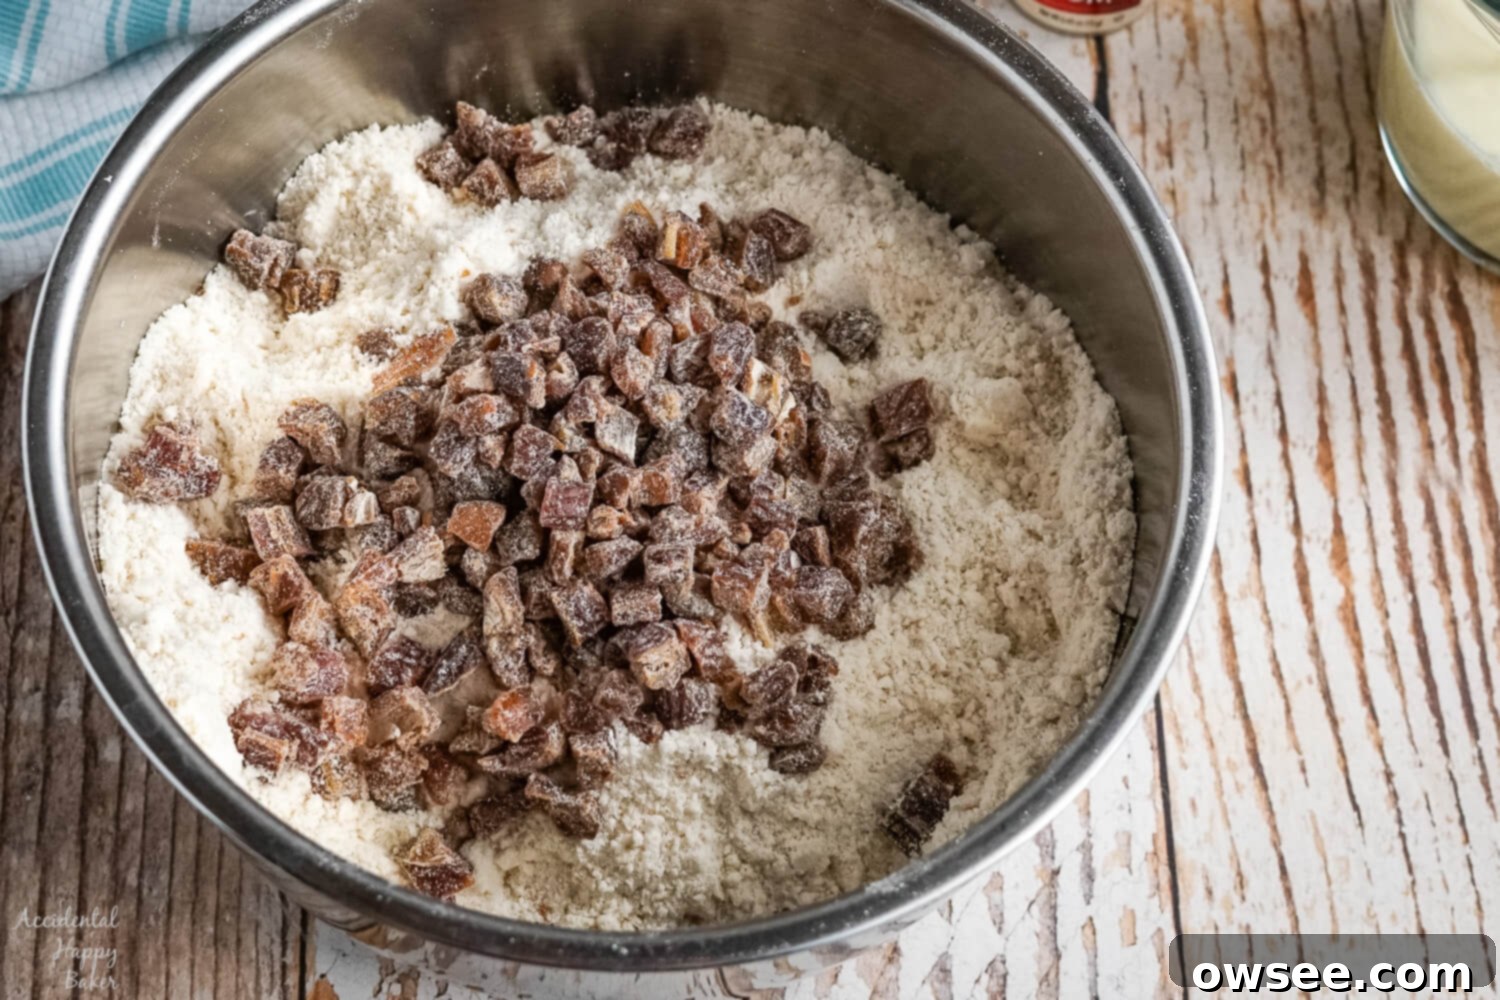
- You’ll start by combining the dry ingredients: flour, sugar, salt, baking powder, and cinnamon. These dry ingredients form the base of your scone and the cinnamon adds that wonderful aromatic hint.
- Next, you’ll cut in the cold butter. Using a pastry blender, a fork, or even your fingertips, work the butter into the flour mixture until it resembles coarse crumbs. It’s important that no large chunks of butter remain; aim for pieces around pea-sized or smaller. This step is crucial for achieving that light, flaky scone texture.
- Once the butter is incorporated, stir in the chopped dates. Ensure they are evenly distributed so every scone gets a delightful burst of sweetness.
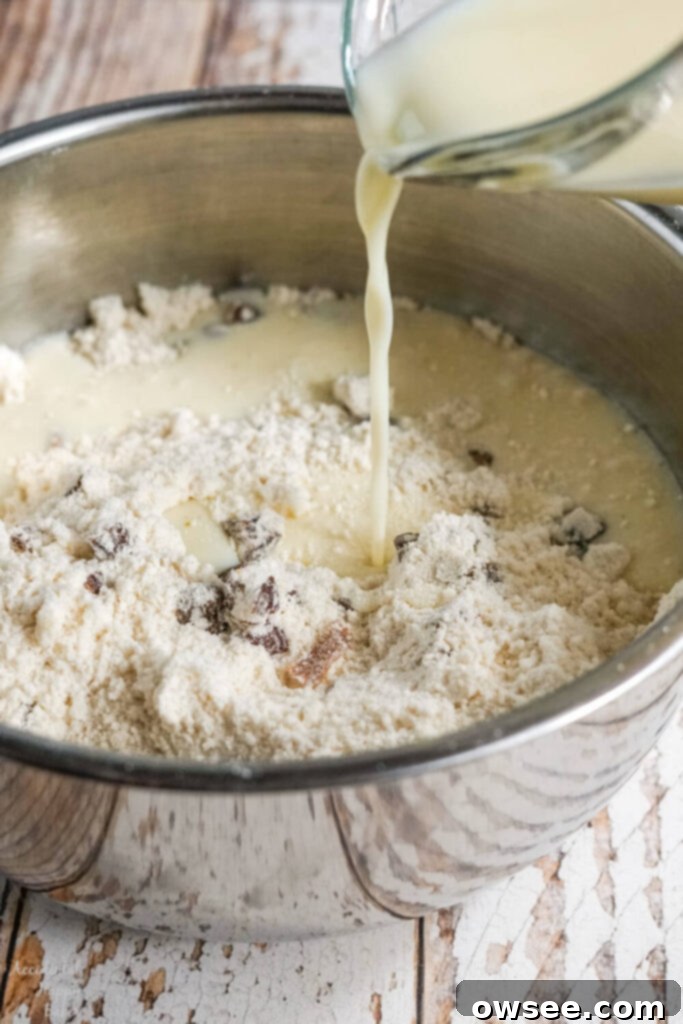
- In a separate liquid measuring cup, whisk together the milk, egg, and vanilla extract until well combined. Add this wet mixture to the dry ingredients and stir just until the dough comes together. This is a critical moment: it’s super important not to overwork the dough, as overmixing leads to tough scones.
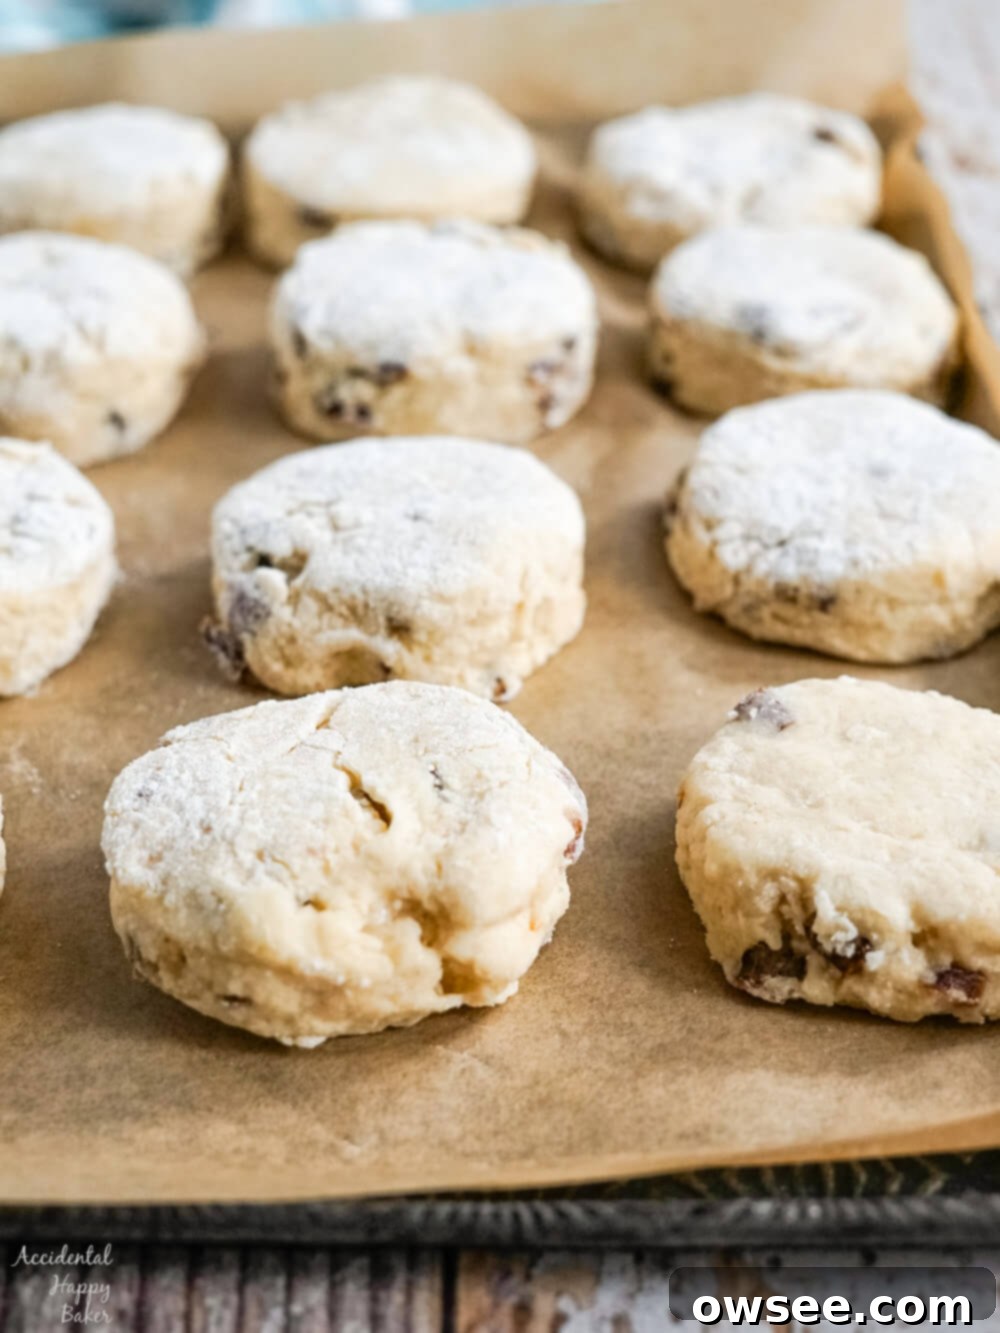
- Turn the scone dough out onto a lightly floured surface. Give it just a couple of gentle kneads to bring it fully together – resist the urge to knead extensively. Pat the dough into a 9-inch round and then cut it into wedges. Alternatively, you can pat the dough out to about 1 inch thickness and cut with a floured biscuit cutter. (This is how I cut the scones in the photos, yielding beautiful round scones.)
- Finally, place the cut scones on a parchment paper lined baking sheet and bake at 400 degrees Fahrenheit (200°C) for approximately 20-22 minutes, or until the tops and edges are beautifully golden brown. The aroma filling your kitchen will be incredible!
-

Combine flour, sugar, salt, baking powder, and cinnamon. -

Pour the wet ingredients into the dry mixture. -

Gently knead and pat the dough. -

Cut the dough into desired scone shapes.
More Delicious Scone Varieties to Explore
If you’ve fallen in love with these date scones, you might enjoy trying some other variations. Scones are incredibly versatile and can be adapted to countless flavor profiles, from fruity and zesty to savory and cheesy. Here are a few more of my favorite scone recipes that are sure to delight your taste buds:
- Strawberry Lemon Scones: A bright and refreshing option perfect for spring and summer.
- Blackberry Cream Cheese Scones: Rich, creamy, and bursting with berry flavor.
- Instant Oatmeal Scones: A quick and hearty scone that’s perfect for a wholesome breakfast.
- White Cheddar Scones: A savory delight, wonderful with soup or as a side with dinner.

Date Scones
Print
Rate
SaveSaved!
Ingredients
- 2 3/4 cups unbleached all purpose flour
- 1/4 cup sugar
- 3/4 teaspoon salt
- 1 Tablespoon baking powder
- 1/2 teaspoon ground cinnamon
- 1/2 cup unsalted butter cold
- ¾ cup chopped dates
- 3/4 cup milk
- 1 large egg
- 1 teaspoon vanilla extract
Instructions
-
Preheat the oven to 400 degrees and prepare a sheet pan with a silicone baking mat or a piece of parchment paper.
-
In a medium sized mixing bowl, combine the flour, sugar, salt, baking powder, and cinnamon. Using a pastry blender, a fork or your hands, cut the butter into the flour mixture until it is crumbly and no large chunks of butter remain. The pieces of butter should be pea sized or smaller.
-
Stir the chopped dates into the flour mixture.
-
In a liquid measuring cup, measure out the milk, Whisk in one egg and a teaspoon of vanilla extract. Add this to the flour mixture, stirring just until it starts to come together into a ball.
-
Turn the scone dough out onto a floured surface and gently knead the scone dough a few times. Pat the dough out to about 3/4 inch thickness and cut into rounds using a floured biscuit cutter.
-
Alternately, you can pat the scone dough into a 9 inch round and then cut into 8 wedges.
-
Place the cut scones onto the prepared baking pan and bake at 400 degrees for about 20-22 minutes or until the edges and tops are golden brown.
-
Eat warm.
Notes
Freezer instructions: To make and freeze these scones, follow the directions through the shaping and cutting, then wrap the scones tightly in plastic wrap and freeze for up to 3 weeks. When you are ready to bake remove the scones from the freezer, preheat the oven, and simply place the partially frozen scones on the prepared baking sheet. Bake as directed. You may need to add a few minutes to the bake time.
Recommended Products
Nutrition
Tips for Baking Fluffy, Tender Scones
Achieving the perfect scone texture – light, fluffy, and tender on the inside with a crisp, golden exterior – requires a few key techniques. Here are some essential tips to ensure your date scones turn out beautifully every time:
- Keep Ingredients Cold: This is paramount! Ensure your butter is very cold, preferably grated or cut into small pieces and then chilled in the freezer for 10-15 minutes before using. Cold butter creates pockets of steam as it bakes, leading to a flaky texture.
- Don’t Overmix the Dough: Overworking the dough develops the gluten, resulting in tough, chewy scones rather than light, tender ones. Mix just until the ingredients are combined and the dough barely comes together.
- Gentle Handling: When turning the dough out and shaping it, use a light touch. Avoid excessive kneading or pressing.
- Consistent Thickness: Whether you’re cutting rounds or wedges, ensure the dough is rolled or patted to a uniform thickness (around ¾ to 1 inch). This promotes even baking.
- Don’t Twist the Cutter: When cutting out round scones, press the biscuit cutter straight down and lift straight up. Twisting the cutter can seal the edges of the scone, preventing it from rising properly.
- Hot Oven for a Good Rise: Baking scones in a hot oven (400°F / 200°C) helps them rise quickly and achieve a lovely golden crust.
- Chill Before Baking (Optional but Recommended): For an even better rise, you can chill the cut scones on the baking sheet for 15-30 minutes before baking. This helps the butter stay cold and firm.
Serving Suggestions for Your Date Scones
These warm, fragrant date scones are delightful on their own, but they truly shine when paired with complementary accompaniments. For a classic British afternoon tea experience, serve them with a dollop of clotted cream and a spoonful of your favorite fruit jam – apricot or raspberry would be particularly lovely with the dates and cinnamon. A simple spread of good quality butter is also a fantastic choice, allowing the scone’s inherent flavors to come through. Don’t forget a comforting cup of tea or freshly brewed coffee to complete the perfect breakfast or brunch spread. For an extra touch of sweetness and warmth, a light drizzle of honey or maple syrup could also be added.
Storage and Freezing Instructions
Proper storage ensures your delicious date scones stay fresh for as long as possible. Here’s how to keep them at their best, along with detailed freezing options:
Storing Baked Scones:
- Room Temperature: Once cooled completely, store baked scones in an airtight container at room temperature for up to 2-3 days. While they are best enjoyed fresh, a quick warm-up in the microwave or oven can revive them.
- Reheating: To refresh day-old scones, simply pop them in a preheated oven at 300°F (150°C) for 5-7 minutes, or briefly in a microwave for 15-30 seconds until warm.
Freezing Scones (Baked or Unbaked):
Freezer instructions for unbaked scones: This is a fantastic way to prepare ahead! Follow the recipe directions through the shaping and cutting of the scones. Place the cut scones on a parchment-lined baking sheet and freeze them until solid (about 1-2 hours). Once frozen, transfer the individual scones to a freezer-safe bag or airtight container, separated by parchment paper to prevent sticking. They can be stored in the freezer for up to 3 weeks. When you are ready to bake, remove the desired number of scones from the freezer, preheat your oven to 400°F (200°C), and place the partially frozen scones directly onto a prepared baking sheet. Bake as directed in the recipe. You may need to add an additional 5-10 minutes to the bake time, depending on how frozen they are, to ensure they are cooked through and golden brown.
Freezer instructions for baked scones: If you have leftover baked scones, allow them to cool completely. Wrap each scone tightly in plastic wrap, then place them in a freezer-safe bag or container. They will keep well for up to 1 month. To enjoy, thaw them at room temperature, then reheat as described above for room temperature storage.
Frequently Asked Questions About Date Scones
Can I use whole dates instead of chopped dates?
Absolutely! If you only have whole dates (like Medjool or Deglet Noor), simply remove the pits and chop them into small, even pieces (about ¼ to ½ inch) before adding them to the dough. Using fresh whole dates can sometimes impart a richer, moister texture.
What if my dough is too sticky or too dry?
Scone dough should be soft and slightly shaggy, but not overly sticky. If it’s too dry, add milk one teaspoon at a time until it comes together. If it’s too sticky, add a little more flour, a teaspoon at a time. Remember, the goal is to mix as little as possible.
Can I add other spices or ingredients?
Yes, scones are very adaptable! A pinch of nutmeg or a touch of cardamom would complement the cinnamon and dates beautifully. You could also add a tablespoon of orange zest for a bright, citrusy note, or a handful of chopped nuts for extra crunch.
Why are my scones tough?
Tough scones are almost always a result of overworking the dough. Too much kneading or mixing develops the gluten, making the scones dense and chewy. Handle the dough gently and mix only until just combined.
How do I get a good rise on my scones?
Key factors for a good rise include using cold butter, not overmixing the dough, cutting straight down (not twisting), and baking in a hot oven. Chilling the cut scones before baking can also help.
Don’t forget to Pin this recipe to save it for later and share it with your friends!

These date scones are more than just a baked good; they’re a small moment of comfort, a touch of warmth for any occasion. Whether you’re enjoying them for breakfast, a leisurely brunch, or as part of a sophisticated afternoon tea, their tender texture and sweet, spicy flavor are sure to bring a smile to your face. Give this recipe a try, and prepare to fall in love with the humble yet magnificent date scone. Happy baking!
