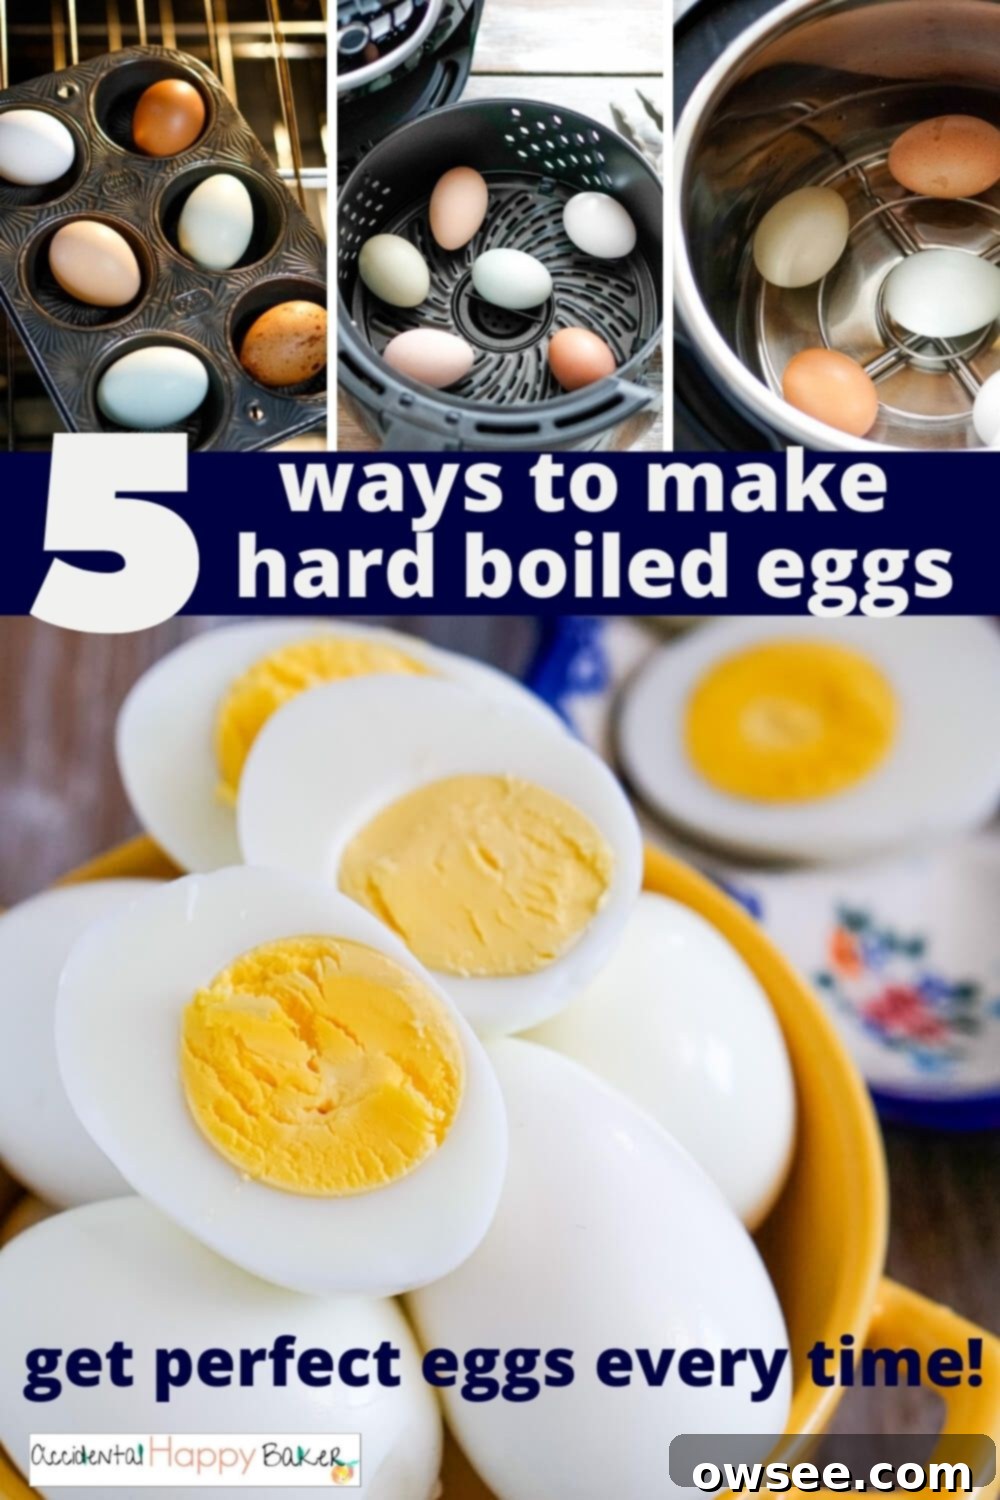
The Ultimate Guide to Perfect Hard-Boiled Eggs: 5 Easy Methods for Foolproof Results
Hard-boiled eggs are a kitchen staple, renowned for their simplicity and versatility. Requiring just two basic ingredients – eggs and water – they seem like one of the easiest things to make. However, achieving that “just perfect” hard-boiled egg with a creamy yolk and easy-to-peel shell can often feel like a culinary challenge. Every cook, from seasoned grandmas to aspiring home chefs, seems to have their own secret tips and preferred methods. The truth is, there’s no single “right” way, but rather a variety of effective techniques.
Today, we’re demystifying the process by exploring five distinct methods to cook hard-boiled eggs using different appliances you might already have in your kitchen. Our goal is to equip you with the knowledge to consistently produce perfectly cooked, easy-to-peel hard-boiled eggs, regardless of the tools at your disposal. Get ready to transform your egg-cooking game!
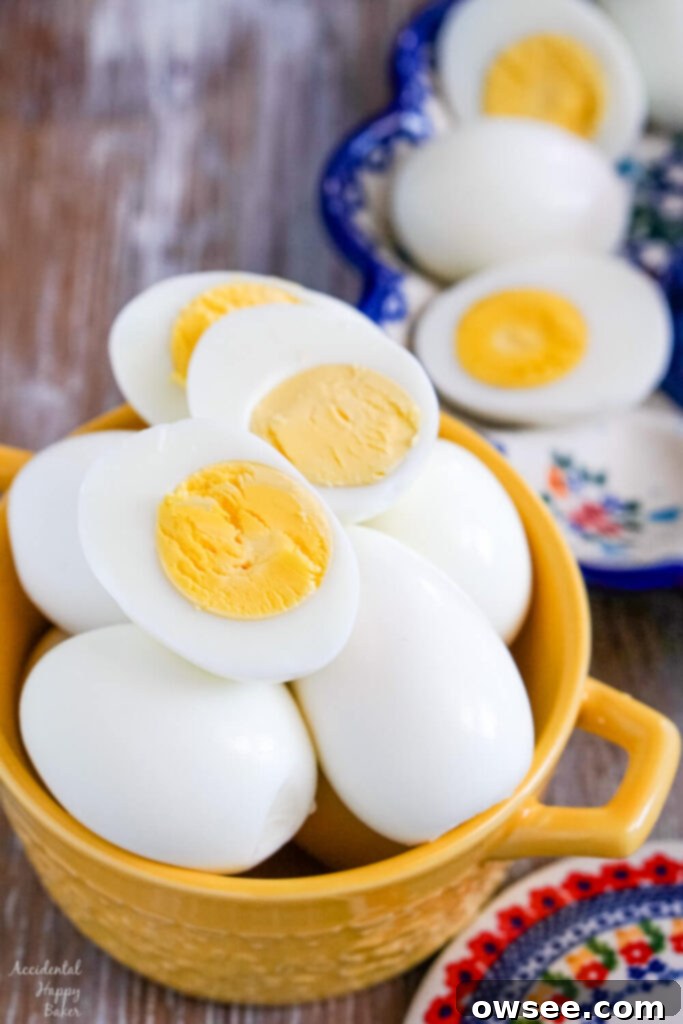
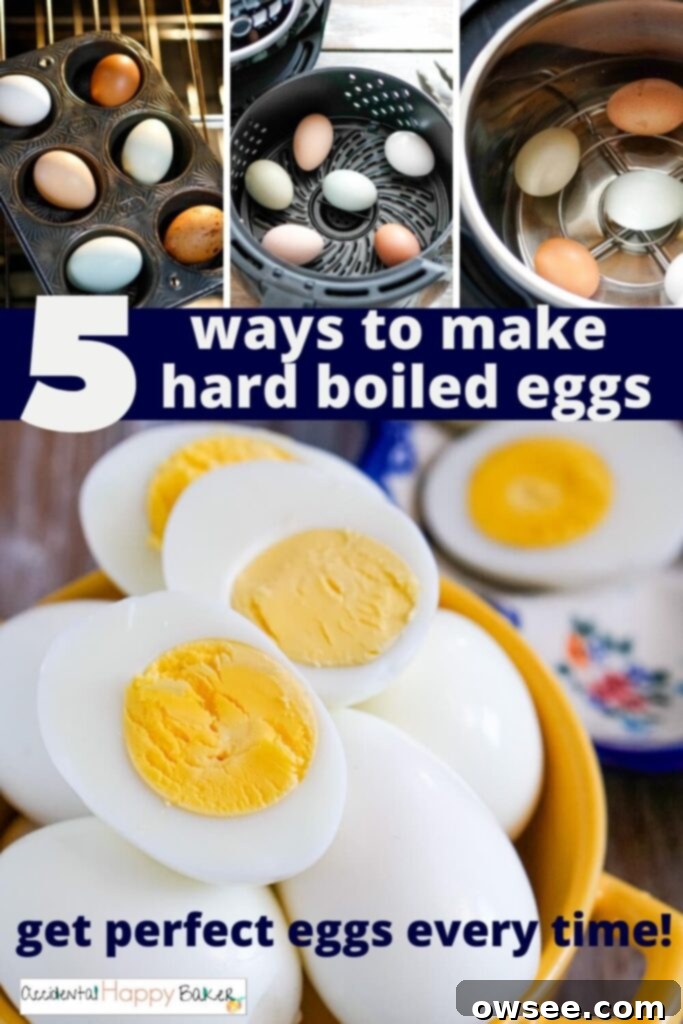
This comprehensive guide will cover how to hard boil eggs using five different approaches: the classic stovetop method, baking them in the oven, pressure cooking in an Instant Pot, air frying, and even simmering them in a slow cooker. Once you’ve mastered these techniques, you’ll open up a world of delicious possibilities for all kinds of yummy recipes with hard-boiled eggs. From quick snacks to elaborate dishes, the perfectly cooked hard-boiled egg is your foundation.
Why Master Hard-Boiled Eggs?
Hard-boiled eggs are incredibly versatile and nutritious. They make for a fantastic high-protein snack, a convenient breakfast item, or a key ingredient in countless recipes. Mastering various cooking methods means you can choose the best approach based on your available equipment, desired batch size, and how hands-on you want to be. Plus, knowing multiple techniques helps ensure you can always make them, even if one appliance is occupied or unavailable.
Here are a few of my favorite recipes that use hard-boiled eggs:
- BLT Deviled Eggs
- Homestyle Egg Salad
- Jalapeno Popper Deviled Eggs
- Old Fashioned Kidney Bean Salad
- Spicy Deviled Eggs
Jump to Your Preferred Cooking Method:
- Stove Top (Traditional Method)
- Oven
- Instant Pot
- Air Fryer
- Slow Cooker
- Troubleshooting Common Issues
*This post contains affiliate links. I may earn a small commission from any purchases made.*
How to Make Hard-Boiled Eggs on the Stove Top (Traditional Method)
The stovetop method is perhaps the most classic way to cook hard-boiled eggs, and for good reason—it’s simple, effective, and requires minimal equipment. The key is controlling the heat and timing to prevent overcooking and achieve that ideal texture.
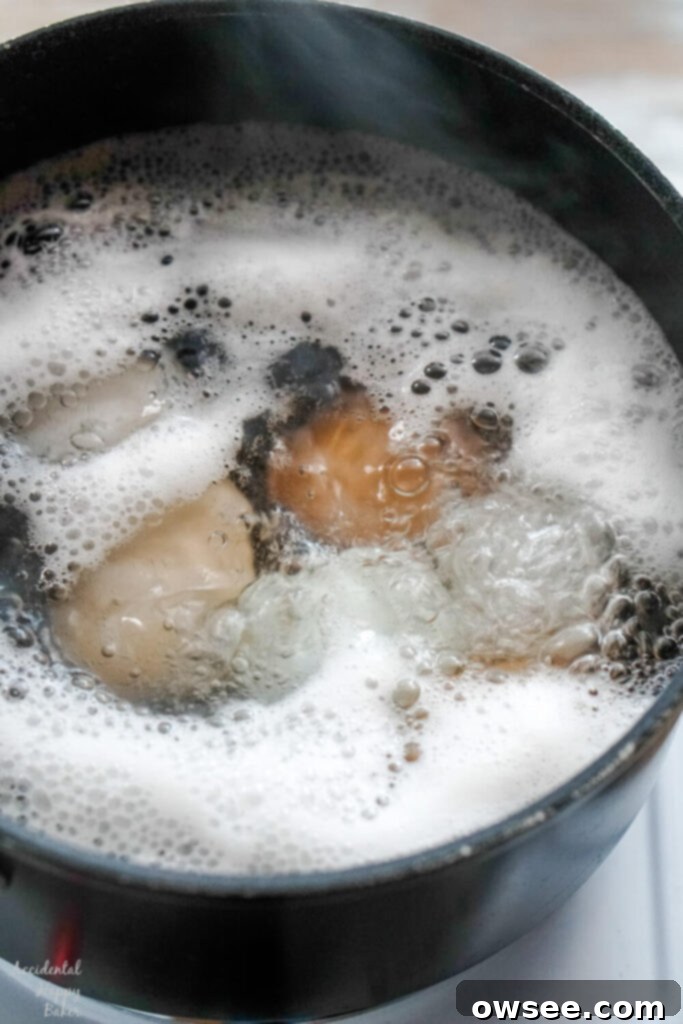
- Prepare the Pot: Gently place your eggs in the bottom of a saucepan. Arrange them in a single layer to ensure even cooking. Cover the eggs with about an inch of cold water. Starting with cold water helps prevent cracking as the eggs gradually heat up.
- Bring to a Boil: Place the saucepan on the stove over high heat and bring the water to a full, rolling boil. As soon as the water reaches this point, immediately remove the pan from the heat.
- Steep the Eggs: Place a lid tightly on the saucepan. Let the eggs sit in the hot water, off the heat, for approximately 10 minutes. The residual heat in the water will continue to cook the eggs gently and evenly without boiling them aggressively, which can lead to rubbery whites and green yolks.
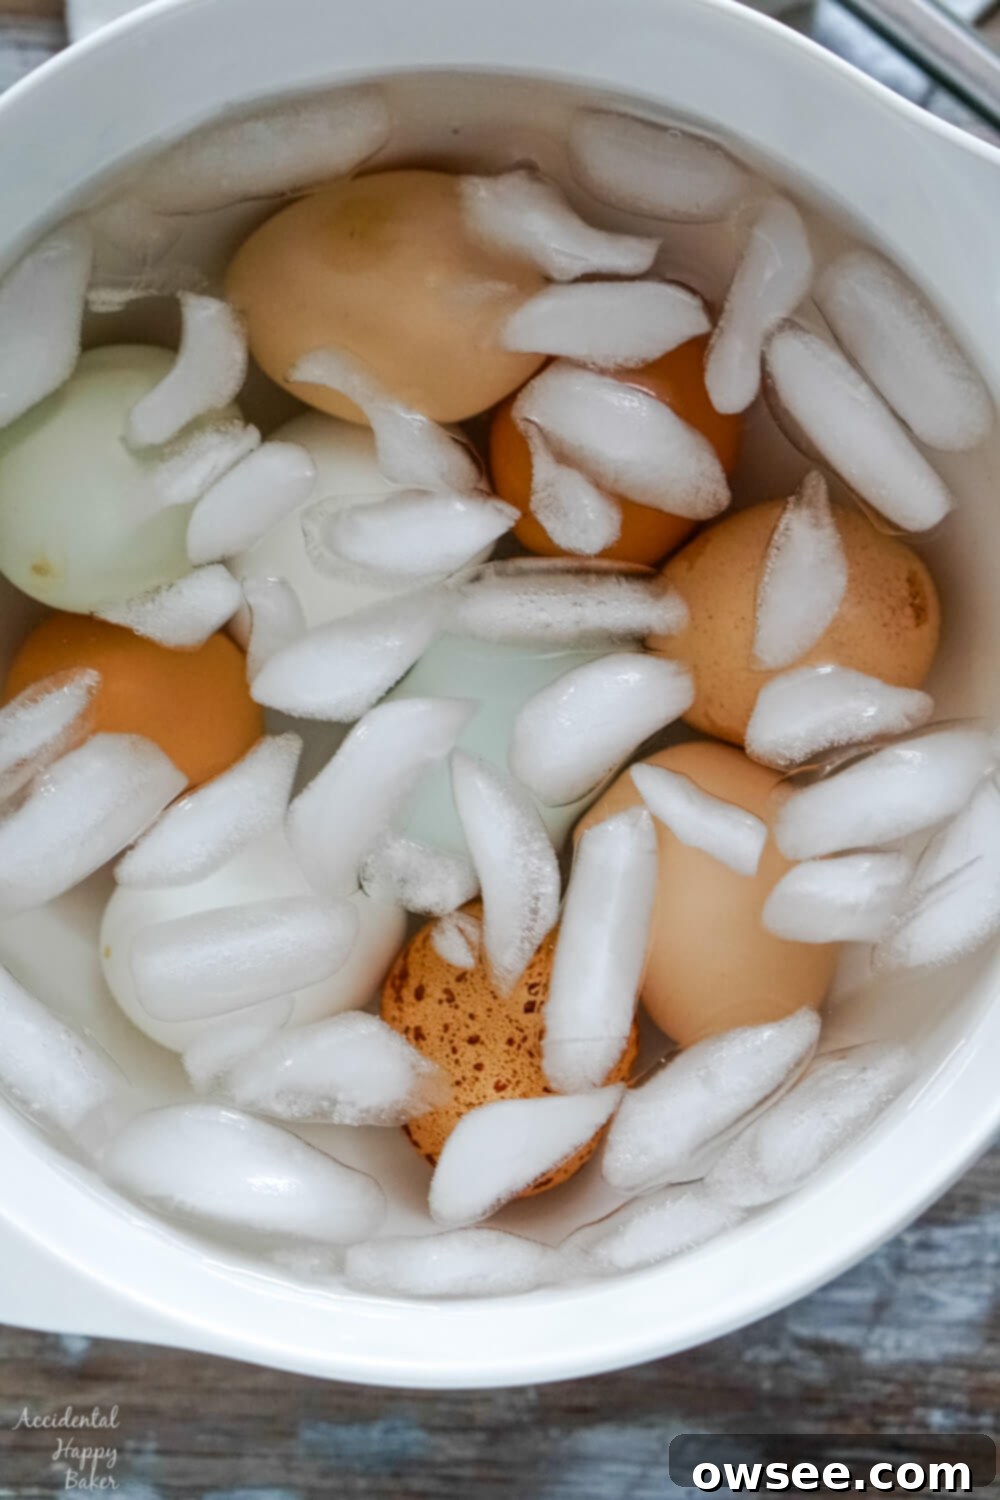
- Ice Bath: Once the steeping time is complete, carefully remove the eggs from the hot water using a slotted spoon. Immediately transfer them to an ice bath (a bowl filled with ice and cold water) to stop the cooking process. Allow them to cool completely, usually for 5-10 minutes, until they are cool to the touch. This step is crucial for easy peeling and preventing that greenish ring around the yolk. Refrigerate until ready to peel or use.
Pros and Cons of cooking hard-boiled eggs on the stovetop
Pros:
- This method is incredibly simple and can be quite quick from start to finish.
- You don’t need any special equipment beyond a saucepan and a lid, making it accessible to virtually anyone.
- It provides excellent control over the cooking process, allowing for perfectly set whites and creamy yolks.
Cons:
- It’s easy to get distracted and forget about your eggs, potentially leading to overcooked, rubbery eggs or even cracking if left on high heat for too long.
- Requires active monitoring at the start to catch the precise moment of boiling.
- If you’re cooking a large batch, it takes up valuable burner space on the stove, which might be inconvenient if you’re preparing other dishes.
How to Make Hard-Boiled Eggs in the Oven
Cooking hard-boiled eggs in the oven might seem unconventional, but it’s a fantastic hands-off method, especially when you need to prepare a large batch. It’s also a great alternative if your stovetop burners are busy or you prefer not to deal with boiling water.
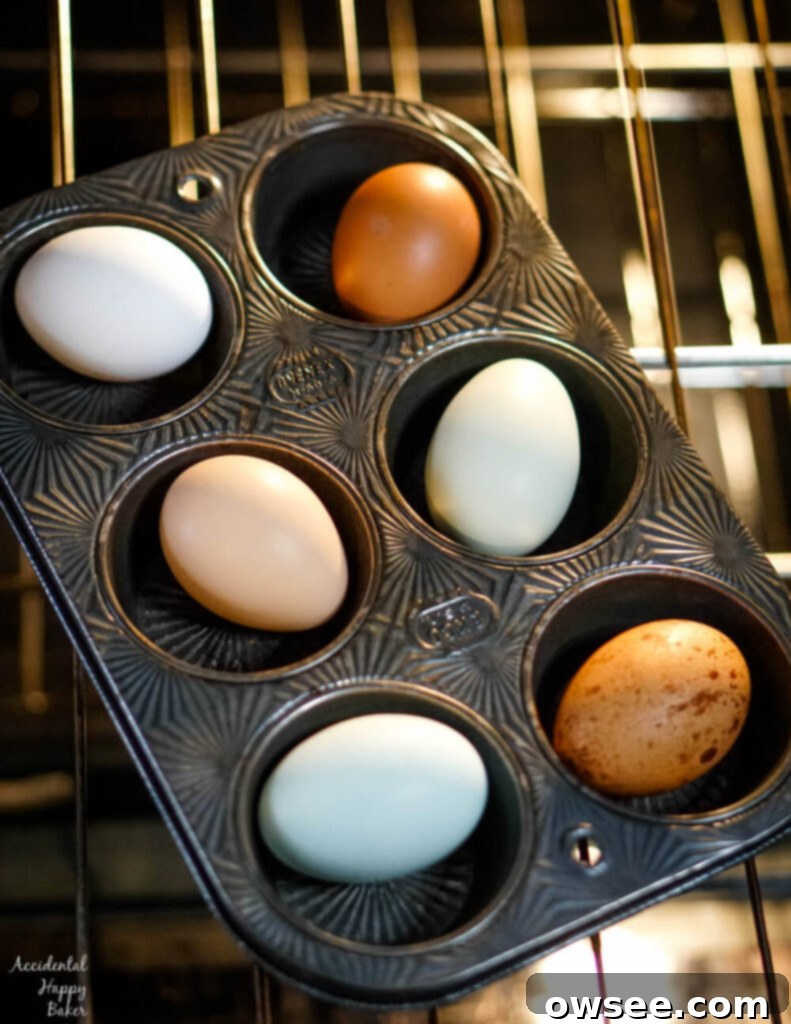
- Prepare for Baking: Preheat your oven to 325°F (160°C). While it preheats, gently place one egg into each cup of a standard muffin tin. Using a muffin tin helps keep the eggs stable and prevents them from rolling around and potentially cracking. If you’re concerned about them rattling or touching the hot metal directly, you can place a small piece of crumpled aluminum foil at the bottom of each cup.
- Bake the Eggs: Once the oven is fully preheated, carefully place the muffin tin with the eggs inside. Bake for approximately 28-30 minutes. The exact time may vary slightly depending on your oven’s calibration and desired doneness. For softer yolks, you might reduce the time by a minute or two; for firmer, add a minute.
- Cool in an Ice Bath: As soon as the baking time is up, remove the muffin tin from the oven. Using tongs or a spoon, transfer the hot eggs directly into a prepared ice bath. This immediate cooling is essential for stopping the cooking process and achieving easier peeling. Let them cool completely, about 10-15 minutes, before refrigerating.
Pros and Cons of cooking hard-boiled eggs in the oven
Pros:
- It’s a super simple, hands-off method after the initial setup, allowing you to focus on other kitchen tasks.
- Excellent for making a large amount of hard-boiled eggs at one time without the risk of breakage often associated with crowded pots of boiling water.
- No special equipment is required other than a muffin tin, which most kitchens already have.
- Generally results in a very consistent texture due to even, dry heat.
Cons:
- Takes longer than the traditional stovetop method.
- If your oven runs hot or the eggs are in direct contact with the tin, it can sometimes leave slight brown spots on the parts of the egg whites touching the pan. This doesn’t affect the taste but can impact appearance.
- Some argue that oven-baked eggs are slightly drier than water-boiled ones, though an ice bath helps mitigate this.
How to Make Hard-Boiled Eggs in the Instant Pot
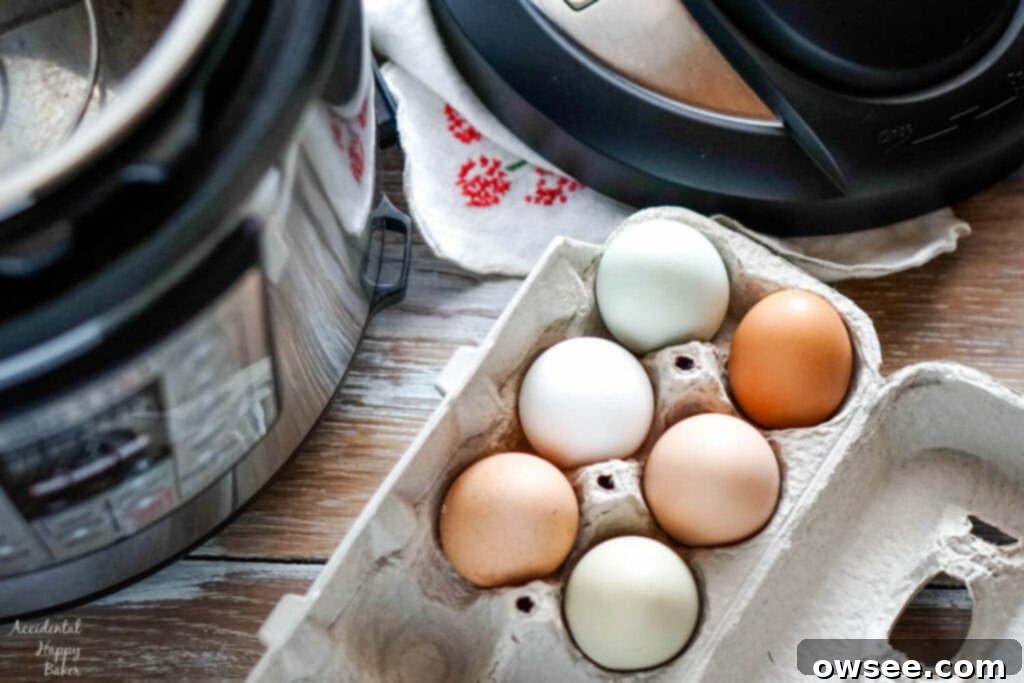
The Instant Pot (or any electric pressure cooker) has revolutionized hard-boiled egg making, earning a reputation for consistently producing “peel-easy” eggs. The pressurized steam cooking method creates a slight gap between the egg white and the shell, making peeling an absolute breeze. It’s often referred to as the “5-5-5” method for a reason.
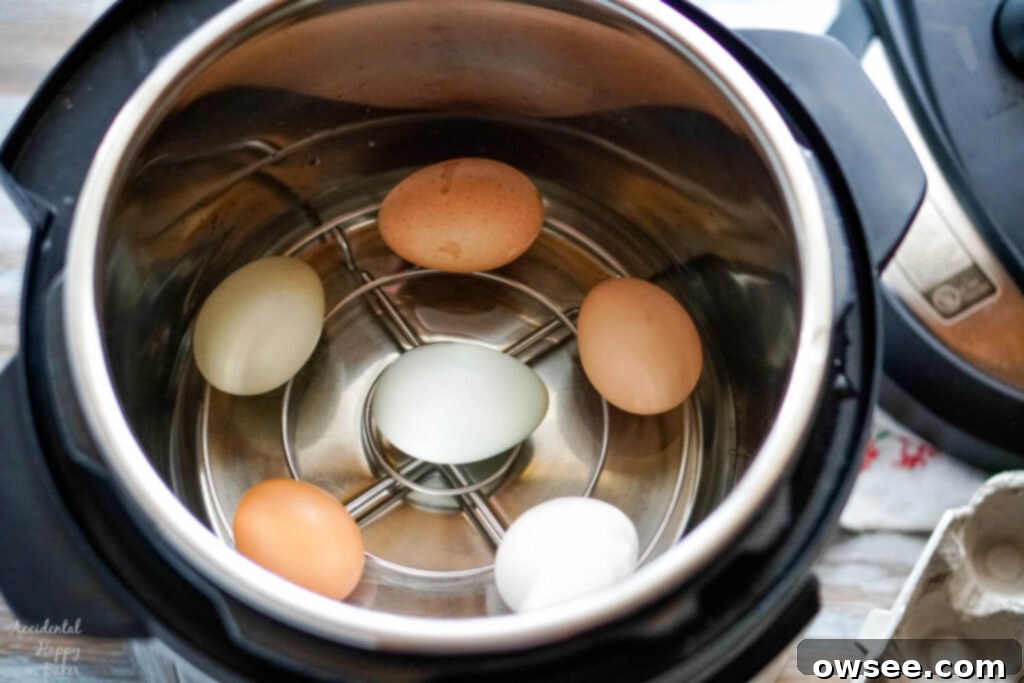
- Set Up the Instant Pot: Place the trivet (the metal rack that came with your Instant Pot) in the bottom of the inner pot. Carefully arrange your eggs on the rack in a single layer. You can stack them if necessary for larger batches, but avoid overcrowding. Pour one cup of cold water into the bottom of the Instant Pot. This water will create the steam needed for pressure cooking.
- Pressure Cook: Secure the lid on your Instant Pot, making sure the vent is set to the “Sealing” position. Select the “Manual” or “Pressure Cook” setting and set the cooking time to 5 minutes on high pressure. (Note: The pot will take some time to come to pressure before the 5-minute timer begins.)
- Natural Release & Quick Release: Once the 5-minute cooking time is complete, allow the Instant Pot to naturally release steam for 5 minutes (NPR). This means you do nothing and let the pressure drop gradually. After 5 minutes of NPR, carefully switch the vent to “Venting” to quick release any remaining steam. Be cautious of the hot steam.
- Ice Bath: Immediately remove the eggs from the Instant Pot and plunge them into an ice bath for at least 5 minutes, or until they are completely cool to the touch. This halts the cooking and helps ensure exceptionally easy peeling. Refrigerate until ready to peel or use.
Pros and Cons of cooking hard-boiled eggs in the Instant Pot
Pros:
- By far, the easiest of all hard-boiled eggs to peel. The shells literally fall off, often in large pieces, minimizing frustration and wasted egg white.
- Quick, simple, and relatively stress-free once you know the timing. You set it and largely forget it until the release stage.
- Consistent results for perfectly cooked yolks, usually vibrant yellow without the greenish ring.
Cons:
- It’s possible to overcook them if the timing (especially the natural release) isn’t precise for your desired doneness.
- Eggs are slightly more prone to cracking during cooking in a pressure cooker if not handled gently, though this is less common with older eggs.
- Requires getting out and cleaning a larger appliance for something as simple as hard-boiled eggs, which might deter some for small batches.
- The initial pressurization time adds to the overall cooking duration, though the active cooking time is short.
How to Make Hard-Boiled Eggs in the Air Fryer
The air fryer, known for its ability to crisp and cook quickly, can also produce surprisingly good hard-boiled eggs with minimal fuss and no water whatsoever. This method is incredibly convenient for a quick batch and boasts super easy cleanup.
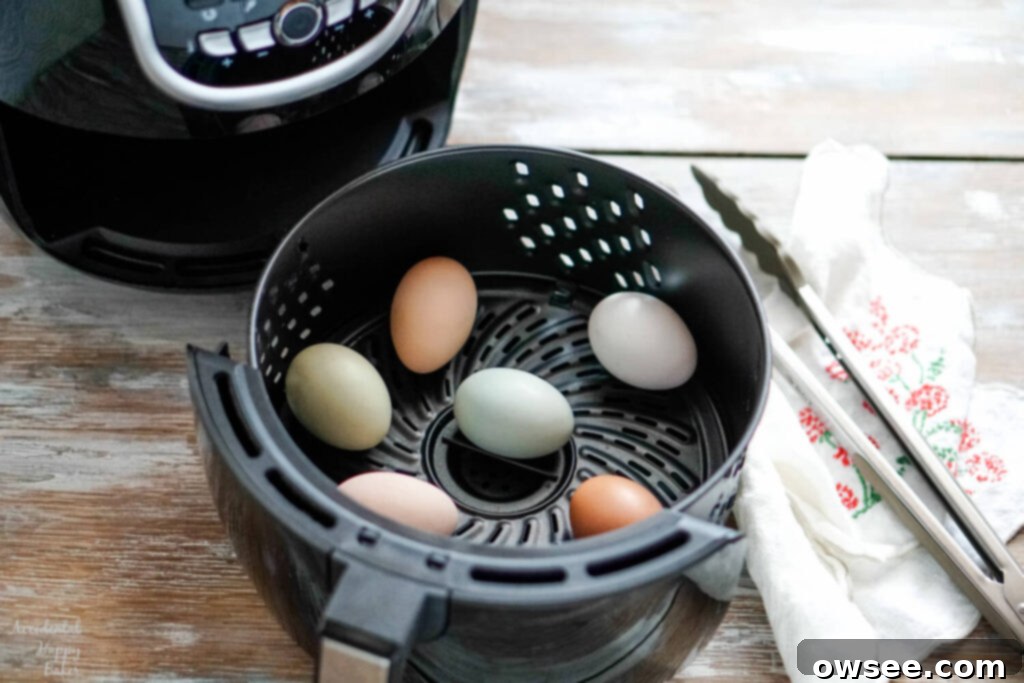
- Arrange Eggs: Gently place your eggs in the Air Fryer basket. Ensure they are in a single layer and not touching if possible, to allow for even air circulation. If your air fryer came with a rack, you can use it to elevate the eggs, but it’s not strictly necessary for this method.
- Air Fry: Set your Air Fryer temperature to 250°F (120°C) and the timer for 16 minutes. This lower temperature and longer cooking time help prevent cracks and yield a perfectly cooked yolk without harsh browning.
- Ice Bath: Once the timer has gone off, carefully remove the eggs from the air fryer basket. Immediately transfer them to an ice bath until they are cool to the touch (about 5-10 minutes). This crucial step stops the cooking process and makes peeling significantly easier. Refrigerate until ready to peel.
Pros and cons of cooking hard-boiled eggs in the Air Fryer.
Pros:
- Quick and simple, with minimal hands-on time once set up.
- No water needed, which means no messy pot to scrub and incredibly easy cleanup of the air fryer basket.
- Eggs are less likely to crack than with traditional boiling, especially if starting with room temperature eggs.
- Ideal for small to medium batches.
Cons:
- Can’t do very large batches efficiently, limited by the size of your air fryer basket.
- Not all Air Fryers have the same wattage or heating consistency, so results can vary. It might require some experimentation with your specific model to find the perfect timing and temperature.
- Some may find the texture slightly different from water-boiled eggs, though still perfectly enjoyable.
How to Make Hard-Boiled Eggs in the Slow Cooker
The slow cooker method for hard-boiled eggs is the definition of “set it and forget it.” While it takes the longest, it’s incredibly gentle, virtually eliminating cracks and making it perfect for preparing very large quantities with minimal effort. This is a great option if you’re meal prepping or feeding a crowd.
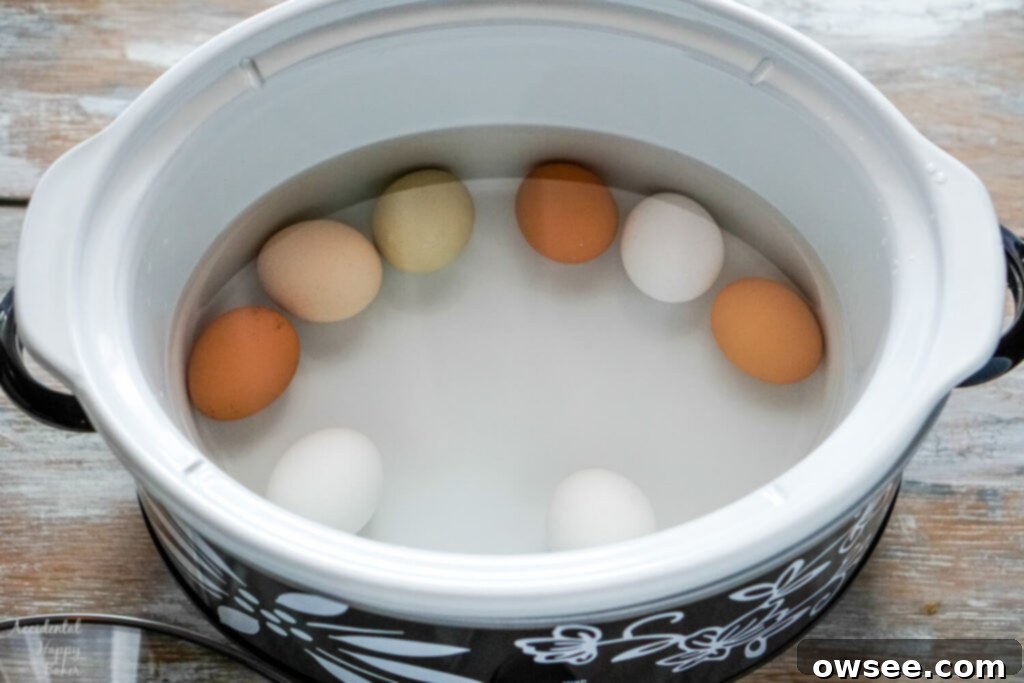
- Layer Eggs: Gently place your eggs in a single layer in the bottom of your slow cooker. You can add more layers if needed, ensuring not to overcrowd excessively.
- Add Water: Cover the eggs completely with cold water. Ensure there’s at least an inch of water above the top layer of eggs.
- Cook: Place the lid on the slow cooker and cook on the “High” setting for approximately 2 ½ hours. The slow, consistent heat will gently cook the eggs to a perfect hard-boiled consistency.
- Ice Bath: Once the cooking time is complete, carefully remove the eggs from the slow cooker using a slotted spoon. Immediately transfer them to an ice bath. Let them cool completely, about 10-15 minutes, until they are cold to the touch. This step is crucial for stopping the cooking and making the eggs easier to peel. Refrigerate until ready to peel.
Pros and cons of making hard-boiled eggs in the slow cooker
Pros:
- Super simple and incredibly hands-off. Once you set it, you don’t need to monitor it until it’s done.
- Can easily make larger batches without issues, limited only by the size of your slow cooker.
- Eggs almost never crack when cooked this way, thanks to the gentle and gradual heating.
- Great for meal prepping when you want to cook eggs in advance without taking up stovetop space.
Cons:
- Takes the longest amount of time compared to all other methods, so it’s not ideal if you need hard-boiled eggs quickly.
- Requires a slow cooker, which some households might not own.
- Can consume more energy over the extended cooking period compared to quick methods.
Troubleshooting What Went Wrong with Your Hard-Boiled Eggs!
Even with the best instructions, sometimes things go awry. Don’t worry, many common hard-boiled egg issues are easily fixed or understood. Here’s a quick guide to troubleshooting:
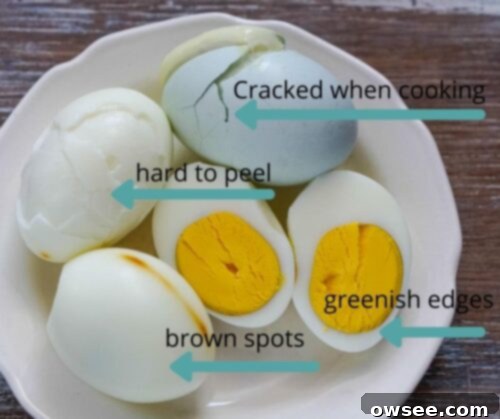
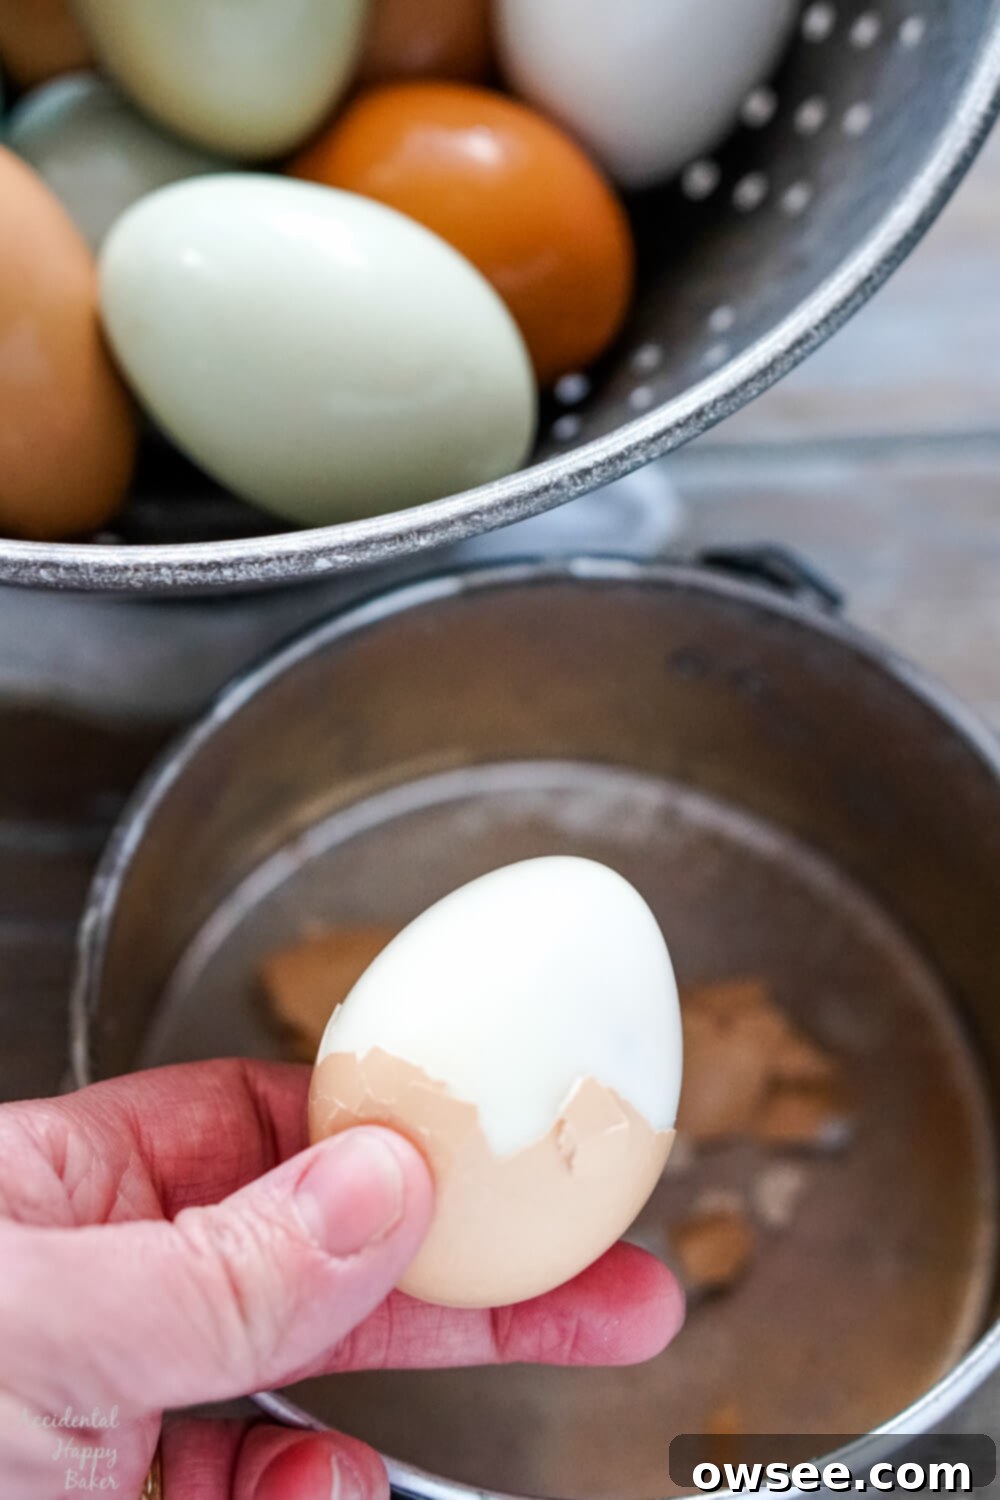
This is one of the most frustrating problems! Fresh eggs tend to stick to their shells more. For easier peeling, try using older eggs (a week or two old are ideal). The Instant Pot/pressure cooker method is also renowned for producing the easiest-to-peel eggs due to the steam pressure. Additionally, immediately after cooking, crack the shells of your eggs thoroughly, making sure you break the inner membrane, and let them soak in cold water (or the ice bath) for an hour or two. This allows water to seep between the membrane and the egg white, helping the shell release.
This classic sign indicates your eggs were overcooked. The greenish-gray ring is a result of a chemical reaction between sulfur in the egg white and iron in the yolk, which happens when eggs are cooked at too high a temperature or for too long. While it doesn’t affect the safety or taste of the egg, it can be less visually appealing. The good news is, they are still perfectly good to eat! Just mash them up for egg salad or deviled eggs, and no one will be any the wiser!
Brown spots on egg whites typically occur when the eggs are cooked at a very high temperature in direct contact with a hot surface, such as in the oven or air fryer. These spots cooked hotter and faster than the rest of the egg. To prevent this, try cooking your eggs on a rack (like a trivet in the Instant Pot or a dedicated air fryer rack) or using a nest of crumpled aluminum foil in an oven muffin tin to hold them up slightly away from the direct heat of the cooking surface.
Eggs have small air bubbles inside them that expand as they heat up. This expansion puts pressure on the shell, causing it to crack, especially if the temperature change is too sudden. To minimize cracking, try starting with room temperature eggs instead of cold eggs directly from the fridge. Also, when boiling, ensure you use lukewarm water initially or bring the water to a boil slowly. Adding a pinch of salt to the water can also help by sealing any small cracks that form early on.
The ice bath is a critical step in making perfect hard-boiled eggs. It serves two main purposes: Firstly, it immediately stops the cooking process, preventing the eggs from becoming overcooked (and thus avoiding the dreaded green/gray yolk). Secondly, the rapid cooling causes the egg white to contract slightly, pulling away from the shell’s inner membrane. This makes the eggs much easier to peel, reducing breakage and frustration.
Proper storage is key for hard-boiled eggs. Once peeled, they should be stored in an airtight container in the refrigerator and are best consumed within one to two days. Unpeeled hard-boiled eggs, kept in their shells, can last significantly longer – typically up to one week in the refrigerator. Always make sure to refrigerate them promptly after cooling for safety and freshness.
Pin it to save it for later!
With these five detailed methods, you’re now equipped to tackle hard-boiled eggs with confidence, no matter your kitchen setup or how many eggs you need to prepare. Experiment with each technique to discover your personal favorite, and say goodbye to frustrating peels and overcooked yolks. Enjoy the versatility and deliciousness of perfectly hard-boiled eggs in all your culinary creations!
