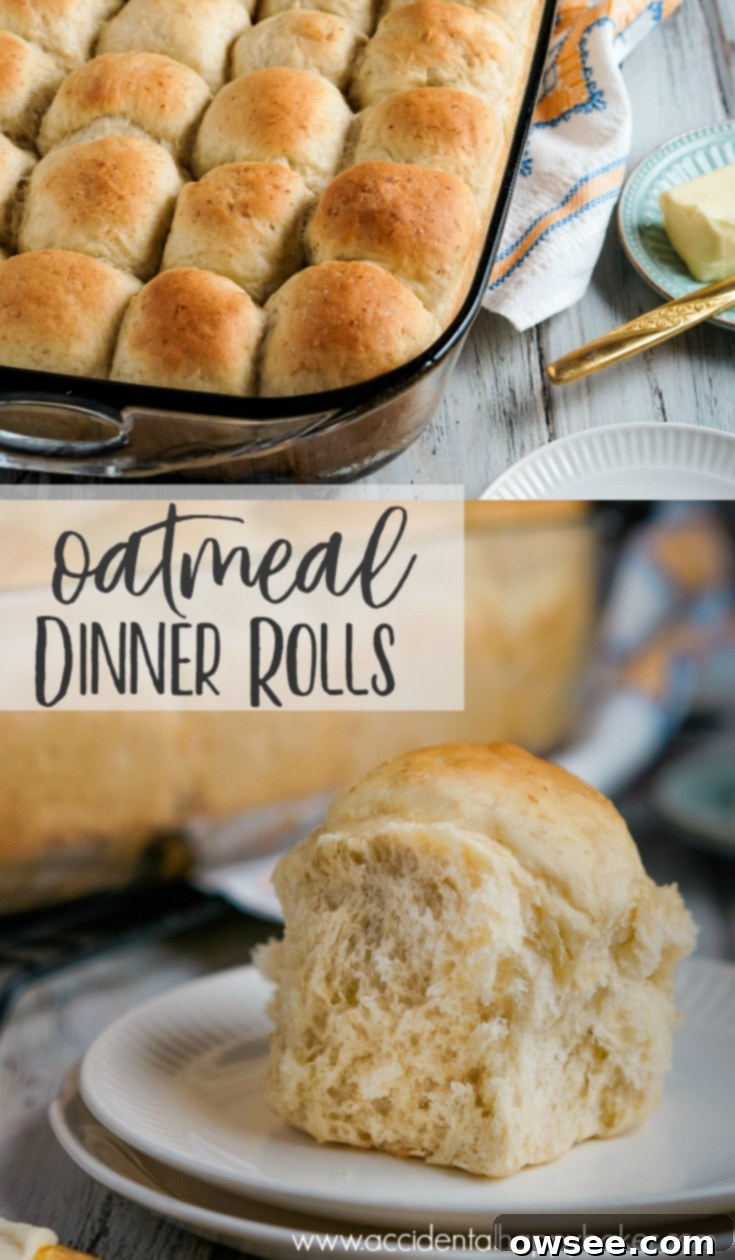
Irresistibly Soft & Fluffy Homemade Oatmeal Dinner Rolls: Your New Go-To Recipe
There’s nothing quite like the aroma of freshly baked bread filling your home, and these oatmeal dinner rolls are designed to deliver that pure comfort. They are wonderfully light, incredibly fluffy, and possess a delicate sweetness that makes them truly irresistible. Easy to prepare, yet they taste like a culinary masterpiece, these rolls are destined to become a beloved staple in your kitchen. Get ready to say hello to your new favorite dinner roll!
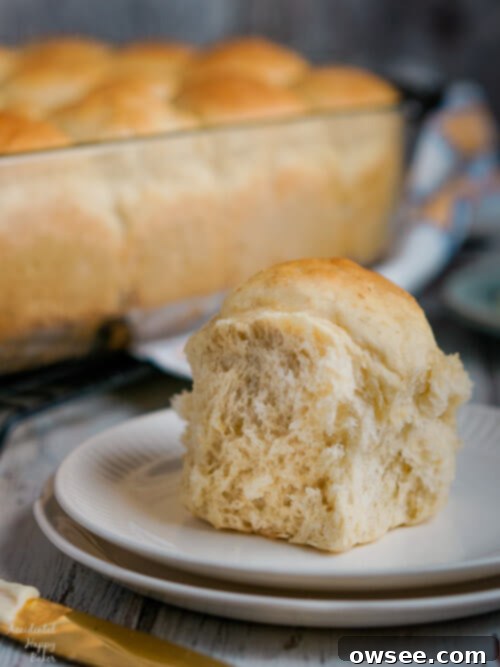
The Unexpected Journey to Baking Perfection
Life, much like baking, often throws us curveballs. I vividly recall a Monday morning when my carefully laid plans for a productive session of house cleaning and blog work were completely derailed. Instead, I found myself unexpectedly spending hours at a Walmart Subway, waiting for a flat tire to be fixed. It was a stark reminder that even with the best intentions, things don’t always go according to plan. Thankfully, Subway served coffee, which certainly helped me navigate the unexpected detour with a smile.
Baking can present similar unforeseen challenges. You start with a clear vision, a recipe in hand, and then something entirely unanticipated shifts your course. My first attempt at these very oatmeal rolls was a perfect example. My initial plans were completely sidetracked because, much to my dismay, my yeast was too old. And as any experienced baker knows, old yeast simply means dead yeast – and dead yeast won’t give you the beautiful rise you’re hoping for! This crucial lesson taught me the importance of checking your ingredients, especially when it comes to the living components of your delicious homemade bread.
Mastering Yeast: The Heartbeat of Your Dinner Rolls
Yeast is a living organism, a microscopic fungus that plays a crucial role in creating the light, airy texture we adore in baked goods like these homemade dinner rolls. It feeds on sugar and produces carbon dioxide, which forms bubbles within the dough, causing it to rise. Without active yeast, your rolls will be dense and flat, missing the signature fluffiness that makes them so delightful. That’s why checking the viability of your yeast is perhaps the most critical step in any yeast-based recipe. Don’t let a simple oversight lead to a baking flop; a quick test can save your efforts and ensure perfect soft and fluffy rolls every time.
The Essential Yeast Activation Test
Before you commit to a full batch of dough for your soft oatmeal dinner rolls, it’s always wise to perform a quick yeast activation test. This simple step can save you a lot of time, ingredients, and potential disappointment. If you haven’t checked your yeast recently, or if you’re using a new packet, here’s exactly what you need to do:
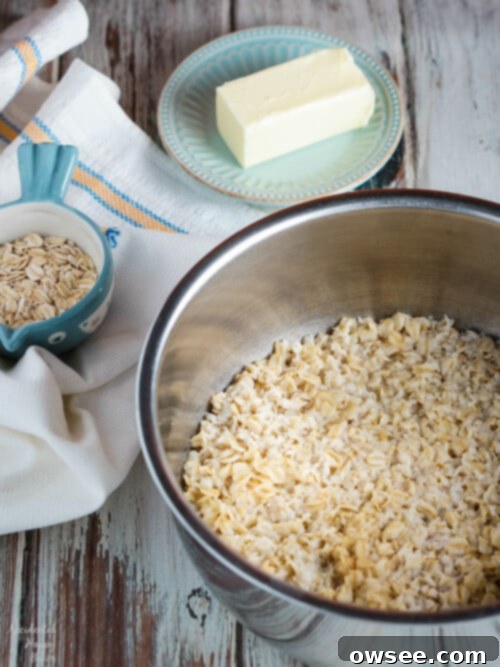
To perform the test, grab a liquid measuring cup and fill it with 1/2 cup of warm water (ideally between 105-115°F or 40-46°C – warm to the touch, but not hot, as too much heat will kill the yeast). Add 1 teaspoon of sugar (this provides the necessary fuel for the yeast to activate) and 2 1/4 teaspoons of active dry yeast. Give it a gentle stir to combine, then let it sit undisturbed in a warm, draft-free spot for about 10 minutes. If your yeast is alive and kicking, the mixture should become beautifully foamy and grow noticeably, ideally reaching the 1-cup line or at least showing significant activity and a bubbly surface. If after 10 minutes, you don’t see this robust activity, it’s a clear sign: it’s time to buy new yeast! Don’t risk a failed batch of these amazing oatmeal rolls with dormant yeast.
Why These Oatmeal Dinner Rolls Will Steal Your Heart
These oatmeal dinner rolls are more than just a recipe; they embody the very essence of why I started this blog. I wanted to share dishes that feel genuinely homemade, comforting, and as if they’ve come straight from a beloved grandma’s kitchen – full of warmth, flavor, and a touch of nostalgia. These rolls perfectly fit that description. They strike an ideal balance, being incredibly light and fluffy without feeling heavy, and offering a delicate, underlying sweetness that never overwhelms the palate. This makes them perfect for any meal, from a holiday feast to a simple weeknight dinner.
The addition of old-fashioned oats not only contributes to their hearty and wholesome character but also offers a subtle depth of flavor that sets them apart from ordinary dinner rolls. While the taste of oats is certainly present and adds to their charm, the texture of the oats remarkably transforms after soaking in boiling water and undergoing the thorough kneading process. They almost completely disappear into the dough, resulting in an incredibly smooth and tender crumb that even oat-skeptics will love. This unique preparation makes the dough remarkably versatile, a true all-purpose wonder that can be used for so much more than just classic dinner rolls. Imagine them as amazing, slightly sweet, and sturdy sandwich buns, providing a satisfying base for your favorite fillings, or even as the foundation for unbelievably delicious, homemade cinnamon rolls! The possibilities are endless when you have such a adaptable and flavorful dough at your fingertips.
The Simple Steps to Perfect Homemade Dinner Rolls
Crafting these delectable oatmeal dinner rolls is a rewarding experience that follows a straightforward process, making homemade bread accessible to bakers of all skill levels. From preparing the oat base to watching the dough beautifully rise, each step is crucial for achieving that signature soft and fluffy texture that makes these rolls so special.
Preparing the Oat Base for Flavor and Texture
The first step involves creating the heart of our rolls: the oat base. By combining old-fashioned oats with butter and dousing them with boiling water, we initiate a process that both softens the oats significantly and infuses the butter’s richness throughout the mixture. This steeping not only helps the oats integrate seamlessly into the dough later, preventing a lumpy texture, but also helps release their natural, wholesome flavor. Allowing this mixture to cool completely to room temperature is an absolutely essential step before introducing the delicate yeast, ensuring the microorganisms aren’t killed by excessive heat. This initial, careful preparation sets the stage for a wonderfully moist and deeply flavorful crumb in your finished oatmeal rolls.
Kneading Your Way to Elastic Dough
Once your yeast is activated and has been combined with the cooled oat mixture, the packed brown sugar, and a touch of salt, it’s time for the magical process of kneading. Adding the flour one cup at a time ensures proper incorporation and allows you to accurately gauge the dough’s consistency, preventing it from becoming too stiff too quickly. Kneading for 6-8 minutes, whether by hand for a more tactile experience or with a stand mixer equipped with a dough hook for ease, is vital for developing the gluten in the all-purpose flour. This gluten development is precisely what gives the dough its structure, strength, and elasticity, ultimately leading to those coveted light, airy, and fluffy oatmeal dinner rolls. You’ll know it’s ready when the dough feels beautifully smooth, pliable, and springs back gently when poked.
The Art of the First Rise: Building Volume and Flavor
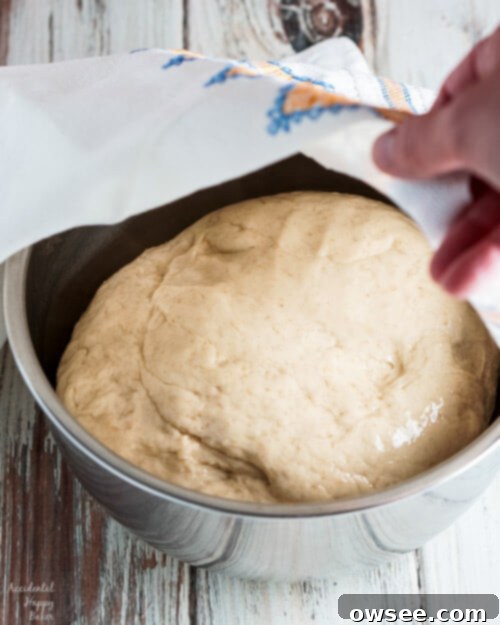
After a good knead, the dough needs its time to shine during the crucial first rise. Placed in a lightly oiled bowl and covered securely to prevent drying out, the dough begins its wonderful transformation. As the active yeast happily consumes the sugars present in the dough, it produces carbon dioxide gas, which causes the dough to expand and double in size. This process, typically taking about an hour in a warm environment, not only greatly increases the dough’s volume but also deepens its flavor, giving your homemade rolls that characteristic fermented note that makes fresh bread so superior. Patience during this stage is a key ingredient to achieving the optimal tender and airy texture for your perfect oatmeal dinner rolls.
Baking Tips for Fluffy Oatmeal Rolls Every Time
Achieving consistently perfect, light, and fluffy oatmeal dinner rolls is easier than you think with a few helpful tips that can make all the difference:
- Ensure Correct Water Temperature: As highlighted with the yeast test, the temperature of your water for activating yeast is critical. Too cold, and the yeast won’t activate; too hot, and it will die. Aim for a warm-to-the-touch temperature, around 105-115°F (40-46°C).
- Don’t Over-Flour the Dough: This particular dough for oatmeal rolls is designed to be somewhat sticky, as noted in the recipe. Resist the urge to add too much extra flour during the kneading process, as it can quickly lead to dry, dense, and tough rolls. A stand mixer with a dough hook is highly recommended for its efficiency and ability to handle sticky doughs without excessive added flour.
- Provide a Warm Environment for Rising: A slightly warm, draft-free spot is ideal for your dough to achieve its maximum rise. If your kitchen is cool, you can place the covered bowl in a slightly warm (but turned off) oven with the light on, or near a sunny window, to encourage optimal yeast activity.
- Achieve Evenly Sized Rolls: For uniform baking and a professional, appealing look, try to divide your dough into equal pieces before shaping. A kitchen scale can be a very helpful tool for this, ensuring each roll bakes at the same rate and comes out perfectly.
- Monitor Baking Closely to Prevent Overbaking: Keep a close eye on your delicious oatmeal rolls during the last few minutes of baking. They should be beautifully golden brown on top and sound hollow when gently tapped on the bottom. Overbaking can quickly dry them out, sacrificing their wonderful softness.
- Brush with Melted Butter for Extra Richness: For an extra touch of irresistible flavor, a beautiful sheen, and a softer crust, brush the warm rolls with melted butter immediately after they come out of the oven. This simple step elevates them even further.
Serving Suggestions & Storage for Your Homemade Oatmeal Rolls
These versatile homemade oatmeal dinner rolls are fantastic in countless ways, making them a perfect addition to any meal or occasion. Serve them warm with a generous knob of sweet cream butter, alongside a hearty stew, a rich chili, or perfectly roasted chicken for an ultimate comforting meal. Their subtle sweetness and robust texture also make them excellent slider buns for mini sandwiches, perfect for parties, picnics, or a light lunch. You can even transform them into delightful sweet treats by splitting and toasting them, then spreading with your favorite jam, honey, or a sprinkle of cinnamon sugar. As mentioned earlier, the adaptability of this dough also makes it a fantastic base for unbelievably delicious, homemade cinnamon rolls!
To store any leftover rolls and maintain their freshness, place them in an airtight container or a large zip-top bag at room temperature for up to 2-3 days. For longer storage, which is highly recommended if you make a large batch, freeze them in a single layer on a baking sheet until firm, then transfer them to a freezer-safe bag for up to 3 months. When ready to enjoy, thaw them at room temperature and then warm gently in the oven (covered with foil to prevent drying) or briefly in the microwave to restore their soft texture and fresh-baked taste.
Oatmeal Dinner Rolls
Print
Rate
SaveSaved!
Ingredients
- 1 cup old fashioned oats
- 3 Tablespoons butter
- 2 cups boiling water
- 4 1/2 teaspoons active dry yeast
- 1/3 cup warm water
- 2/3 cup brown sugar (packed)
- 1 1/2 teaspoon salt
- 5 cups all purpose unbleached flour
Instructions
-
Add the oats and butter to a large heat proof bowl. Pour the boiling water over the oats and butter and allow to sit until room temperature.
-
In a small bowl or cup, add the yeast to the 1/3 cup warm, not hot, water and stir gently. Add the yeast mixture, brown sugar and salt to the oats and stir gently.
-
Knead in the flour one cup at a time. Knead the dough 6-8 minutes or until it becomes smooth and elastic. Place the dough in an oiled bowl and cover. Let the dough raise for one hour or until doubled.
-
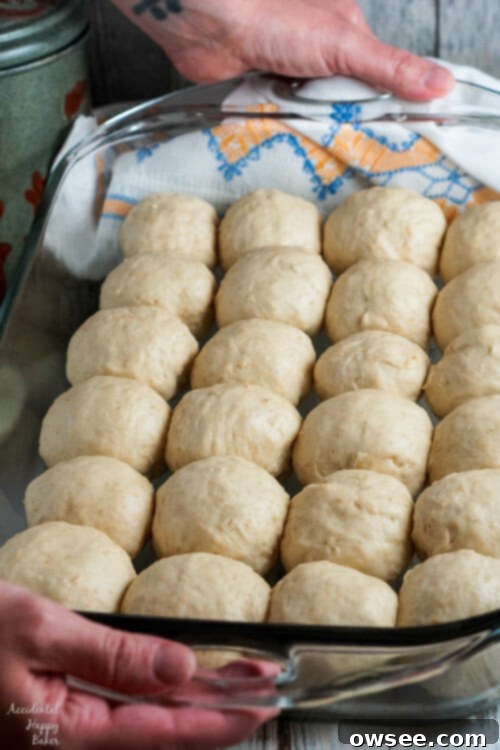
Punch the dough down and divide it into 24 equal pieces. Shape into rolls and place in a greased 13×9 inch pan. Allow to rise again for 20-30 minutes.
-
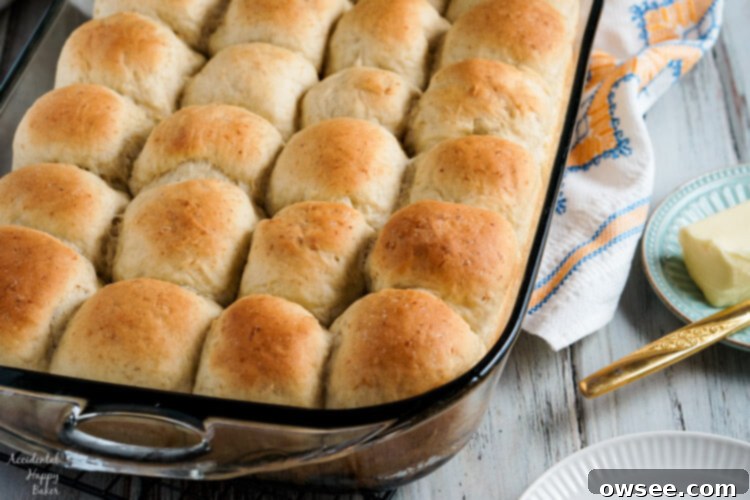
Preheat the oven to 350 degrees while the rolls are having their final rise. Bake at 350 for 20 to 25 minutes or until golden brown on top.
Notes
Nutrition
Embrace the Joy of Homemade Bread
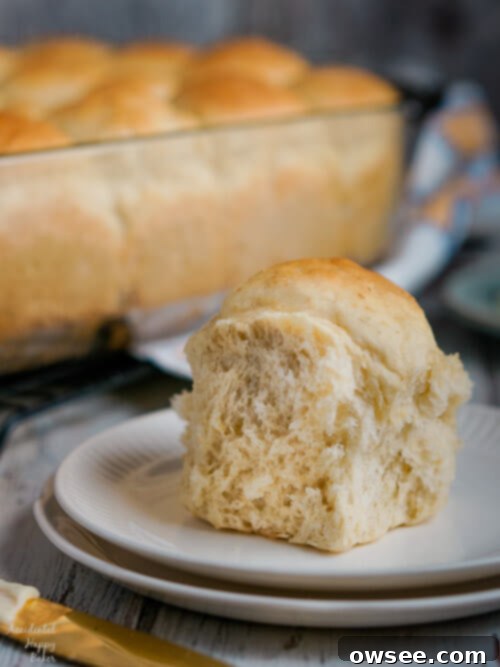
Baking homemade bread, especially something as comforting and delightful as these oatmeal dinner rolls, is truly an act of love and a deeply rewarding culinary endeavor. There’s an unparalleled satisfaction that comes from transforming simple, wholesome ingredients into a warm, fragrant, and utterly delicious creation right in your own kitchen. These rolls are far more than just a side dish; they’re an invitation to slow down, savor the process, and share something truly special and comforting with your family and friends. Their subtle oat flavor and incredibly tender, melt-in-your-mouth crumb make them a standout, versatile enough to complement any meal or elevate any occasion.
Whether you’re an experienced baker with years of kneading under your belt or just starting your journey with yeast breads, this comprehensive recipe for soft and fluffy oatmeal dinner rolls offers a straightforward and enjoyable path to success. With the right active yeast, a little patience during the rises, and these detailed tips, you’ll soon be pulling golden-brown, pillowy rolls from your oven that taste like they were made with generations of cherished baking wisdom. Don’t be deterred by minor setbacks – remember, every successful bake often has a story of a flat tire or old yeast behind its triumph! Embrace the process, trust this well-tested recipe, and prepare to delight everyone at your table with these magnificent, wholesome homemade rolls.
