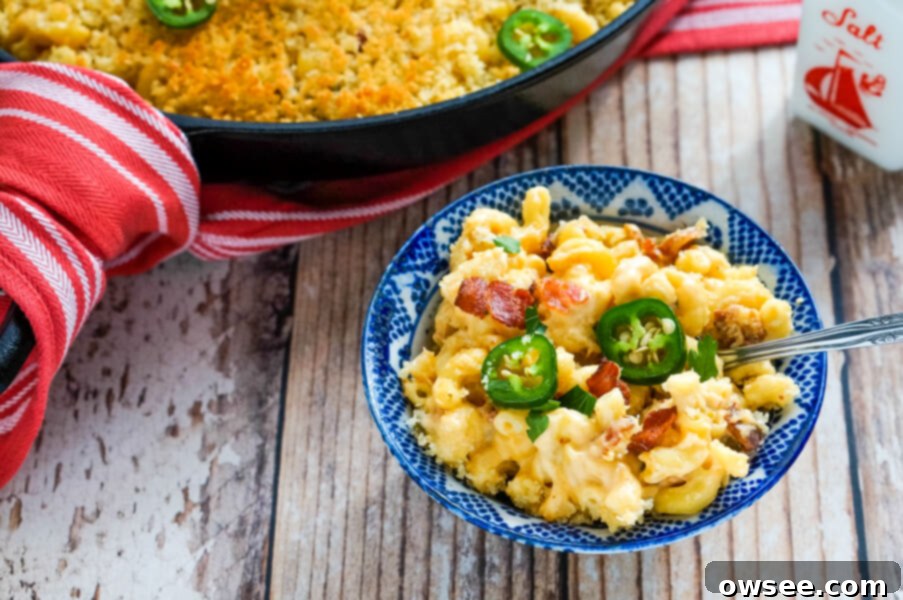
Ultimate One-Pot Jalapeño Bacon Mac and Cheese: Creamy, Spicy, Smoky Perfection
Prepare your taste buds for an extraordinary culinary adventure with our **Jalapeño Bacon Mac and Cheese!** This isn’t just any macaroni and cheese; it’s a gourmet experience packed into a single pot. Imagine incredibly creamy, rich cheese sauce enveloping tender elbow macaroni, all elevated by the fiery kick of fresh (or canned!) jalapeños and the irresistible smoky crunch of crispy bacon. This fantastic one-pot recipe starts its journey on your stovetop, building layers of flavor, and then effortlessly transitions to the oven, creating a simple yet utterly spectacular dish that will undoubtedly become a new family favorite. It’s the perfect harmony of comfort food classics with an exciting, spicy twist.
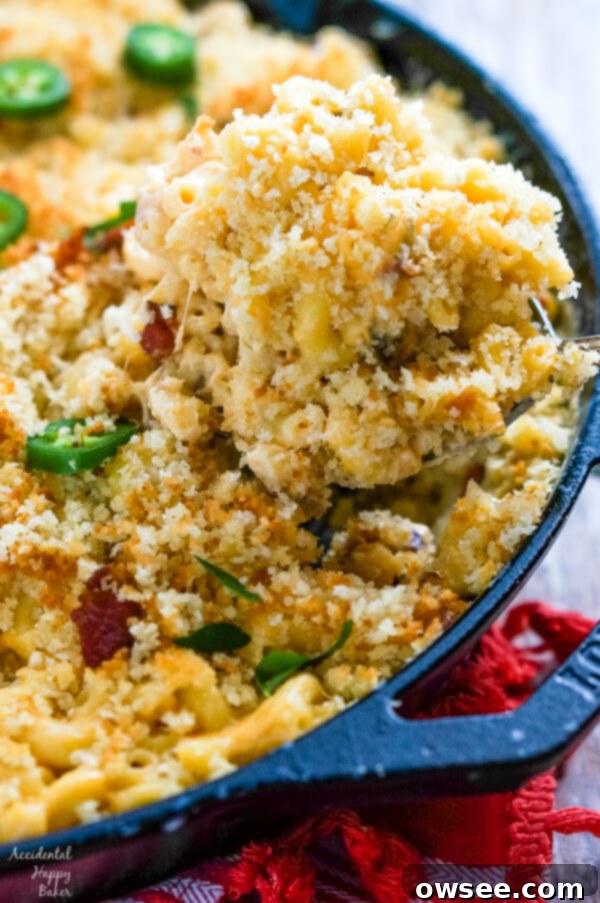
Why This Jalapeño Bacon Mac and Cheese Will Be Your New Obsession
Hey there, all you mac and cheese aficionados! This recipe is tailor-made for those who crave bold flavors and ultimate comfort. We’re talking about a dish that takes the beloved classic and injects it with a thrilling blend of heat and savoriness. The magic lies in its simplicity and the depth of flavor achieved through smart cooking techniques. Using a single pan not only minimizes cleanup but also ensures that every component – from the crispy bacon bits to the vibrant jalapeños – melds perfectly into the luscious cheese sauce, creating a cohesive and unforgettable taste experience.
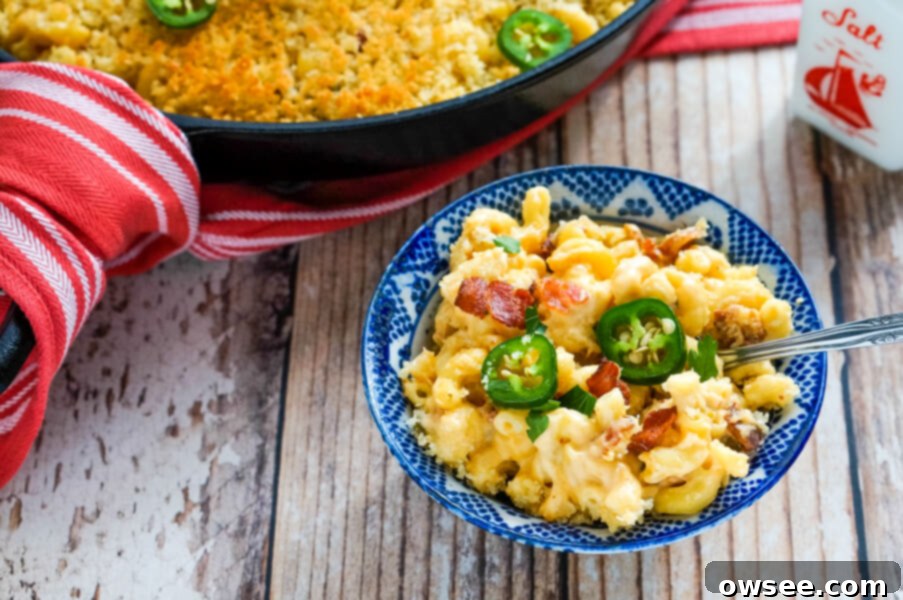
This mac and cheese is truly a simple recipe, made entirely in one trusty pan, ideally a cast iron skillet. That versatile piece of cookware gets used constantly in my kitchen, and it’s perfect for this dish. It makes an ideal and easy side dish to serve alongside hearty meals like juicy burgers, smoky BBQ pulled pork, or classic sloppy joes. Honestly, it pairs well with just about anything you can think of. But let’s be real, for us true mac and cheese lovers, it’s far more than just a side dish. If you want to dive headfirst into a bowl of nothing but this incredible Jalapeño Bacon Mac and Cheese, who are we to judge? Enjoy it as a decadent main course, because you absolutely deserve it!
Tips & Variations for Your Perfect Mac and Cheese
Crafting the perfect mac and cheese is an art, and this recipe offers plenty of room for personalization. Here are some key tips and variations to ensure your dish is exactly how you like it:
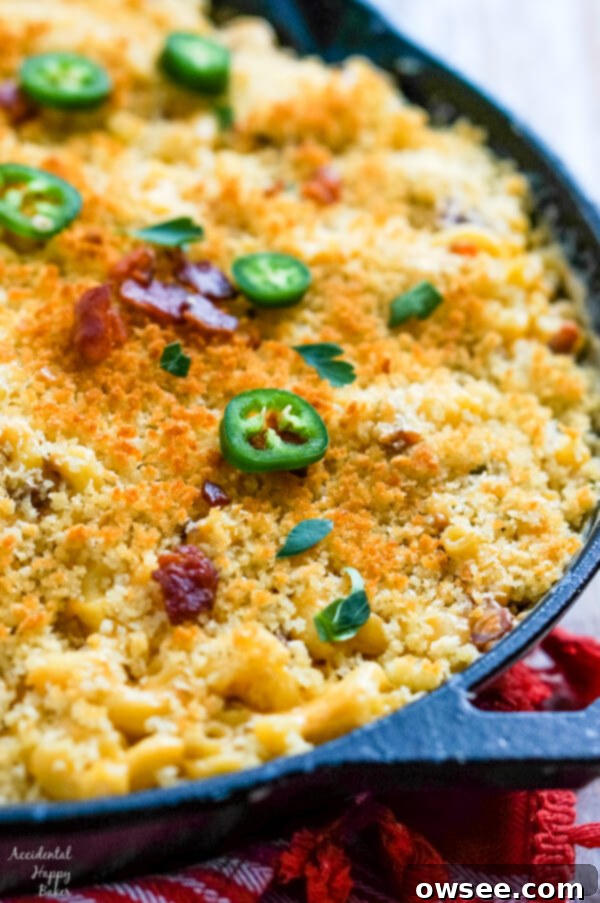
- Jalapeños: Fresh vs. Canned: You have flexibility when it comes to the spicy kick! This recipe works beautifully with both canned jalapeños and fresh chopped jalapeños. While fresh peppers offer a brighter, slightly more crisp texture, canned jalapeños provide a convenient and consistent heat level. The batch in the pictures, for instance, was made with canned jalapeños due to a lack of fresh ones on hand during lockdown – proving you can achieve incredible results either way.
- When to Add Fresh Jalapeños: If you opt for fresh jalapeños, the only significant difference in the process is *when* you add them. You’ll want to sauté them earlier in the recipe, specifically after rendering the bacon, so they have enough time to soften and mellow out their raw heat, infusing their flavor into the bacon grease. This step helps to create a more integrated spicy note throughout the dish.
- Breadcrumb Alternatives: Don’t have panko breadcrumbs? No problem! Panko offers a uniquely light and crispy texture, but regular breadcrumbs are a fantastic substitute. For an even more creative twist and extra crunch, try crushing some crackers (butter crackers or even Ritz work wonderfully) and using those as your topping.
- Cheese Exploration: The beauty of homemade mac and cheese lies in the cheese blend. Always, always, always feel empowered to experiment with different varieties of cheese! While sharp cheddar, mozzarella, and cream cheese provide a classic, gooey, and tangy base, feel free to get creative. Gruyere adds nuttiness, Monterey Jack melts beautifully, and a touch of smoked gouda can enhance the smoky bacon flavor. The best mac and cheese I’ve ever made was a random assortment of leftover cheese packages from my fridge – a happy accident I’ve sadly never been able to perfectly replicate! So, embrace the randomness and discover your own signature blend.
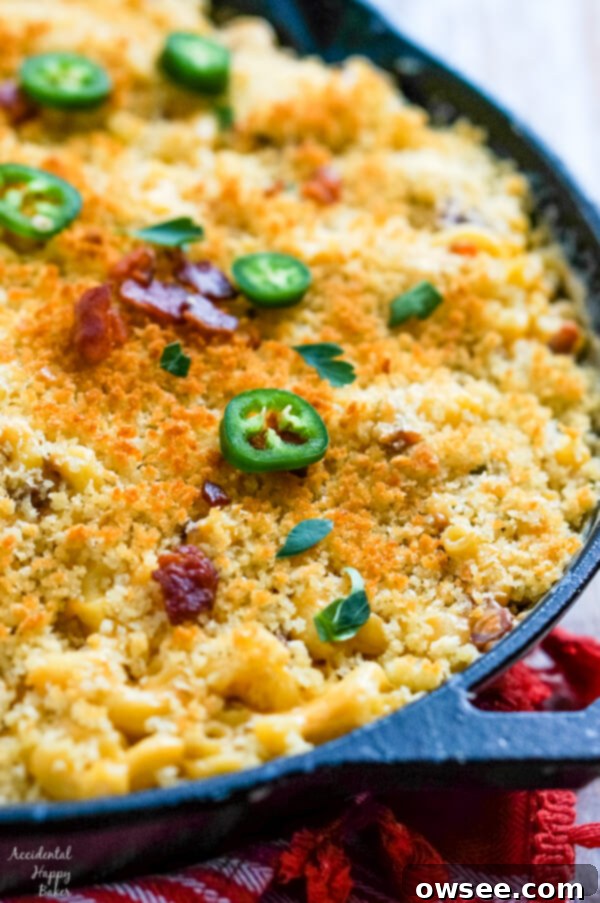
How to Make This Incredible Jalapeño Bacon Mac and Cheese: A Step-by-Step Guide
This one-pot wonder makes the cooking process as enjoyable as the eating! Here’s how you bring all those incredible flavors together:
1. Sizzle the Bacon & Prepare the Base
You’ll begin by frying approximately 10 slices of bacon in your large oven-proof pan or skillet until they are wonderfully crispy. Once cooked, remove the bacon to a paper towel-lined plate to cool and drain. This step is crucial for achieving that irresistible smoky crunch. Once cooled, crumble the bacon and set it aside – it will be added back into the dish later. Now, carefully pour off all but about 2 tablespoons of that flavorful bacon grease. This rendered fat is liquid gold and forms the foundation of our rich cheese sauce.
Jalapeño Integration: If you’re using fresh, diced jalapeños, now is the time to add them to the reserved bacon grease. Cook them over medium heat for a few minutes, stirring occasionally, until they start to soften. This mellows their heat and incorporates their fresh flavor. If you’re using canned jalapeños, simply proceed to the next step, as they will be added later.
2. Craft the Flavorful Roux
Next, we create the roux, the thickening agent for our cheese sauce. Add 2 tablespoons of all-purpose flour to the hot bacon grease. Whisk continuously for 1-2 minutes until the flour and bacon grease are smoothly combined, bubbly, and have cooked out any raw flour taste. This golden mixture is essential for a velvety smooth sauce.
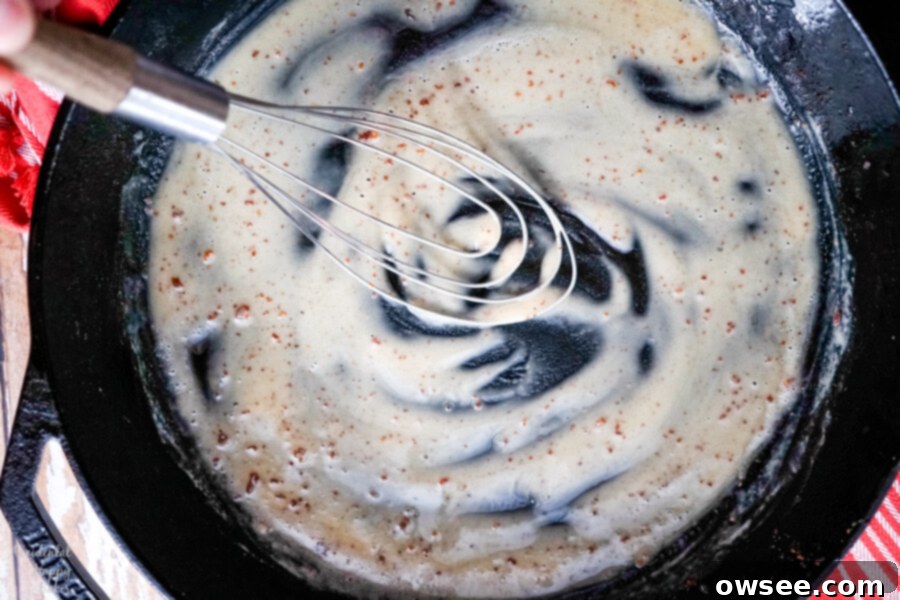
3. Build the Creamy Sauce
Gradually pour in 2 cups of chicken broth, whisking constantly to ensure no lumps form. Continue whisking as the mixture heats and thickens slightly. The broth adds another layer of savory depth to our sauce. Once smooth, add 1 quart of milk, along with the seasonings: ¾ teaspoon salt, ¼ teaspoon black pepper, ¼ teaspoon garlic powder, and ¼ teaspoon onion powder. Give it a good stir to combine all these aromatic spices.
4. Cook the Macaroni to Al Dente Perfection
Now for the star of the show: the macaroni! Stir 1 pound of elbow macaroni into the seasoned liquid. Bring the mixture to a gentle simmer and cook for 8-9 minutes, stirring frequently to prevent sticking. The goal here is to cook the macaroni only to an al dente stage – slightly firm to the bite. Remember, this dish will be cooked again in the oven, so we want to avoid overcooking the pasta at this stage to ensure it doesn’t turn mushy later.
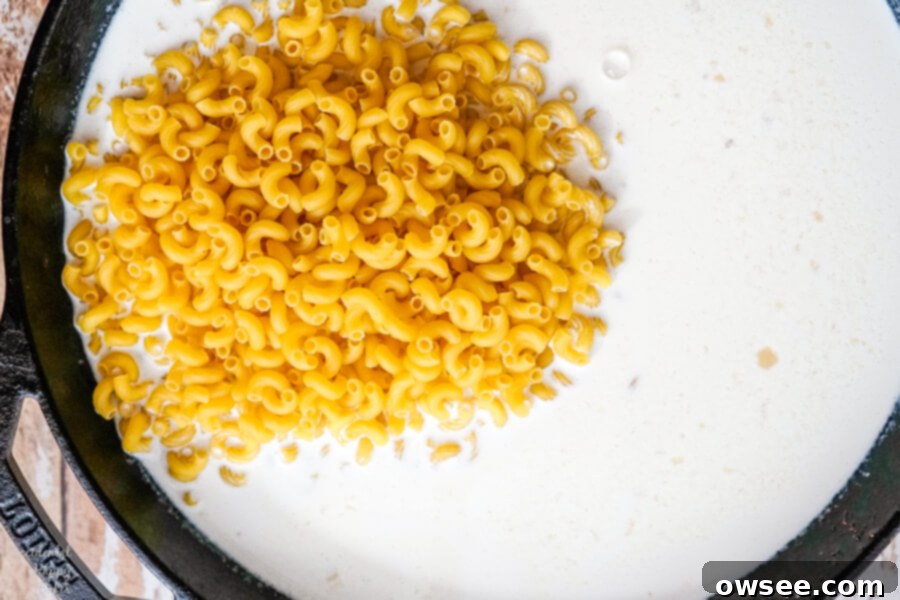
5. Melt the Cheeses & Add the Goodies
Once the macaroni is al dente, reduce the heat to low. This is where the magic happens! Add all your cheeses: 2 cups shredded sharp cheddar, 1 cup shredded mozzarella, and 2 ounces cream cheese. Also, reintroduce the crumbled bacon and, if you’re using canned, the chopped jalapeños. Stir continuously until all the cheeses are completely melted, creating a luxuriously smooth and incredibly cheesy sauce that coats every single piece of macaroni. The cream cheese ensures extra creaminess, while the cheddar provides that classic tang and the mozzarella gives a beautiful stretch.
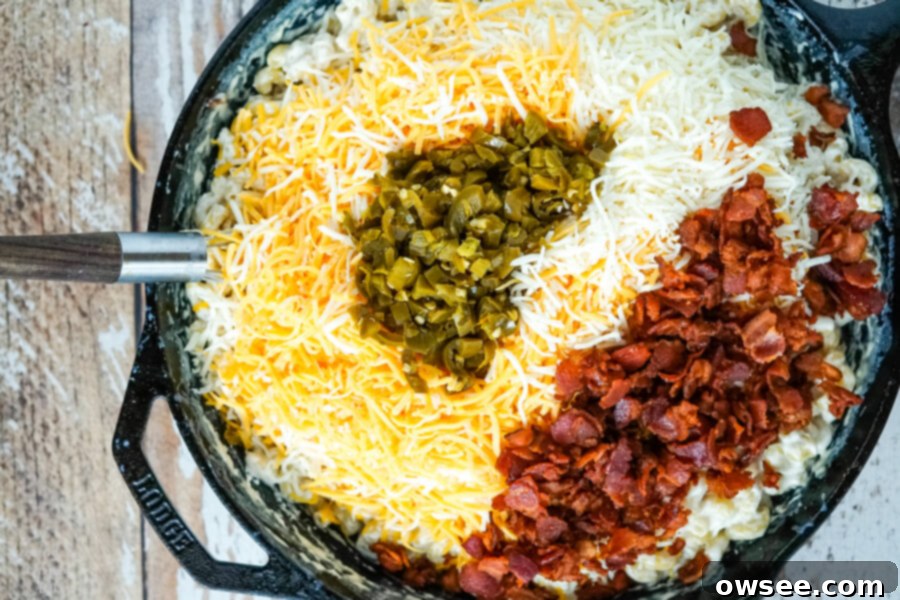
Continue stirring gently until the cheese has fully melted and the entire mixture is smooth, homogenous, and utterly irresistible. Ensure everything is well combined, with the bacon and jalapeños distributed evenly throughout the creamy pasta.
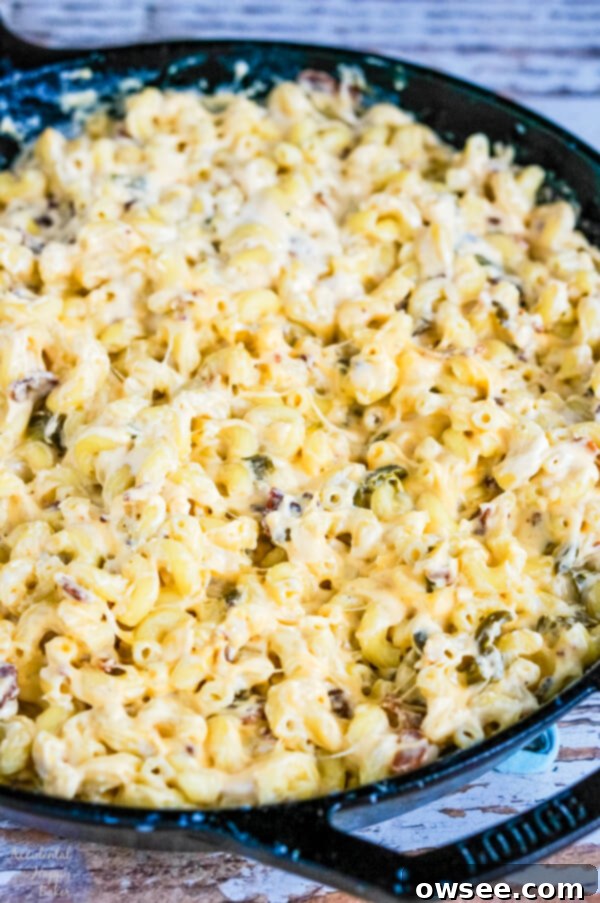
6. The Crispy Topping & Finishing Bake
While your mac and cheese is simmering, preheat your oven to 375°F (190°C). For the crowning glory, prepare the panko topping: in a small bowl, combine 1 cup of panko breadcrumbs with ¼ cup of melted butter and ½ teaspoon of parsley. The butter helps the panko toast to a beautiful golden brown, and the parsley adds a fresh touch.
Generously sprinkle this buttery panko mixture evenly over the top of your mac and cheese in the skillet. Place the skillet into the preheated oven and bake for 15-20 minutes, or until the breadcrumbs are gloriously golden brown and toasted, and the mac and cheese is bubbling around the edges. This baking step allows the flavors to meld further and creates that irresistible crispy crust that perfectly contrasts the creamy interior.
*Speedy Alternative: If you’re short on time and need to hasten the browning process, you can place the skillet under the broiler for a few minutes until the breadcrumbs have browned. Just be extremely vigilant, as the panko can burn very quickly under the broiler!
Jalapeno Bacon Mac and Cheese
Print
Rate
SaveSaved!
Ingredients
- 10 slices of bacon
- 2 Tablespoons bacon grease
- 2 Tablespoons all purpose flour
- 2 cups chicken broth
- 1 quart milk
- 1 pound elbow macaroni
- 3/4 teaspoon salt
- 1/4 teaspoon garlic powder
- 1/4 teaspoon onion powder
- 1/4 teaspoon black pepper
- 2 cups sharp cheddar (shredded)
- 1 cup mozzarella (shredded)
- 2 ounces cream cheese
- 1 4 ounce can chopped jalapenos or 1/2 cup fresh diced jalapeno*
- 1 cup panko breadcrumbs
- 1/4 cup melted butter
- ½ tsp parsley
Instructions
-
In a large oven proof pan fry 10 slices of bacon until crisp. Remove the bacon to paper towels to drain grease and cool. Crumble bacon and set aside.
-
Reserve 2 tablespoons of bacon grease to make a roux. Heat the bacon grease over medium heat. If you’re using fresh jalapenos add them to the bacon grease and cook a few minutes until the peppers begin to soften. If you’re using canned jalapenos simply continue on to the next step.*
-
Add the flour to the bacon grease and whisk until the mixture is bubbly and combined.
-
Whisk the broth into the roux and cook until it’s smooth and slightly thickened.
-
Add the milk to the mixture, along with the salt, pepper, garlic powder, and onion powder.
-
Stir in the macaroni and bring to a simmer. Simmer for 8-9 minutes or until the macaroni is cooked al dente. Meanwhile, preheat the oven to 375 degrees.
-
Reduce the heat to low and add all the cheeses, canned jalapenos (if using canned instead of fresh) and crumbled bacon to the macaroni. Stir until the cheese is melted and smooth.*
-
Prepare the topping by mixing together the panko bread crumbs with butter and parsley.
-
Sprinkle the topping over the macaroni and cheese and place in the oven. Bake for 15-20 minutes at 375 degrees or until the panko is golden brown.
Notes
Instead of baking, you may also place the panko topped macaroni and cheese under the broiler until the topping has browned. Just be careful not to let it burn.
Serving Suggestions & Perfect Pairings
This Jalapeño Bacon Mac and Cheese is incredibly versatile. While it’s robust enough to be a stand-alone meal (and trust us, you’ll want to eat it all by itself!), it also shines as a show-stopping side dish. Its creamy, spicy, and smoky profile makes it an excellent complement to a variety of main courses. Consider serving it with:
- Italian Sloppy Joes: The rich, savory meat of sloppy joes finds a perfect counterpart in the cheesy, spicy pasta.
- Juicy Burgers (or a Midwestern Loose Meat Sandwich): A classic pairing! The mac and cheese adds a gourmet touch to any burger night.
- Slow Cooker Root Beer Pulled Pork: The sweet and tangy notes of pulled pork are beautifully balanced by the spicy and creamy mac and cheese. This combination is a match made in heaven for a BBQ-inspired feast.
- Grilled Chicken or Steak: For a more elevated meal, serve a generous scoop alongside a perfectly grilled chicken breast or a juicy steak. The bold flavors stand up well to grilled meats.
- Crisp Green Salad: To cut through the richness, a simple, fresh green salad with a light vinaigrette makes for a refreshing counterpoint.
Pin it for later!
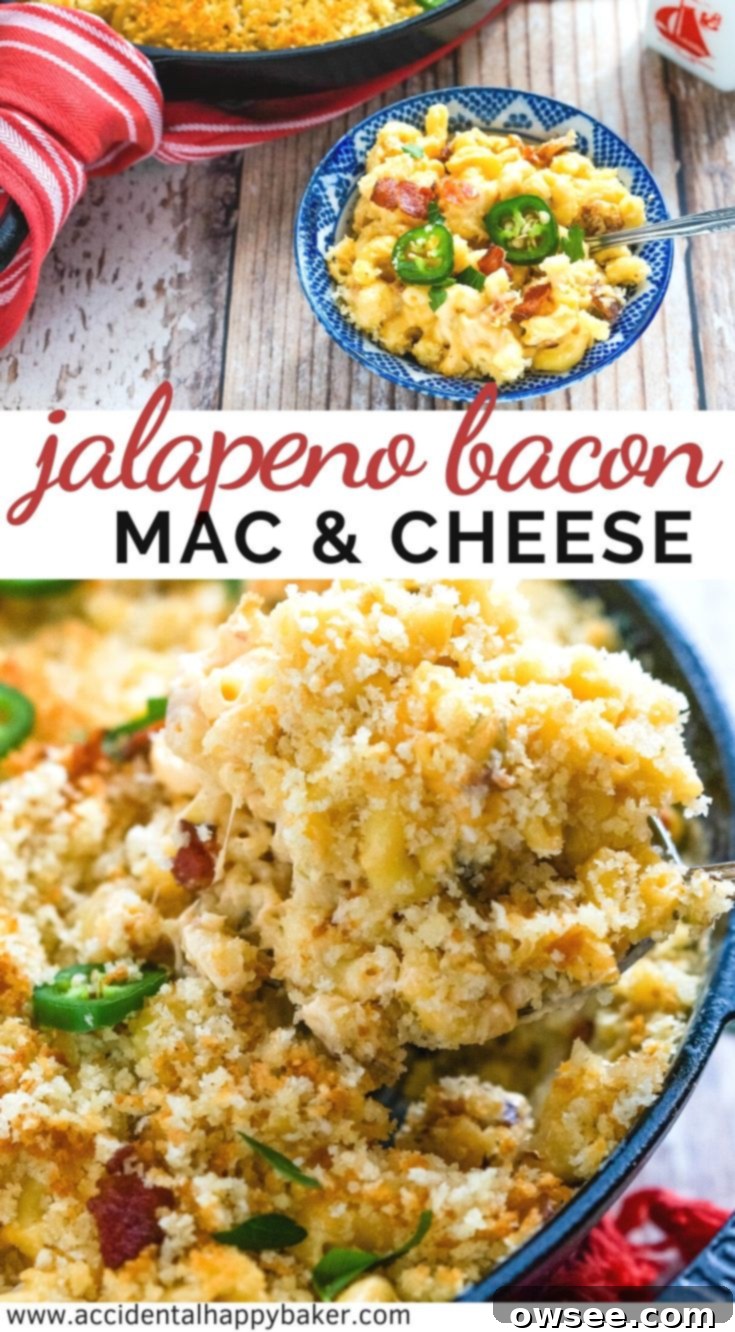
This recipe transforms a simple dinner into a memorable occasion. The combination of rich, tangy cheeses, the subtle heat of jalapeños, and the salty, smoky crunch of bacon creates a symphony of textures and tastes. Whether you’re making it for a weeknight family meal or a special gathering, this One-Pot Jalapeño Bacon Mac and Cheese is sure to impress and satisfy even the pickiest eaters. It’s hearty, comforting, and undeniably delicious – everything you could want in a modern classic.
Leftovers, if you have any, can be stored in an airtight container in the refrigerator for up to 3-4 days. To reheat, gently warm in the microwave or in a pot on the stovetop over low heat, adding a splash of milk to restore creaminess if needed. This dish tastes just as good the next day!
Accidental Happy Baker is a participant in the Amazon Services LLC Associates Program, an affiliate advertising program. As an Amazon Associate I earn from qualifying purchases at amazon.com at no additional cost to you.
